

Seeds and Pods
Written with AI assistance, edited and checked against horticultural sources.
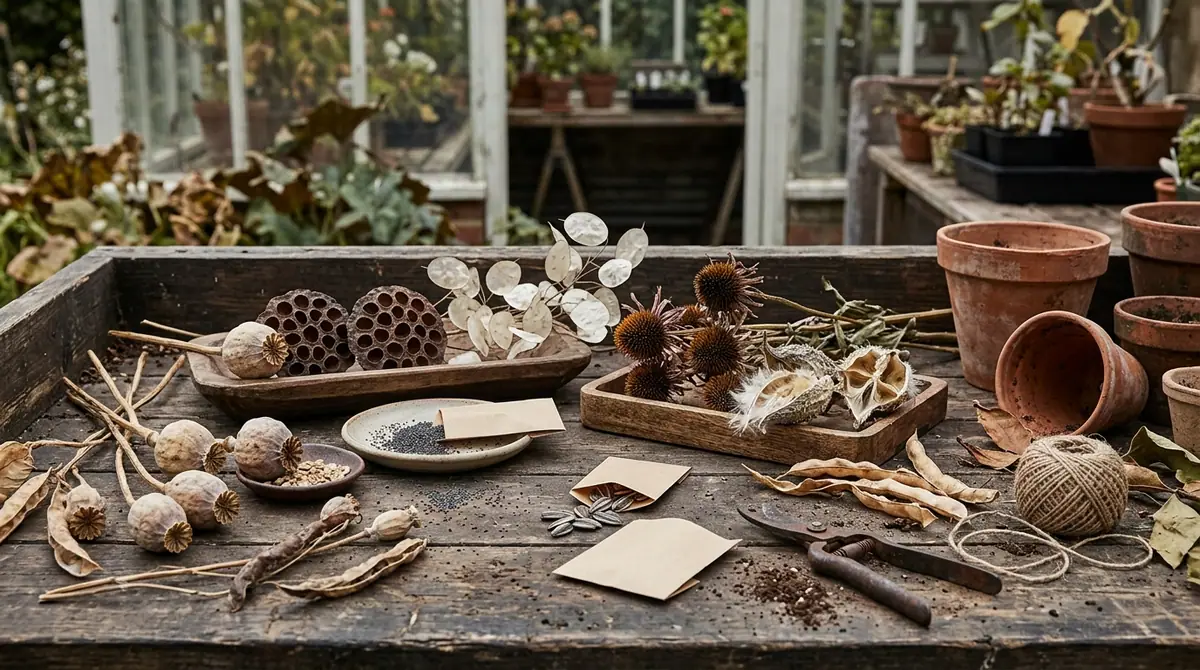
I spent three hours on my knees in the back garden last October, carefully extracting the parchment-thin, jet-black seeds from a dried cluster of Baptisia australis pods, marveling at how a rattle-box of dead tissue could hold the architectural blueprint for a stunning perennial. I find that working with seeds and pods bridges the gap between science and poetry; it is the ultimate intersection of botany and ecological design. Whether you are collecting heirloom specimens from your ornamental borders or learning When to Start Seeds Outdoors, understanding the structural anatomy and physiological needs of seeds and pods transforms gardening from guesswork into an exact craft.
1. Botanical Overview & Natural Habitat

In nature, wild species have evolved ingenious dehiscent mechanisms to scatter their progeny. Some pods, like those of the touch-me-not (Impatiens), use tension-based explosive dehiscence, flinging seeds up to 6 feet (1.8 meters) away when touched. Others rely on wind anemochory, hydrochory via water, or epizoochory, where hooked pods cling to animal fur. Understanding these mechanisms helps us mimic natural dispersal and pollination dynamics when designing layered perennial borders or managing vegetable patches. For instance, if you cultivate legumes, learning When to Pick Pea Pods ensures you harvest tender culinary yields before the plant shifts its energy entirely into lignified, seed-bearing pods.
2. Essential Environmental & Care Requirements
Successful seed germination and subsequent pod production require strict adherence to environmental parameters. Light, temperature, and moisture are the triumvirate of control. While some seeds require absolute darkness to break dormancy, others are photoblastic and need a light exposure of at least 100 foot-candles for germination.
For the parent plants producing the pods, soil structure dictates root health and nutrient uptake. Heavy clay soils can suffocate developing root zones, stunting the plant's capacity to shuttle photosynthates into developing seed pods. Ideal soil pH sits between 6.0 and 6.8 for the vast majority of seed-producing ornamentals and edibles.
| Parameter | Optimal Condition | Common Mistake | Why It Matters |
|---|---|---|---|
| Soil Temperature | 65°F to 75°F (18°C to 24°C) | Planting too early in cold, wet soil | Cold soil induces fungal rot (damping-off pathogens like Pythium) before radical emergence occurs. |
| Planting Depth | 2x to 3x the seed's diameter | Burying small seeds too deep | Deeply buried fine seeds exhaust their endosperm reserves before reaching the soil surface. |
| Moisture Level | Evenly moist, like a wrung-out sponge | Allowing surface crusting or complete drying | Dehydration halts cellular division in the newly emerged radicle, killing the seedling. |
| Air Circulation | Moderate, non-turbulent airflow | Stagnant, humid indoor environments | Stagnation invites fungal spores, promoting stem rot and powdery mildew on young leaves. |
For more specialized cultivation insights, particularly when expanding your edible footprint, consult the guidelines on When Plant Squash Seeds and When to Start Squash Seeds Indoors to align your seasonal timelines.
💡 Pro-Tip: When harvesting pods for seed saving, never store them in plastic bags. Trapped ambient humidity causes condensation, initiating mold growth that destroys embryo viability within 48 hours. Always cure pods in breathable paper envelopes or woven mesh bags in a cool, dark room.
3. Step-by-Step Cultivation, Feeding & Propagation
Growing plants specifically for seed production—or starting plants from harvested pods—requires a disciplined protocol. Follow these sequential steps to maximize germination rates and produce robust, viable seed pods.
- Select and Prepare the Seedbed: Till or loosen your soil to a depth of 8 inches (20 cm). Incorporate 2 inches (5 cm) of well-aged compost to improve drainage and microbial activity. Maintain a soil temperature between 65°F and 75°F (18°C to 24°C).
- Surface Sowing or Depth Placement: Plant seeds at a depth equal to two to three times their smallest dimension. For fine seeds that require light, press them gently onto the soil surface without covering them.
- Manage Moisture and Humidity: Mist the planting medium using a fine-rose watering can or spray bottle. Cover flats with clear polyethylene domes to maintain 80% relative humidity until germination occurs.
- Transition to Light: Remove humidity domes immediately upon the emergence of the cotyledons (seed leaves). Provide 14 to 16 hours of daily light using grow lights positioned 2 to 4 inches (5 to 10 cm) above the seedling canopy.
- Feed Strategically: Begin a half-strength, balanced liquid fertilizer (such as a 10-10-10 formulation) 14 days after true leaves appear. As plants mature and transition to flowering and pod production, switch to a low-nitrogen, high-phosphorus fertilizer (like 5-10-10) to encourage robust pod development rather than excessive foliage.
- Harvest and Cure Pods: Allow pods to turn brown and brittle on the stem whenever possible. Snip them off with sterilized pruning shears, crack them open over a collection tray, and winnow away the chaff.
⚠️ Important Caution: If you are saving seeds from open-pollinated heirloom varieties, maintain strict spatial isolation distances—often ranging from 10 feet (3 meters) to half a mile (0.8 kilometers)—between different cultivars of the same species to prevent cross-pollination and preserve genetic purity. For insights on timing your indoor setups, refer to resources like When to Start Tomato Seeds Indoors Zone 6 and When to Start Stock Seeds Indoors.
4. Common Problems, Pests & Troubleshooting
Even with meticulous care, challenges arise during the seed-to-pod lifecycle.
Damping-Off: This is the primary killer of seedlings. Caused by soil-borne fungi such as Rhizoctonia or Pythium, it manifests as a pinched, water-soaked stem at the soil line, causing the seedling to collapse. Prevent this by using sterile seed-starting mix, bottom-watering, and running a small oscillating fan to ensure adequate air movement.
Blank or Empty Pods: If your plants flower abundantly but produce papery, hollow pods with no viable seeds inside, you are likely dealing with poor pollination. Extreme heat above 90°F (32°C) causes pollen sterility in many species. Introduce pollinator-friendly companion plants, or hand-pollinate using a soft artist's paintbrush during the cooler morning hours.
Premature Pod Dehiscence (Shattering): Some pods split open violently while still attached to the plant, scattering valuable seeds onto the ground. Monitor your crops daily as pods change color from green to yellow-brown. Slip fine mesh organza bags over developing pods to catch any spontaneous seed release.

5. Frequently Asked Questions
How do I know when seed pods are fully mature and ready to harvest?
Pods are generally ready to harvest when they have lost their green coloration, turning tan, brown, or black, and feel dry or brittle to the touch. If you shake the pod and hear the seeds rattling inside against the pod walls, the moisture content has dropped to safe levels for collection.
Can I save seeds from hybrid (F1) plant pods?
You can collect and plant seeds from F1 hybrids, but the resulting plants will not "come true to type." Because hybrids are bred from two distinct inbred lines, their offspring segregate wildly in the F2 generation, displaying unpredictable traits, variable fruit sizes, and unpredictable disease resistance. Stick to open-pollinated or heirloom varieties if you want predictable outcomes.
How long do collected seeds remain viable inside their pods?
Viability varies significantly by species. Kept safe inside their natural pods in a cool, dark, and dry environment (ideally 35°F to 50°F / 2°C to 10°C), many vegetable and flower seeds remain viable for 3 to 5 years. Allium and parsnip seeds drop in viability sharply after 1 year, while hard-coated legume seeds can remain dormant and viable for decades.
Should I store seeds inside their pods or shell them immediately?
It is almost always best to shell seeds after a brief initial drying period and store them cleaned. Leaving seeds inside fleshy pods invites fungal rot and insect larvae infestation. For dry, dehiscent pods, storing them cleaned in airtight glass jars or paper envelopes maximizes longevity by minimizing surface area exposed to humidity.
Related Guides
📋 Table of Contents ▼ Click to expand
Tags:
Keep reading
🌿 Related Plants You Might Like






PlantSavvyWorld
Editorial team
PlantSavvyWorld is an independent botanical education project. Articles are drafted with AI assistance, then edited and checked against university extension services, botanical garden collections and other published horticultural sources.