Written with AI assistance, edited and checked against horticultural sources.
Thick, succulent branches of a magnificent, ten-year-old Plumeria rubra can rot from the base up despite a diligent watering schedule. The culprit is not fungal neglect or an opportunistic pest; it is heavy, moisture-retentive commercial potting soil that suffocates the root system. Plumerias—those intoxicatingly fragrant icons of tropical landscapes—operate under strict subterranean rules. If an aerated, free-draining subterranean foundation is not provided, even the most generous sun exposure will not save them from root rot.
Securing the best soil for plumeria is the single most critical decision you will make as a grower, dictating whether your tree develops robust floral bracts or succumbs to subterranean decay.
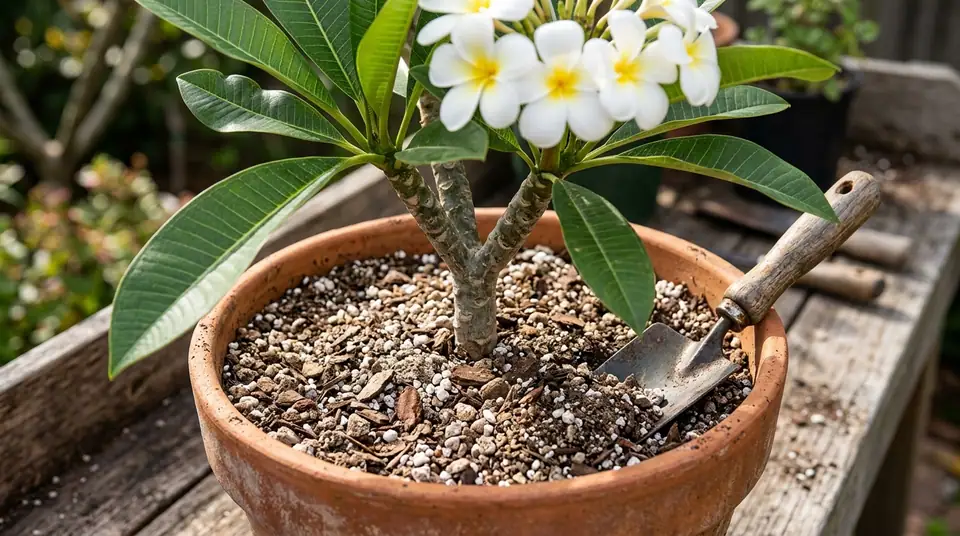
Potted plumeria plant with white flowers and a garden trowel in coarse potting soil
1. Botanical Overview & Natural Habitat
To understand why plumerias demand specialized soil, we must first look at their evolutionary origins. Genus Plumeria (part of the Apocynaceae family, which also includes oleanders and periwinkles) originates in the tropical and subtropical zones of Central America, Mexico, the Caribbean, and South America. In their native habitats, these deciduous trees and large shrubs cling to rocky volcanic slopes, coastal cliffs, and open scrublands where monsoonal rains alternate with prolonged dry spells.
These are xerophytic-leaning tropicals adapted to dry seasons. Their thick, latex-filled stems store water, allowing them to endure drought, but their root systems possess zero tolerance for stagnant moisture. In nature, rainwater cascades through fast-draining, porous, mineral-heavy soils rich in weathered basalt and coarse organic debris. When we cultivate them in containers or backyard landscapes, replicating this dynamic is essential.
From a physiological perspective, plumeria roots require high levels of ambient oxygen to drive cellular respiration and nutrient uptake. When soil lacks structural integrity and packs down, air pockets vanish. Root hairs suffocate within 48 to 72 hours of complete saturation, shutting down water transport and inviting opportunistic pathogens like Phytophthora and Pythium. Furthermore, plumerias thrive in a slightly acidic to neutral pH range of 6.0 to 6.7. If your medium strays too far into alkalinity (above 7.5), vital micronutrients like iron and manganese become chemically locked, resulting in severe interveinal chlorosis (yellowing leaves with green veins). For deeper insights into soil chemistry, you can reference the University of Florida IFAS Extension, which offers exhaustive guidance on tropical plant nutrition and soil amendments.
2. Essential Environmental & Care Requirements
Creating the ultimate subterranean environment goes hand-in-hand with managing the broader microclimate. Plumerias are absolute sun-worshippers that require a minimum of 6 hours of direct, unfiltered sunlight daily. In terms of temperature, they flourish when ambient daytime readings range between 75°F and 90°F (24°C to 32°C). Nighttime temperatures should ideally stay above 60°F (15°C). When temperatures drop below 50°F (10°C), plumerias enter a mandatory dormancy phase, dropping all their leaves and halting root activity entirely. During this dormancy window, watering must be reduced to near zero because wet soil combined with cool temperatures is a death sentence for the root ball.
Watering frequency is entirely dictated by your soil composition. In a properly formulated, fast-draining medium, you should water deeply until it runs out of the drainage holes, then allow the top 2 to 3 inches (5 to 7.5 cm) of soil to dry completely before applying moisture again. If you are unsure about your native earth's baseline acidity before planting in-ground, you can evaluate it using techniques outlined in our guide on How to Test Garden Soil Ph Without a Kit.
For container growers, pot selection is just as vital as the soil mix. Terracotta pots are vastly superior to plastic or glazed ceramic because their porous clay walls allow moisture to evaporate laterally, preventing the root zone from remaining waterlogged. Ensure your container features multiple drainage holes measuring at least 0.5 inches (1.2 cm) in diameter. For comprehensive botanical reference material on tropical woody ornamentals, consult the Royal Horticultural Society (RHS).
Parameter
Optimal Condition
Common Mistake
Why It Matters
Soil pH
6.0 to 6.7 (Slightly Acidic)
Using alkaline native garden soil (>7.5)
Alkaline conditions lock out iron and micronutrients, causing leaf chlorosis.
Drainage Rate
Excess water exits pot in under 10 seconds
Using standard potting soil with peat moss
Dense media retains moisture, starving roots of oxygen and causing root rot.
Organic Matter
20% to 30% decomposed material
Relying purely on rich compost or garden loam
Heavy organic matter breaks down, compacts over time, and traps excess water.
Mineral Aeration
40% to 50% perlite, pumice, or turface
Omitting coarse aggregates entirely
Roots need continuous gas exchange; mineral chunks create permanent air channels.
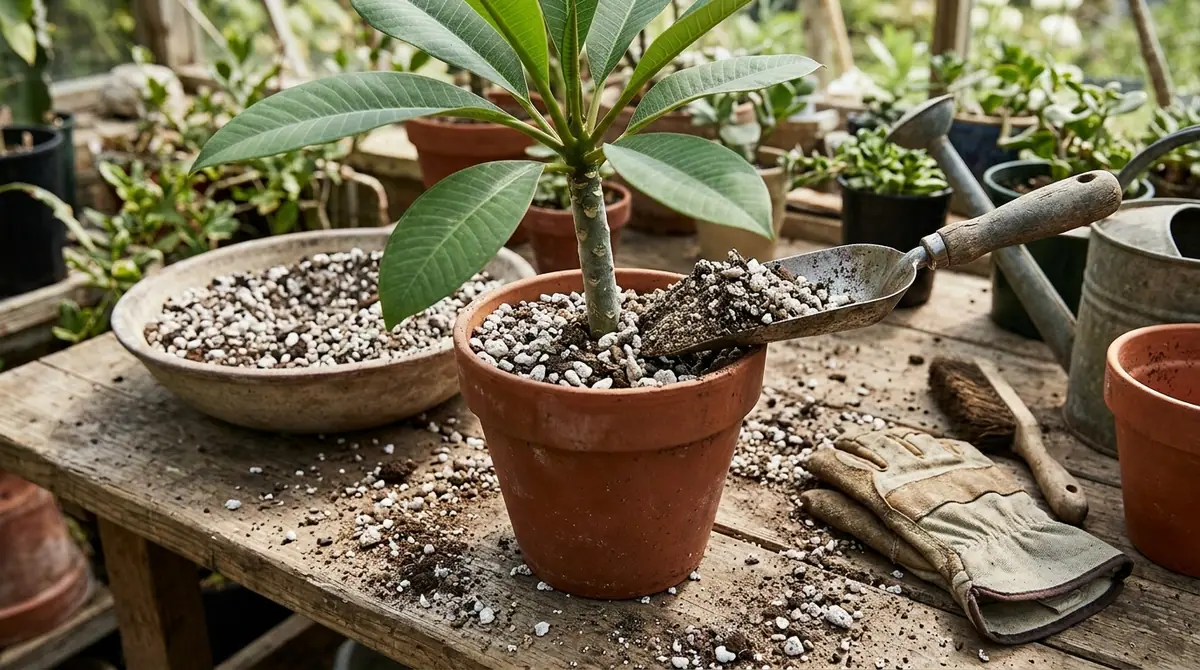
Blending your own plumeria soil guarantees exact control over drainage and nutrient retention. Commercial "tropical plant" soils are notoriously heavy and typically rely on excessive peat moss. Instead, we want to construct a gritty, open-textured substrate that mimics volcanic scree.
💡 Pro-Tip: Substitute standard horticultural perlite with large-grade horticultural pumice or expanded shale (Turface). Unlike perlite, which floats to the surface over time and breaks down under pressure, pumice adds permanent structural weight to containers, keeping top-heavy plumeria trees stable in high winds while maintaining massive air pockets.
Here is my master recipe for the ultimate DIY plumeria potting mix:
2 parts coarse perlite, pumice, or poultry grit (for structural drainage and aeration)
1 part high-quality aged compost or leaf mold (for foundational biological activity)
1 part professional-grade coco coir (for moisture retention without compaction)
1 part orchid bark, fine grade (to create macro-air spaces within the root zone)
If your long-term plans involve moving or upgrading your collection, remember that timing is everything. Read up on When is the Best Time to Transplant a Plant to ensure you repot your plumeria just as it breaks dormancy in spring, minimizing root shock.
Follow this step-by-step protocol for potting or repotting your plumeria:
Sanitize and Prepare the Container: Select a container 2 inches (5 cm) wider in diameter than the previous one. Scrub the interior with a 10% household bleach solution to eliminate fungal spores and rinse thoroughly.
Layer the Base: Cover the drainage holes with non-rotting mesh screens, then add a 1-inch (2.5 cm) layer of large expanded clay pebbles to guarantee that drainage channels never clog.
Mix the Substrate: In a wheelbarrow or large tarp, combine your pumice, coco coir, compost, and orchid bark in the ratios listed above until uniformly blended.
Establish the Root Foundation: Fill the bottom of the container with your custom mix until the root crown will sit precisely 1 inch (2.5 cm) below the rim of the pot. Never bury the stem deeper than it was previously growing, as stem tissue sitting in damp soil will rot.
Position and Fill: Center the plumeria, spreading out any circling roots gently. Fill in around the root ball with the custom mix, tapping the sides of the container every few inches to settle the soil and eliminate major air pockets without over-compacting.
Initial Settle and Rest: Water the newly potted plumeria thoroughly until water streams freely from the base. Do not water again for 10 to 14 days, allowing any severed root tips to callous over and preventing transplant shock.
4. Common Problems, Pests & Troubleshooting
Even with the best soil, environmental stressors can trigger issues. Recognizing symptoms early allows you to course-correct before structural damage occurs.
Root Rot (Phytophthora): The hallmark sign of root rot is a sudden softening or mushiness of the lower stem (pseudostem), accompanied by yellowing, dropping leaves during the active growing season. If you suspect rot, unpot the plant immediately. Use a sterilized pruning saw or razor blade to slice away brown, mushy roots until you hit firm, white tissue. Dust the cuts with powdered sulfur or cinnamon (a natural fungicide), let the plant dry bare-root in a shaded area for 5 to 7 days, and repot into fresh, sterile, dry custom mix.
Nutrient Deficiencies: Interveinal chlorosis—where leaves turn pale yellow while veins remain dark green—points directly to iron or magnesium lockout caused by compacted, high-pH soil. Flush the pot with distilled water to leach out built-up salts, then apply a chelated iron drench or a balanced, water-soluble fertilizer formulated with micronutrients (specifically a 10-30-10 ratio high in phosphorus to encourage blooming).
Pest Infestations: Spider mites and mealybugs frequently target stressed plumeria plants growing in suboptimal soil conditions. Mealybugs look like tiny cotton balls tucked into leaf axils, while spider mites cause stippled, fine webbing on the undersides of leaves. Treat outbreaks aggressively with horticultural insecticidal soaps or neem oil spray, applied every 7 days for a 21-day lifecycle cycle.
⚠️ Important Caution: Never use native garden soil straight from your yard in potted plumeria containers. Native earth lacks natural structural drainage when confined within vertical walls, introduces soil-borne pathogens, and packs down into a dense, concrete-like brick that suffocates root hairs within weeks.
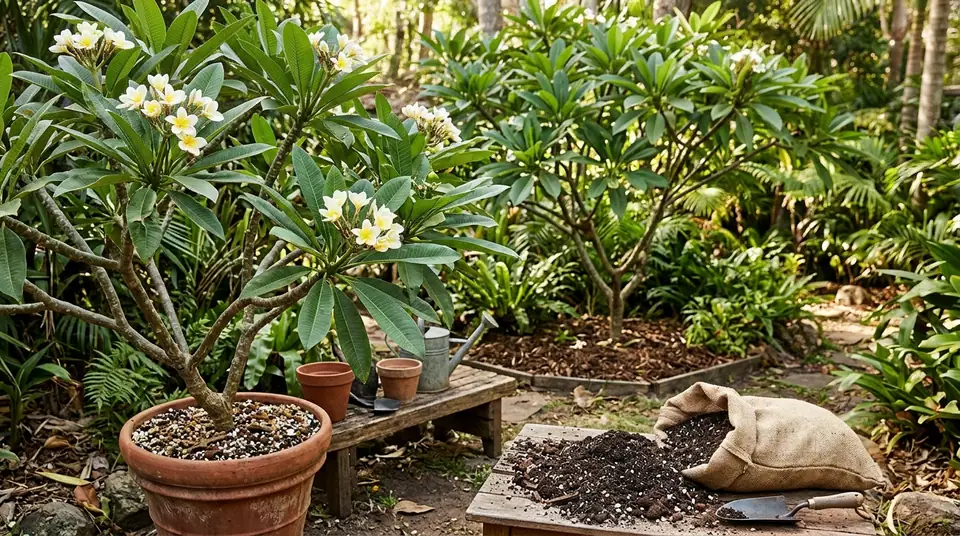
Potted plumeria with white and yellow blossoms next to soil bag and trowel on a garden workbench
5. Frequently Asked Questions
Can I use regular garden soil or potting mix for plumeria?
No. Standard potting soils are engineered to retain moisture for ferns, annuals, and houseplants, typically utilizing heavy amounts of peat moss and fine compost that suffocate plumeria roots. Regular garden soil is far too dense, lacks adequate aeration, and compacts rapidly in containers. Always use a fast-draining, chunky mix rich in pumice, perlite, and orchid bark.
How often should I change or refresh plumeria soil?
Potted plumerias should be repotted and given fresh soil every 2 to 3 years. Over time, organic components in the mix break down into fine silt, destroying the macro-air spaces essential for root health. Spring—just as nighttime temperatures consistently rise above 60°F (15°C) and new green leaf tips begin to push out—is the ideal time to perform this maintenance.
Why are my plumeria leaves turning yellow and dropping off?
Yellowing and dropping leaves are most commonly caused by overwatering and poorly draining soil that has starved the roots of oxygen. However, it can also happen naturally in autumn as the plant transitions into dormancy, or it can indicate a nitrogen deficiency. Check the soil moisture 2 inches (5 cm) down; if it is wet, your drainage is inadequate and root rot may be developing.
What is the ideal soil pH for growing plumerias?
Plumerias prefer a slightly acidic to neutral soil pH between 6.0 and 6.7. Within this narrow window, macronutrients and micronutrients—particularly iron, manganese, and phosphorus—remain fully soluble and readily available for root absorption. If your tap water is alkaline, you may need to amend your water or soil periodically to prevent nutrient lockout.
PlantSavvyWorld is an independent botanical education project. Articles are drafted with AI assistance, then edited and checked against university extension services, botanical garden collections and other published horticultural sources.