Written with AI assistance, edited and checked against horticultural sources.
Torrential rainfall cascading directly off a roof can carve a literal trench through a newly established shade garden, unmooring hostas, drowning delicate ferns in silt, and plastering Japanese forest grass (Hakonechloa macra) flat against the mud. A standard downspout is not merely a drainage pipe; it is an unguided environmental force. Converting this concentrated runoff from a destructive erosion hazard into a nourishing landscape resource is one of the most rewarding design challenges to tackle, transforming roof runoff into a vibrant ecological asset.
1. Botanical Overview & Natural Habitat
In undisturbed natural ecosystems, rainwater rarely hits the ground with the concentrated velocity of a residential asphalt shingle roof. Forests and prairies act as giant sponges. Canopy layers intercept droplets, the humus-rich organic layer slows surface flow, and extensive root networks create macro-pores that allow water to infiltrate deeply and slowly.
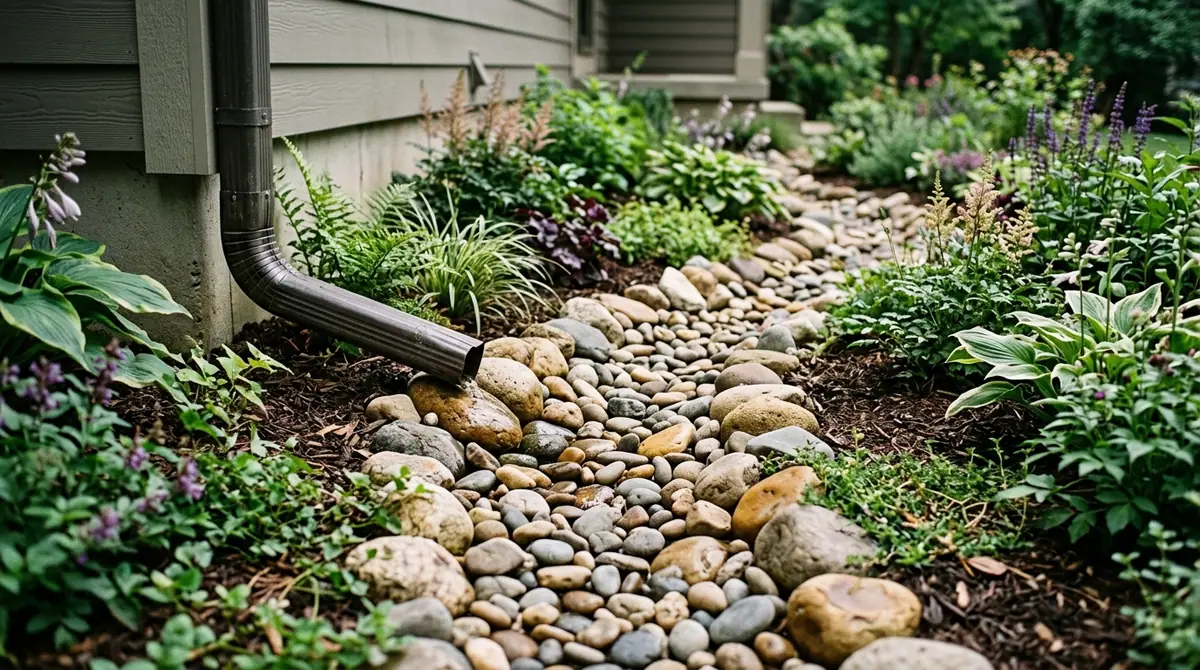
Rainwater flowing from a metal downspout onto a dry creek bed of smooth river rocks surrounded by garden plants
When we redirect downspouts into our designed landscapes, we are attempting to mimic these natural riparian and wetland edge habitats. Plants positioned to receive downspout water—often styled as rain gardens, bog gardens, or bioswales—must possess specific botanical adaptations. They need to endure periods of complete soil saturation where root zones are starved of oxygen, followed immediately by periods of intense drought once the storm passes and the soil drains.
Species natively found along floodplains, stream banks, and seasonal depressions are your best allies here. Plants such as Iris versicolor (Northern Blue Flag Iris), Eutrochium purpureum (Joe Pye Weed), and Cornus sericea (Red-Osier Dogwood) have evolved specialized aerenchyma tissues. These microscopic air channels within the plant stems and roots actively transport oxygen from the above-ground foliage down into the waterlogged root zone, preventing asphyxiation and root rot during peak runoff events.
2. Essential Environmental & Care Requirements
Managing downspout drainage requires an intimate understanding of your site’s hydrology, soil mechanics, and plant physiological tolerances. If you miscalculate the volume of water exiting your roof, you risk drowning even the most resilient moisture-loving vegetation or, conversely, flooding your home’s foundation.
When designing a drainage system, you must account for peak precipitation events. For instance, a typical 2,000 square foot roof in a region experiencing a 2-inch (5.08 cm) rainfall event will shed approximately 2,500 gallons of water. Directing that volume blindly into a single flower bed will cause systemic failure.
Parameter
Optimal Condition
Common Mistake
Why It Matters
Soil Infiltration Rate
1.0 to 3.0 inches (2.5 to 7.6 cm) per hour
Planting in heavy, compacted clay without amendment
Prevents standing water from breeding mosquitoes and rotting crowns
Foundation Setback
Minimum 10 feet (3.05 m) away from structure
Discharging water within 3 feet (0.91 m) of the house wall
Stops hydrostatic pressure from cracking foundation walls and flooding basements
Bioswale Slope
1.0% to 2.0% gradient
Creating a steep 10% slope
Slows water velocity, allowing proper sediment settling and root absorption
Mulch Selection
Double-shredded hardwood or large river rock
Using lightweight pine straw or fine chips
Heavy rock or interlocking bark stays put during high-velocity surges
💡 Pro-Tip: Always calculate your roof's catchment area before buying plants. Multiply your home's footprint length by its width, divide by the square footage of your intended drainage garden, and adjust your plant species selection based on whether that bed will receive an inch of water or six inches during a heavy downpour.
Implementing an effective, botanical-focused downspout drainage system—such as a vegetated bioswale or rain garden—requires a methodical installation process. Follow this sequence to ensure structural integrity and plant survival.
Calculate and Route: Measure your roof runoff capacity and map a path that extends at least 10 feet (3.05 m) away from your foundation. Use a solid PVC extension or an underground corrugated pipe to transport the water safely to your designated garden zone.
Excavate the Basin: Dig out a shallow basin, typically 6 to 18 inches (15.2 to 45.7 cm) deep at its lowest point. Ensure the bottom is relatively flat to encourage even water spreading rather than pooling in a single deep hole.
Amend the Substratum: Test your native soil infiltration. If you encounter heavy clay, excavate an additional 4 inches (10.2 cm) and incorporate a 50/50 blend of coarse sand and compost to create a high-aeration planting medium that drains within 24 to 48 hours.
Install Energy Dissipapers: Place a heavy layer of smooth river stones (2 to 4 inches / 5.1 to 10.2 cm in diameter) directly at the downspout discharge point. This dissipates the kinetic energy of the rushing water, preventing soil erosion and mulch displacement.
Install Moisture-Tolerant Flora: Arrange your root-stock plants in staggered drifts. Place true aquatics and deep-emergent species at the lowest center point, and transition to moisture-tolerant perennials along the sloping edges.
Mulch and Stabilize: Apply a 3-inch (7.6 cm) layer of double-shredded hardwood mulch or chunky bark. Unlike lightweight mulches, this material knits together to form a stable matrix that holds up against rushing stormwater.
Establish Irrigation: Water deeply every 2 to 3 days for the first 21 days to establish deep root systems. Afterward, rely solely on your roof runoff and natural precipitation, supplementing only during severe droughts lasting longer than 14 days.
For more technical guidance on managing urban stormwater through green infrastructure, consult the comprehensive resources provided by the University of Wisconsin-Madison Extension.
4. Common Problems, Pests & Troubleshooting
Even the most thoughtfully designed downspout drainage systems can run into operational hiccups. When water does not behave as expected, your plants and hardscape will quickly show distress signals.
Standing Water Exceeding 48 Hours: If water fails to drain within two days after a storm, your soil is likely severely compacted or your basin lacks sufficient depth relative to the catchment volume. Solution: Hand-auger several vertical drainage shafts through the clay layer down to a permeable sub-layer, and backfill them with coarse pea gravel.
Severe Soil Erosion Near the Outfall: If water is carving channels through your mulch and exposing plant roots, your energy dissipation layer is inadequate. Solution: Replace small decorative gravel with larger riprap stones (6 to 12 inches / 15.2 to 30.5 cm) to break up the water's momentum.
Root Rot and Crown Decay: Plants turning yellow, wilting despite wet soil, or showing soft, blackened stems are suffering from hypoxia (oxygen starvation). Solution: Elevate the planting crown of affected specimens slightly above the surrounding soil grade during the next dry spell, and reduce organic matter buildup that retains excessive moisture around the stems.
Mosquito Larva Infestation: Stagnant water sitting for longer than 5 days becomes a breeding ground for mosquitoes. Solution: Introduce biological controls such as Bacillus thuringiensis israelensis (Bti) dunks into the pooling zones, or re-grade the basin floor to ensure complete infiltration within 24 hours.
⚠️ Important Caution: Never direct your roof downspouts toward a retaining wall, septic drain field, or within striking distance of your neighbor’s property line. Concentrated artificial discharge onto adjacent properties can lead to legal liability for structural damage and soil erosion.
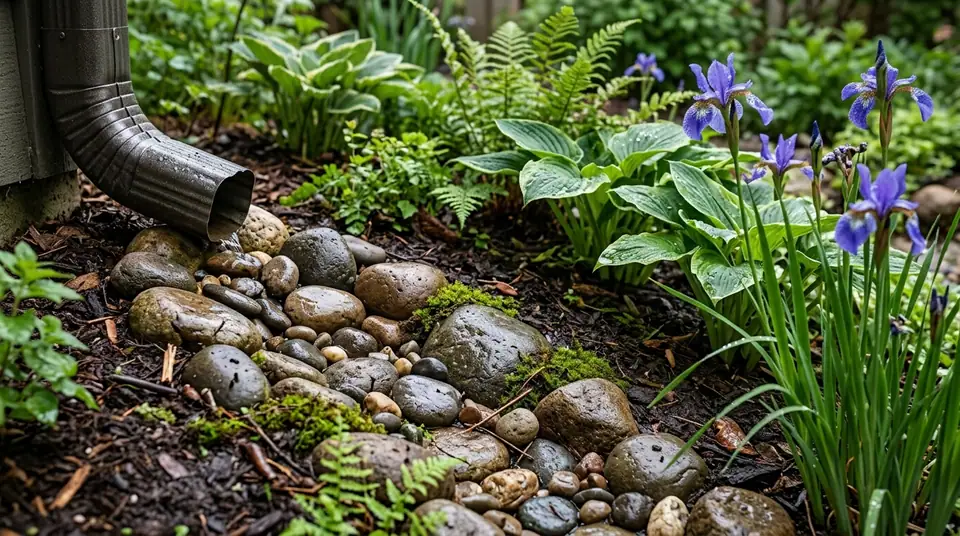
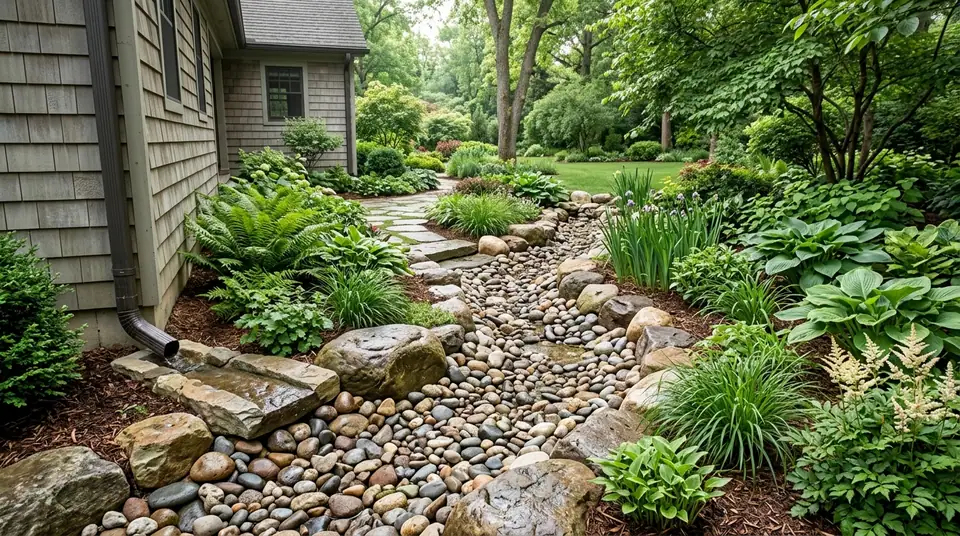
Rainwater flowing from a house downspout into a stone drainage bed bordered by lush ferns and hostas
5. Frequently Asked Questions
How far away from my foundation should my downspout drain?
You should discharge roof runoff a minimum of 10 feet (3.05 m) away from your home’s foundation, with the ground sloping away from the structure at a grade of at least 6 inches (15.2 cm) over that 10-foot span. This prevents water from pooling against basement walls and causing hydrostatic pressure buildup, cracking, and severe leaks.
Can I run my downspout directly into an underground French drain?
Yes, you can route downspouts into a solid PVC pipe that feeds into a buried French drain system, provided the line terminates in a daylight outlet (such as a pop-up emitter or a bioswale) rather than a dead-end dry well that can easily clog with shingle grit and organic debris. For detailed regional regulations on stormwater management and structural drainage design, consult the Royal Horticultural Society.
What are the best plants to put at the end of a downspout?
Select resilient, moisture-loving perennials and shrubs that tolerate both temporary water submersion and dry spells. Excellent choices include Iris pseudacorus (Yellow Flag Iris), Panicum virgatum (Switchgrass), Aronia melanocarpa (Black Chokeberry), and Asclepias incarnata (Swamp Milkweed). These species develop robust root structures that anchor the soil against rushing water.
How do I stop my downspout from washing away my mulch?
To prevent erosion, install a splash block, a basin filled with river rocks (riprap), or a decorative dry creek bed directly beneath the downspout opening. This hardscape feature absorbs the kinetic energy of the falling water, slowing its velocity before it makes contact with lightweight organic mulches and bare soil.
PlantSavvyWorld is an independent botanical education project. Articles are drafted with AI assistance, then edited and checked against university extension services, botanical garden collections and other published horticultural sources.