

Cheap Diy Backyard Garden Layout Ideas on a Budget
Written with AI assistance, edited and checked against horticultural sources.
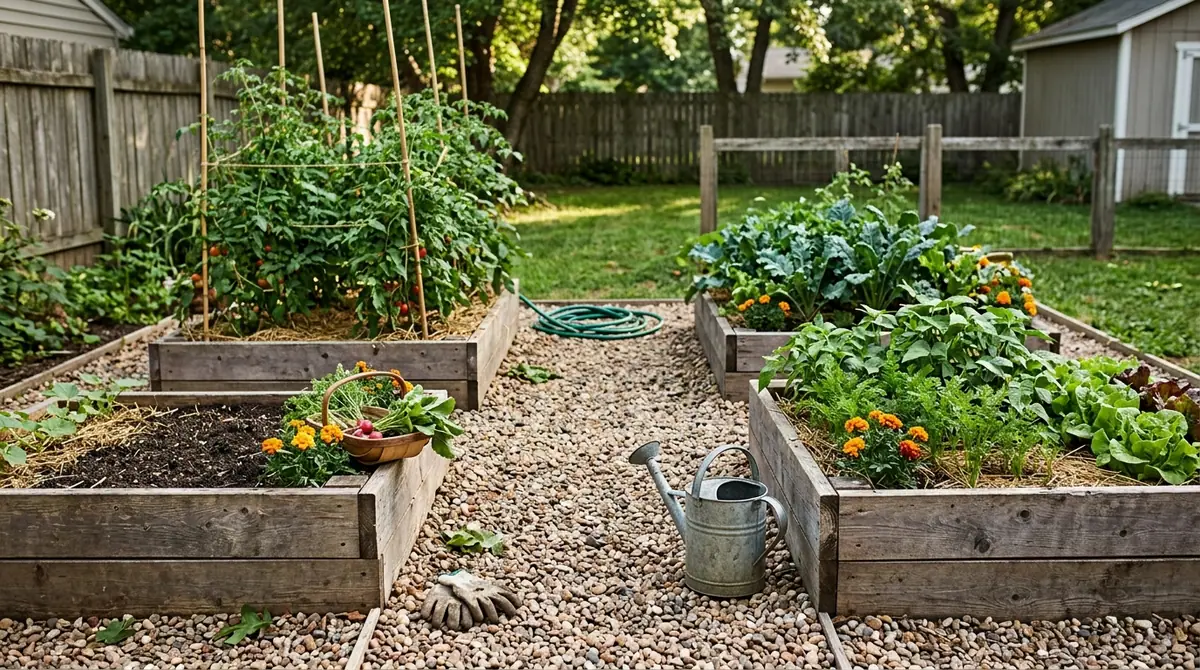
Years ago, I stood in the center of a barren, compacted-clay backyard in zone 6b, staring at a landscape budget that consisted of precisely seventy-four dollars and spare change. The soil was a dense, concrete-like gray pan, compacted to a bulk density that would make a spade weep, and the previous owners had left behind nothing but a rusted swing set frame and shattered patio pavers. Instead of throwing money at professional landscaping services or buying pre-packaged modular kits that fail to account for site-specific microclimates, I treated that dirt like a blank canvas and a living ecosystem. By prioritizing structural plant architecture, leveraging free organic matter, and mapping sun patterns before sinking a single shovel blade into the earth, I transformed that sterile plot into a multi-tiered perennial sanctuary. Designing a cheap DIY backyard garden layout on a budget is not about settling for cheap materials; it is about working with ecological principles rather than against them. Let us dive into how you can design and construct a resilient, beautiful backyard layout without emptying your bank account.
1. Botanical Overview & Natural Habitat
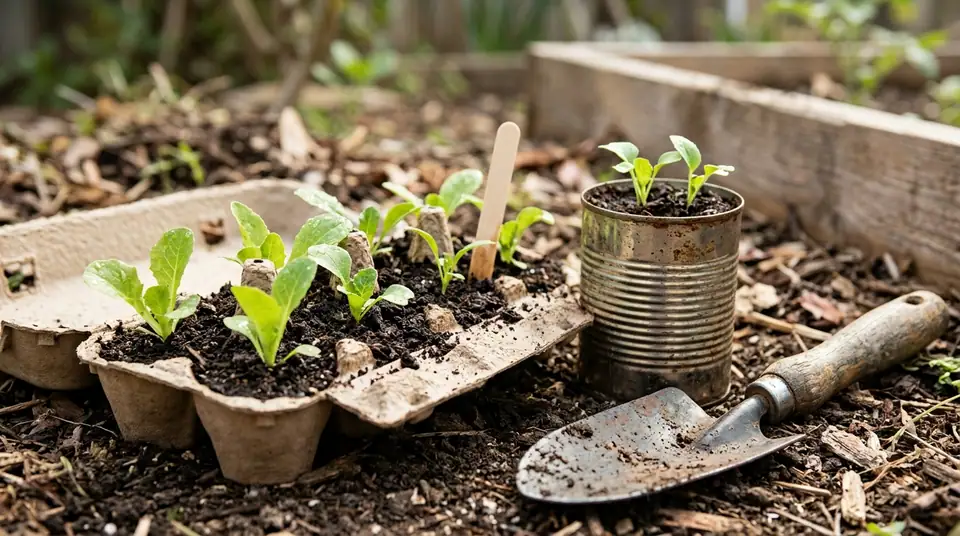
In a budget landscape design, we categorize plants by their architectural and ecological functions: structural canopy species, understory filler plants, ground covers, and vertical climbers. When planning your layout, avoid the trap of placing plants in isolation. In nature, plants grow densely, shading the soil, retaining moisture, and suppressing weeds naturally. This dense planting strategy, often called matrix planting or guild planting, saves you hundreds of dollars in mulch and chemical herbicides because the plants themselves form a living mulch layer.
For instance, structuring your layout around native perennials adapted to your local USDA hardiness zone ensures winter hardiness and summer drought tolerance. If you live in zone 5a through 8b, leveraging prairie-style matrices utilizing deep-rooted perennials like Echinacea purpurea (Purple Coneflower) and Panicum virgatum (Switchgrass) creates an instant vertical rhythm that anchors the eye, drawing attention away from neighboring fences or awkward lot lines. By mimicking natural drainage basins or swales within your layout, you can also solve functional yard drainage issues while establishing water-loving marginal planting zones without installing expensive subsurface PVC piping.
2. Essential Environmental & Care Requirements
Before mapping out paths, raised beds, or seating areas in your DIY backyard layout, you must conduct a rigorous site assessment. Guessing your sunlight hours or soil moisture levels is the single most expensive mistake you can make; buying shade-loving plants for a scorching south-facing slope that bakes at 95°F (35°C) in July is an instant waste of hard-earned cash.
Begin by tracking your sunlight over a 12-hour period. Full sun is classified as 6 to 8 hours of direct, unobstructed solar radiation daily; partial shade is 3 to 6 hours; and full shade is less than 3 hours. Next, test your soil texture using a simple jar test or by sending a sample to your local university extension service—many offer low-cost soil testing. Knowing whether your soil leans heavy clay (requiring organic matter aggregation) or sandy loam (requiring water retention amendments) dictates your entire layout strategy.
| Parameter | Optimal Condition | Common Mistake | Why It Matters |
|---|---|---|---|
| Soil pH | 6.2 – 6.8 for general perennials | Assuming all garden soil is neutral | Extreme pH locks out vital micronutrients like iron and phosphorus. |
| Sun Exposure | 6+ hours direct for sun-loving guilds | Planting without tracking seasonal shifts | Inadequate light leads to leggy, disease-prone plant architecture. |
| Drainage Rate | 1 to 2 inches (2.5 to 5 cm) per hour | Ignoring localized pooling zones | Standing water suffocates root crowns and invites fungal pathogens. |
| Organic Matter | 5% to 8% active humus in top 6 inches | Tilling too deeply and destroying soil food webs | Humus buffers moisture and feeds beneficial mycorrhizal networks. |
💡 Pro-Tip: Never buy bagged topsoil from big-box stores for large layout projects. Instead, contact local tree service companies and municipal compost facilities; they frequently give away arborist wood chips and aged leaf mold completely free. This saves you hundreds of dollars while building superior soil biology.
3. Step-by-Step Cultivation, Feeding & Propagation
Executing a budget-friendly backyard layout requires a strict operational sequence. Do not buy plants first. Build the skeleton of the space, condition the earth, and then introduce living flora. Here is your chronological blueprint for building a stunning backyard layout on a budget:
- Map and Measure: Draft a to-scale sketch of your backyard on graph paper. Mark existing trees, utility lines, permanent structures, and slopes. Identify microclimates, such as frost pockets or heat sinks against brick walls.
- Sheet Mulch (Lasagna Gardening): Kill existing grass and weeds without renting a sod cutter or buying chemical glyphosate. Lay down overlapping layers of corrugated cardboard directly over the turf, wet it thoroughly, and cover it with 4 to 6 inches (10 to 15 cm) of free arborist wood chips or compost. Let this sit for 60 to 90 days to smother weeds and decompose into rich topsoil.
- Shape Beds and Pathways: Use a half-moon edger or a flat spade to carve clean, sweeping curves or geometric lines for your garden beds. Lay down heavy-duty, commercial-grade cardboard or recycled burlap as a weed barrier beneath your pathways, then fill them with budget-friendly materials like crushed gravel, pine straw, or free wood chips.
- Source Plants via Division and Propagating: Instead of buying 3-gallon nursery specimens at $45 each, purchase small starter plugs, grow from seed, or ask local gardening groups for plant divisions. Perennials like hostas, daylilies, black-eyed susans, and ornamental grasses can be dug up and split into 3 or 4 independent root sections in early spring when soil temperatures reach 55°F (13°C).
- Planting Day Protocol: Dig planting holes twice as wide as the root ball but no deeper. Gently tease out root-bound container plants. Water deeply immediately after planting—delivering 1 inch (2.5 cm) of water—to settle soil particles around the root hairs.
- Apply Living Mulch: Fill any gaps between newly installed plants with low-growing ground covers like creeping thyme or sedum. As these spread, they eliminate the ongoing expense of buying synthetic weed fabrics or commercial mulches.
⚠️ Important Caution: Never incorporate raw, uncomposted animal manures or fresh, untreated wood shavings directly into your root zones. Fresh manure carries high pathogen loads and excessive salts that burn tender root tips, while uncomposted wood shavings temporarily tie up available soil nitrogen as soil microbes break down the carbon.
To deepen your understanding of regional ecological layouts, consult the guidelines provided by the Royal Horticultural Society for plant selection and the Missouri Botanical Garden Plant Finder for specific cultural requirements and hardiness tolerances.
4. Common Problems, Pests & Troubleshooting
Budget layouts often run into specific hurdles during their first two growing seasons because gardeners tend to plant densely with small, immature specimens that face heavy weed pressure.
Aggressive Weed Infiltration: If your sheet-mulched beds sprout weeds through the wood chips, it means your initial cardboard layer was too thin or had gaps. Do not spray synthetic herbicides. Instead, apply an immediate top-dressing of 2 inches (5 cm) of fresh compost followed by a fresh layer of arborist chips to re-choke light access.
Transplant Shock and Wilting: When planting divisions or budget mail-order bare-root plants, sudden heatwaves can cause rapid desiccation. If leaves flag and curl, erect a temporary shade cloth using cheap bamboo stakes and burlap for 10 to 14 days until root systems establish anchorage. Ensure deep, infrequent watering cycles—saturating the soil to a depth of 8 inches (20 cm) every 5 to 7 days rather than shallow, daily sprinkles—to encourage deep root exploration.
5. Frequently Asked Questions
How can I design a backyard layout for free without hiring a landscape architect?
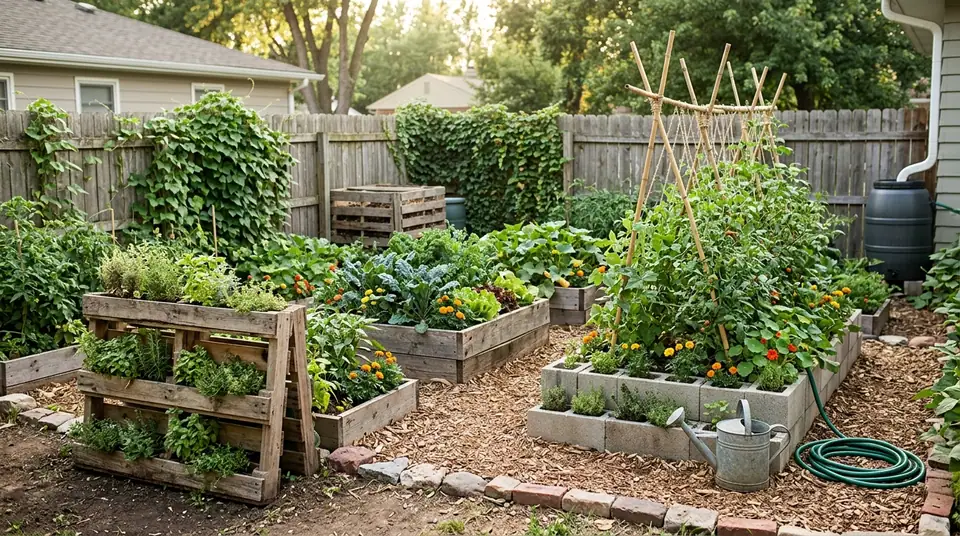
Start by utilizing free online design software or traditional graph paper to map your yard's sunlight patterns, wind vectors, and drainage paths. Group plants into functional zones based on their water and light requirements rather than buying items piecemeal. By using cardboard sheet-mulching to create beds and sourcing free organic materials like wood chips from local arborists, you can execute a professional layout with zero design fees.
What are the cheapest materials to use for DIY garden pathways?
Arborist wood chips, pine straw, and recycled crushed gravel are the most cost-effective path materials. Avoid expensive pre-cut stone pavers or poured concrete slabs. Instead, edge your pathways with reclaimed bricks, fallen logs collected from your property, or un-mortared fieldstones gathered from local non-protected areas.
How do I kill grass and weeds for a new garden bed without buying chemicals?
Sheet mulching, also known as lasagna gardening, is the gold standard for budget-conscious organic gardeners. Lay down overlapping layers of plain, unprinted cardboard directly over your existing lawn to block sunlight entirely. Wet the cardboard thoroughly, then pile 4 to 6 inches (10 to 15 cm) of organic mulch, compost, or grass clippings on top. Within 60 to 90 days, the grass and weeds decompose into rich humus, creating a ready-to-plant bed without tilling.
Where can I find free or ultra-cheap plants for a large backyard layout?
Reach out to local plant societies, neighborhood gardening groups, and online marketplaces like Facebook or Craigslist, where gardeners frequently give away excess plant divisions during spring and fall cleanups. You can also start perennials and vegetables from seed indoors for pennies per plant, or take hardwood and softwood cuttings from established shrubs in neighbor's yards with permission.
Related Guides
- Florida Backyard Landscape Ideas
- Arizona Backyard Ideas
- Cheap Ways to Block Neighbors View
- How to Protect Backyard Fruit Orchard from Winter Frost
- How to Create a Small Frog Pond in a Backyard Garden
📋 Table of Contents ▼ Click to expand
Tags:
Keep reading
🌿 Related Plants You Might Like






PlantSavvyWorld
Editorial team
PlantSavvyWorld is an independent botanical education project. Articles are drafted with AI assistance, then edited and checked against university extension services, botanical garden collections and other published horticultural sources.