Written with AI assistance, edited and checked against horticultural sources.
I was standing in trial gardens last June, shears in hand, staring down a magnificent specimen of 'Bouquet' dill that was threatening to bolt into the humid mid-summer sky. An eager gardener had asked for a massive handful of fronds for a pickling workshop, and in my rush, I sheared the entire central stalk right down to the soil line. Within forty-eight hours, the plant curled up and died. That painful mistake taught me what decades of textbook botany hint at: dill (Anethum graveolens) is a delicate annual with a centralized taproot and a fragile disposition toward heavy pruning. Since that day, I’ve refined my harvest techniques to ensure a continuous supply of aromatic foliage and seeds without ever sacrificing the host plant. Here is how you can do the exact same thing in your own herb patch.
1. Botanical Overview & Natural Habitat
Dill (Anethum graveolens) is a unique, herbaceous annual belonging to the Apiaceae (carrot and parsley) family. Native to the Mediterranean basin and Western Asia, it evolved in regions characterized by hot, dry summers and cool, wet winters. Botanically, dill is instantly recognizable by its slender, hollow stems and ultra-fine, feathery blue-green leaves known as fronds.
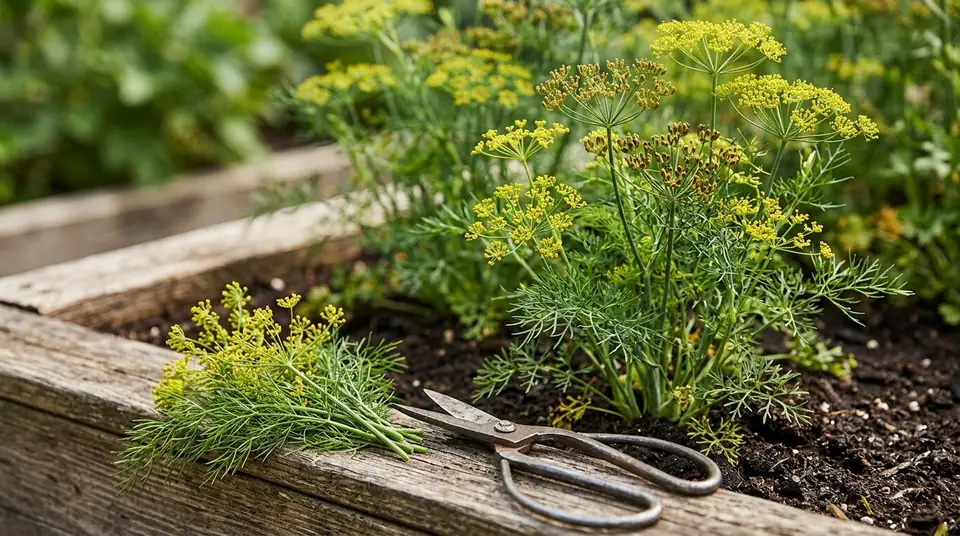
Freshly harvested dill sprigs and garden shears on a wooden raised bed beside the growing plant
Unlike leafy perennials that tolerate aggressive shearing, dill possesses a dominant taproot that anchors the plant and stores minimal reserves. This taproot makes transplanting notoriously difficult—a characteristic it shares with its cousin, the carrot—and leaves the plant structurally vulnerable if its primary growing tips are compromised.
As a cool-season annual, dill's life cycle is strictly timed to day length and temperature. It transitions rapidly from a vegetative state to a reproductive (bolting) phase as daylight hours exceed 12 to 14 hours and temperatures climb above 75°F (24°C). During the vegetative stage, the plant experts all its energy into producing those prized, flavorful fronds. Once it triggers its reproductive cycle, it sends up a thick central flower stalk that umbrellas into flat-topped yellow umbels. While these umbels eventually produce dill seed and attract beneficial predatory insects like ladybugs and parasitoid wasps, their emergence signals the end of tender frond production. Understanding this lifecycle is the cornerstone of harvesting dill without killing the plant; you must harvest in a way that tricks the plant into remaining in its vegetative, leafy stage for as long as possible.
2. Essential Environmental & Care Requirements
To keep your dill robust enough to withstand regular harvesting, you must replicate its native Mediterranean environment. Environmental stress triggers premature bolting, which abruptly halts new frond growth.
Parameter
Optimal Condition
Common Mistake
Why It Matters
Light
6 to 8 hours of direct sunlight daily
Planting in deep shade or severe afternoon blast zones
Growing in highly acidic (< 5.0) or alkaline (> 7.5) soils
Poor pH locks out essential micronutrients, stunting taproot development and leaf density.
Watering
1 inch (2.5 cm) of moisture per week
Inconsistent watering (drought followed by heavy soaking)
Fluctuating moisture shocks the taproot, forcing the plant to bolt prematurely.
Temperature
60°F to 70°F (15°C to 21°C)
Exposing young plants to sustained freezes or sudden heatwaves above 85°F (29°C)
High temperatures trigger the plant’s hormonal response to flower and set seed immediately.
Soil texture is equally critical. Because dill relies on a delicate taproot that can easily plunge 10 to 15 inches (25 to 38 cm) deep into the earth—similar to the root considerations required when managing How Deep Do Pepper Plant Roots Go? Pot Size & Substrate Depth Guide—it demands loose, loamy, and exceptionally well-draining soil. Heavy clay soils suffocate the taproot, leading to root rot and immediate plant collapse before you ever get a chance to harvest.
Growing dill successfully requires direct sowing rather than transplanting, due to that sensitive taproot. Follow this precise protocol to establish a resilient, harvest-ready crop:
Site Selection and Soil Preparation: Choose a sunny garden bed with unobstructed southern exposure. Amend heavy soils with organic compost to a depth of 12 inches (30 cm) to ensure maximum drainage and aeration.
Direct Sowing: Sow seeds directly into the soil 2 to 4 weeks before your last spring frost date, when soil temperatures reach 45°F (7°C). Press seeds lightly into the soil surface, burying them no deeper than 0.25 inches (0.6 cm) because they require light to germinate successfully.
Thinning: Once seedlings emerge and reach 2 inches (5 cm) tall—typically around 14 to 21 days—thin them out so that individual plants are spaced 10 to 12 inches (25 to 30 cm) apart. Proper spacing ensures adequate airflow and prevents competition for moisture.
Fertilization Management: Apply a balanced, slow-release organic fertilizer at planting time. Avoid high-nitrogen fertilizers later in the season; excess nitrogen triggers rapid, weak stem growth that snaps easily and dilutes the essential oils responsible for dill's signature flavor.
Succession Planting: Sow a fresh batch of seeds every 3 weeks until mid-summer to ensure a continuous, staggered supply of young plants, mitigating the impact of any single plant bolting.
When you are ready to harvest without killing the plant, employ these 5 specific techniques:
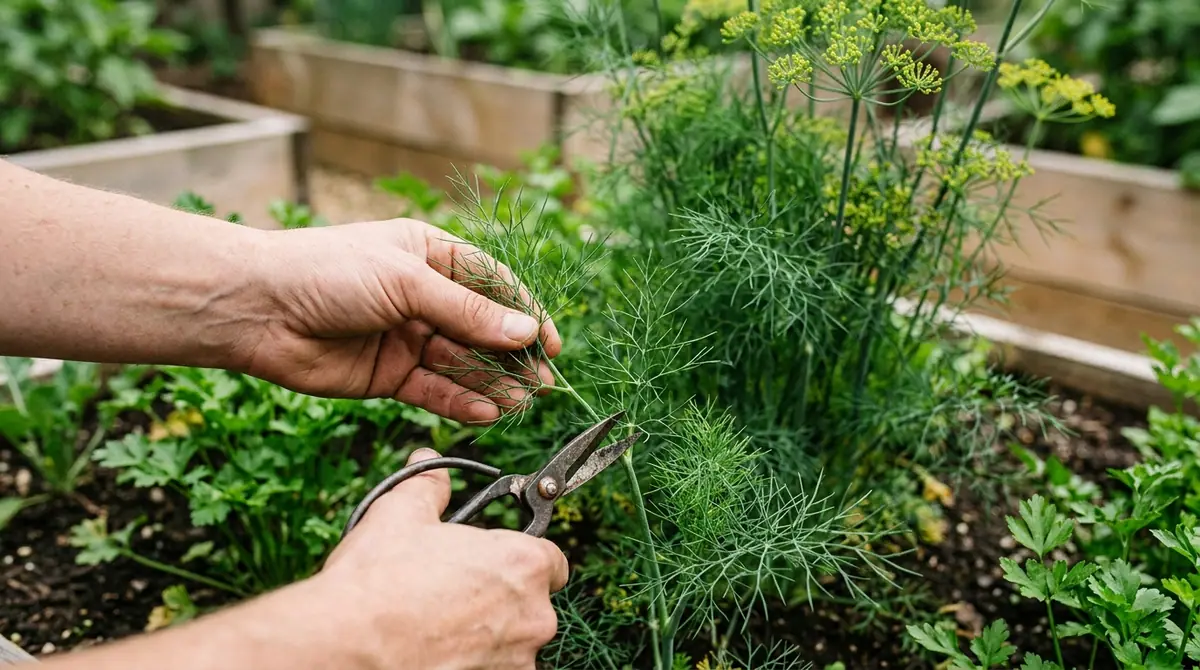
Method 1: The Outer Frond Plucking Technique. Start harvesting when the plant reaches at least 8 to 10 inches (20 to 25 cm) in height. Gently pinch or snip off the oldest, lowest outer fronds close to the main stem using sterilized micro-snips. Never take more than one-third of the plant's total foliage at any single harvest session, leaving the central growing tip completely untouched.
Method 2: The Selective Lateral Branch Snipping. As dill matures, it develops side branches along the main stem. Snip these lateral branches back to a point just above a leaf node. This encourages the plant to bush out horizontally rather than shooting straight up into flower, extending your leafy harvest window by weeks.
Method 3: The "Pinch the Tip" Stunting Strategy. If you notice the central stem starting to thicken and elongate into a flower bud, immediately pinch off the top 1 inch (2.5 cm) of the central growing tip. This apical dominance interruption forces the plant to redirect its growth hormones to lower lateral branches, buying you another 10 to 14 days of frond production.
Method 4: The Multi-Plant Rotation System. Instead of harvesting a single plant repeatedly, cultivate a block of 6 to 10 dill plants. Harvest lightly from Plant A on Monday, Plant B on Tuesday, and so on. This cyclical rotation gives each individual plant a full 7 to 10 days to recover, photosynthesize, and regenerate new foliage without systemic shock.
Method 5: The Dual-Purpose Frond-and-Seed Transition. Allow a portion of your mature dill crop to transition to the flowering stage naturally once summer temperatures consistently exceed 85°F (29°C). While you stop harvesting delicate fronds from these specific plants, you can selectively harvest the yellow flower umbels for pickling or wait 30 days post-bloom to collect the dry seeds, ensuring zero plant waste while benefiting local pollinators.
💡 Pro-Tip: Always harvest your dill in the early morning hours, just after the morning dew has evaporated but before the midday sun hits the garden. At dawn, the plant's cells are fully turgid with moisture and peak concentrations of aromatic essential oils like carvone and limonene, giving you the most flavorful fronds and preventing post-harvest limpness.
4. Common Problems, Pests & Troubleshooting
Even with meticulous care, dill can encounter environmental and biological hurdles. Recognizing the early warning signs saves the harvest.
Premature Bolting: If your dill sends up flower stalks when it is only 4 inches (10 cm) tall, check your watering schedule and ambient temperatures. Heat stress and drought are the primary culprits. While you cannot reverse bolting once the flower buds open, you can immediately harvest all remaining fronds and allow the plant to go to seed for future crops.
Aphids (Aphis gossypii & Hyalopterus pruni): These tiny, soft-bodied insects congregate on the tender new growth and flower umbels, sucking plant sap and leaving behind sticky honeydew. Blast them off with a strong jet of water from your garden hose in the morning, or introduce beneficial ladybugs (Coccinellidae) to control populations naturally. Avoid synthetic insecticides, as dill is frequently consumed fresh.
Root Rot (Pythium and Phytophthora species): Characterized by sudden wilting, yellowing foliage, and a dark, mushy stem base at the soil line. This occurs almost exclusively in waterlogged soils with poor drainage. If root rot takes hold, affected plants cannot be saved; pull and discard them immediately, and amend your remaining soil with coarse perlite or horticultural sand before replanting.
Powdery Mildew: A white, powdery fungal growth that appears on leaves during periods of high humidity and poor air circulation. Space your plants properly during thinning, water at the base rather than overhead, and apply organic neem oil at the first sign of white spots.
For gardeners exploring diverse horticultural projects—such as managing vibrant bedding accents like those found in The Complete Guide to Coleus Plants: 50+ Varieties, Care, Propagation & Landscaping or timing cool-season food crops utilizing insights from When to Plant Strawberries in Kansas: Zone 6a/6b Seasonal Calendar—understanding how environmental stress triggers early lifecycle shifts is an invaluable, transferable skill.
⚠️ Important Caution: Never use systemic chemical pesticides or non-organic fungicides on dill plants intended for culinary use. Because dill fronds are consumed raw or lightly cooked, chemical residues absorb directly into the hollow stems and delicate leaves, posing significant health risks. Stick exclusively to organic controls like insecticidal soaps, neem oil, or physical barriers.
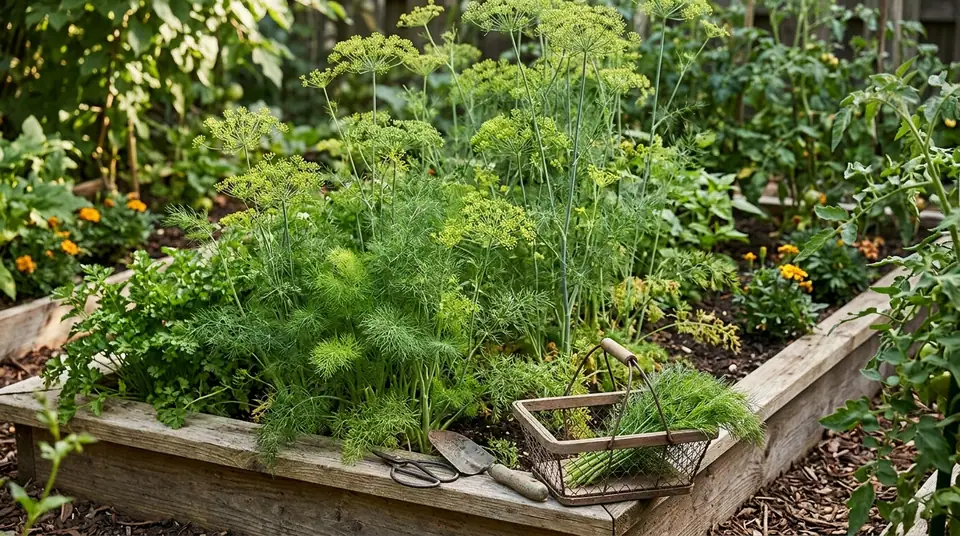
Lush dill plants growing in a raised wooden garden bed with a basket of harvested sprigs
5. Frequently Asked Questions
Can you cut dill back to the ground and expect it to grow back?
No. Because dill is an annual with a single taproot and no basal crown to generate new shoots from below the soil line, cutting it down to the ground will kill the plant entirely. Always leave at least the lower third of the foliage and stem intact if you want the plant to survive your harvest. For broader context on regional planting schedules for root-sensitive crops, consult the University of California Agriculture and Natural Resources Extension.
Why is my dill turning yellow and dying after I harvest it?
Yellowing and subsequent plant collapse are typically caused by two factors: harvesting more than 50% of the plant's foliage at once, which starves the roots of photosynthetic energy, or overwatering that leads to root rot. To prevent this, never remove more than one-third of the fronds during a single harvest and ensure your soil drains freely. For authoritative guidance on sustainable kitchen garden management and integrated pest control, reference the Royal Horticultural Society (RHS).
How many times can you harvest from a single dill plant?
You can safely harvest from a single healthy dill plant roughly 4 to 6 times over its 60- to 90-day productive lifespan, provided you use the outer-frond plucking method or lateral branch snipping technique and allow 7 to 10 days of recovery time between sessions.
Will harvesting dill stop it from flowering?
Harvesting the outer fronds and pinching the central growing tips delays the flowering process by forcing the plant to produce lateral vegetative growth. However, harvesting cannot stop dill from flowering indefinitely; it is genetically programmed to complete its annual lifecycle by setting seed once daylight hours lengthen and temperatures rise in mid-summer.
PlantSavvyWorld is an independent botanical education project. Articles are drafted with AI assistance, then edited and checked against university extension services, botanical garden collections and other published horticultural sources.