

When to Put Seedlings in Bigger Pot
Written with AI assistance, edited and checked against horticultural sources.

1. Botanical Overview & Natural Habitat
In their native habitats, wild plant seedlings do not experience the artificial constraints of plastic cell trays or small pots. Instead, a germinating seed in a temperate meadow or tropical understory deploys a primary radicle root that drives straight down into loose, microbial-rich earth, while hypocotyls push upward toward unfiltered sunlight. Without physical boundaries, root systems expand laterally and vertically in tandem with the unfolding cotyledons and true leaves, foraging freely for moisture and macro-nutrients like nitrogen, phosphorus, and potassium.
When we start seeds indoors in 72-cell trays or small 2-inch (5 cm) containers, we artificially compress this natural evolutionary timeline. A seedling's root architecture adapts to the physical perimeter of its container. Once roots hit the plastic wall, they circle or double back, forming a dense boundary layer. Understanding this morphology is vital for managing related tasks, such as handling delicate root systems when you When to Transplant Cucumber Seedlings: Stop Root Shock & Boost Growth or timing field transitions based on localized climates, similar to managing your When to Plant Strawberries in Kansas: Zone 6a/6b Seasonal Calendar.
Biologically, a seedling transitions from its endosperm reserves to independent photosynthesis roughly 10 to 14 days after emergence. Once true leaves—the second and third sets of leaves with serrated or distinct lobe margins—fully unfurle, the plant's transpiration rate spikes. A larger root zone becomes mandatory to support this metabolic acceleration. If constrained too long, lignification (the hardening of soft plant tissue into woody structure) occurs prematurely in the stem, permanently capping the plant's potential vigor long before it ever touches garden soil.
2. Essential Environmental & Care Requirements
Creating a seamless transition environment requires strict control over moisture, temperature, and light spectrums. When moving a seedling to a 4-inch (10 cm) or 1-quart container, the surrounding soil volume quadruples. This introduces a primary danger: uncolonized wet soil that stays saturated, cutting off oxygen diffusion to fragile root hairs.
| Parameter | Optimal Condition | Common Mistake | Why It Matters |
|---|---|---|---|
| Soil Temperature | 65°F to 75°F (18°C to 24°C) | Using cold, un-warmed potting mix | Cold roots cannot absorb water or phosphorus, inducing transplant shock. |
| Container Size Jump | Step up by 1 to 2 inches (2.5 to 5 cm) in diameter | Moving a 1-inch seedling straight into a 1-gallon pot | Excess wet soil suffocates roots and breeds fungal pathogens like Pythium. |
| Ambient Humidity | 50% to 60% relative humidity | Dropping humidity below 30% instantly | Sudden evaporation crashes turgor pressure in tender new leaves. |
| Light Intensity | 14 to 16 hours daily under full-spectrum LEDs | Placing fresh transplants in harsh, direct midday sun | Weakened roots cannot yet hydrate foliage under high thermal loads. |
Soil composition must also shift during potting up. While a fine, sterile seed-starting mix is essential for initial germination, potting up requires a richer, well-aerated medium. Incorporating coarse perlite or horticultural grade vermiculite at a 4:1 ratio ensures air pockets remain intact, preventing compaction as you water. For regional crop timing strategies, such as managing alliums, consult guidelines like When to Plant Onions in Southern California (Zone 9 & 10 Planting Calendar).
💡 Pro-Tip: Always pre-moisten your potting soil in a bucket before filling your new pots. Dry bagged potting mix repels water initially, leading to uneven moisture distribution and dry pockets that starve root tips right when they need hydration most.
3. Step-by-Step Cultivation, Feeding & Propagation
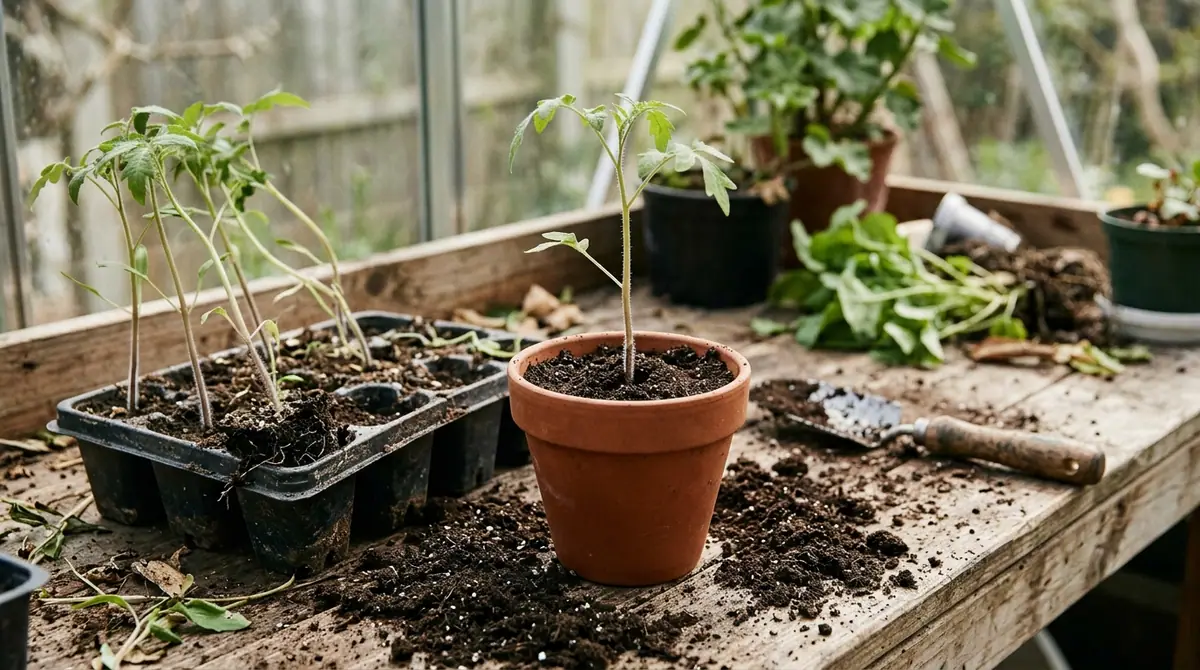
Knowing when to put seedlings in bigger pot comes down to two visual indicators: the appearance of roots winding along the bottom drainage holes, and the development of at least two sets of true leaves. Once these criteria are met, execute this protocol with precision.
- Prepare the Workspace and Containers: Select clean containers (recycled plastic pots or biodegradable fiber pots) that are 1 to 2 inches (2.5 to 5 cm) wider than the current cell. Sterilize used pots in a 10% bleach solution, rinse thoroughly, and fill them two-thirds full with pre-moistened, nutrient-balanced potting mix.
- Hydrate the Seedlings: Water your seedling trays thoroughly 2 to 3 hours before extraction. Hydrated root cells are turgid, flexible, and far less prone to snapping during handling.
- Gently Extract the Plant: Never pull a seedling upward by its fragile stem, which can crush vascular bundles. Instead, gently squeeze the flexible rubber or plastic cell from the bottom, or insert a clean plant label or dibber down the side to leverage the root ball upward.
- Inspect and Tease Roots: Examine the root mass. If roots are lightly circling, use a clean finger or skewer to gently tease apart the outer root fibers to encourage them to grow outward into the new soil rather than continuing their circular memory pattern.
- Plant at the Correct Depth: Place the root ball into the center of the new container. Adjust the soil level so the top of the root ball sits 0.25 to 0.5 inches (0.6 to 1.3 cm) below the rim. For leggy solanaceous crops like tomatoes, bury the stem slightly deeper to encourage adventitious root formation along the buried stalk.
- Settle and Water: Backfill gently with potting mix around the root ball, tapping the pot lightly on your workbench to settle large air pockets. Water the container thoroughly from the top or via bottom-soaking until runoff appears at the base.
- Acclimate to Recovery Light: Place the freshly potted seedlings under gentle, indirect light or dimmed LED grow lights for 48 hours. Keep ambient temperatures steady at 68°F (20°C) to minimize transplant shock before returning them to standard 14-hour lighting schedules.
⚠️ Important Caution: Do not apply liquid chemical fertilizers or high-nitrogen synthetic plant foods immediately after potting up. Fresh potting mixes often contain starter nutrient charges, and tender, recovering roots will chemically burn if exposed to concentrated salts too soon. Wait at least 14 days before introducing a half-strength organic seaweed or fish emulsion fertilizer.
For authoritative guidelines on horticultural potting practices and sterile container management, refer to the Royal Horticultural Society and the University of Minnesota Extension.
4. Common Problems, Pests & Troubleshooting
Even with careful execution, shifting seedlings into larger containers can occasionally trigger physiological stress or invite opportunistic pests. Diagnosing these symptoms early saves your crop.
- Foliage Wilting Post-Transplant (Transplant Shock): If leaves droop within 24 hours of potting up, the root hairs have likely experienced mechanical tearing or severe moisture deficit. Move the plants out of direct light immediately, mist the foliage lightly to reduce transpiration demand, and ensure the root zone is moist but not saturated.
- Stunted Growth and Yellowing Lower Leaves: This typically signals nitrogen deficiency combined with compaction. If you used a heavy garden soil instead of a porous potting mix, oxygen cannot reach the roots, locking out nutrient uptake. Repot immediately into a light, perlite-amended medium.
- White Fuzzy Mold on Soil Surface (Damping-Off or Saprophytic Fungi): High humidity paired with stagnant air breeds fungal growth. Improve air circulation immediately by introducing a small oscillating fan running on low speed, let the top 0.5 inches (1.3 cm) of soil dry out completely between waterings, and sprinkle a thin layer of cinnamon or horticultural charcoal over the surface to naturally inhibit fungal spores.
- Edema (Bumpy, Water-Blistered Leaves): Caused by roots taking up water faster than the leaves can transpire it, usually due to cold, wet soil paired with poor ventilation. Increase ambient room temperature to 72°F (22°C), increase air movement, and lengthen the interval between watering cycles.

5. Frequently Asked Questions
How do I know if my seedling is root bound?
Gently invert the small container while supporting the main stem between your index and middle fingers, and tap the rim against a hard surface. If the root system holds the shape of the pot entirely and you see a thick, dense network of white roots circling the outer perimeter, the plant is root-bound and urgently needs a larger container.
Should I water seedlings immediately after putting them in a bigger pot?
Yes. Immediate watering is essential to settle the fresh potting mix tightly around the newly introduced root ball, eliminating air pockets that would otherwise dry out and kill fragile root hairs.
Can I put a tiny seedling straight into a large 1-gallon pot?
No. Planting a small seedling into an oversized container almost always leads to overwatering failure. The roots cannot consume the vast reservoir of moisture in the surrounding soil fast enough, causing the medium to remain waterlogged, deprive roots of oxygen, and trigger fatal fungal pathogens.
What kind of soil should I use when moving seedlings to a bigger pot?
Use a sterile, soil-less potting mix formulated with peat moss or coco coir, perlite, and vermiculite. Avoid heavy garden soil, topsoil, or compost from outdoor beds, as these carry weed seeds, fungal spores, and compact too densely in enclosed containers.
Related Guides
- When to Start Fertilizing Seedlings
- When to Transplant Snapdragon Seedlings
- When to Transplant Flower Seedlings
- When to Transplant Cilantro Seedlings
- When to Repot Cucumber Seedlings
📋 Table of Contents ▼ Click to expand
Tags:
Keep reading
🌿 Related Plants You Might Like






PlantSavvyWorld
Editorial team
PlantSavvyWorld is an independent botanical education project. Articles are drafted with AI assistance, then edited and checked against university extension services, botanical garden collections and other published horticultural sources.