

Fertilizer for Daylilies
Written with AI assistance, edited and checked against horticultural sources.
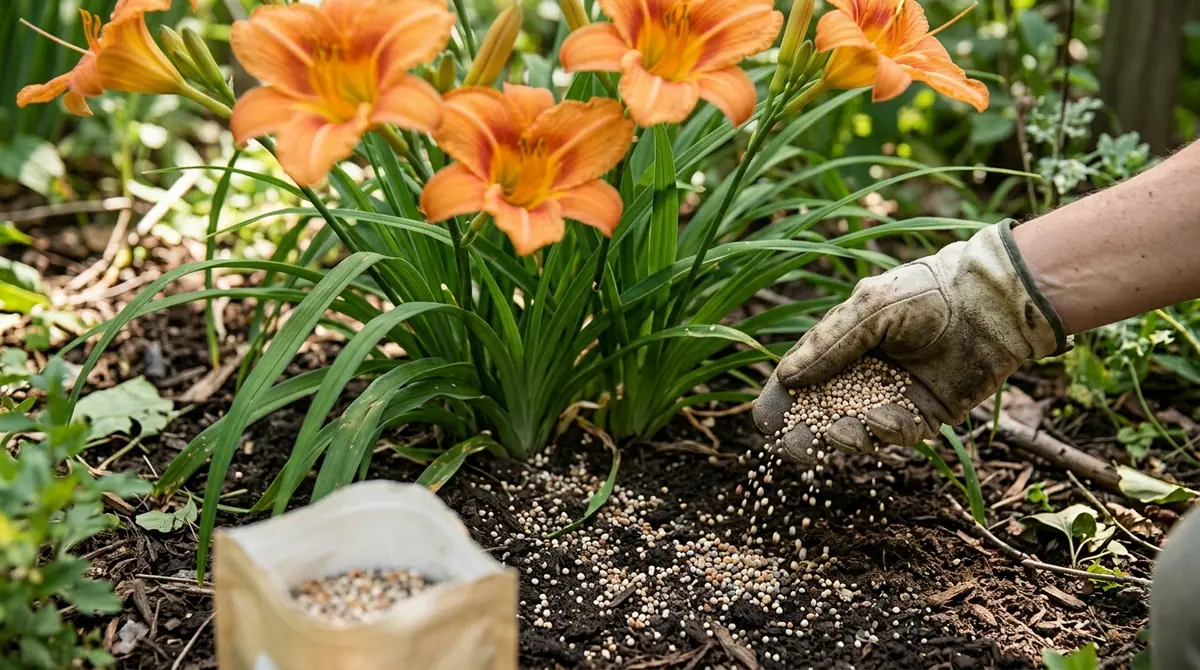
A bed of Hemerocallis 'Stella de Oro' blasted with a high-nitrogen lawn fertilizer every spring for four years will develop a jungle of lush, dark-green strappy leaves standing at 30 inches (76 cm) tall that are completely devoid of blooms. Daylilies are the workhorses of the temperate landscape, but giving them the wrong fertilizer is the single fastest way to trade a glorious summer of trumpet-shaped flowers for a sterile patch of architectural grass.
1. Botanical Overview & Natural Habitat
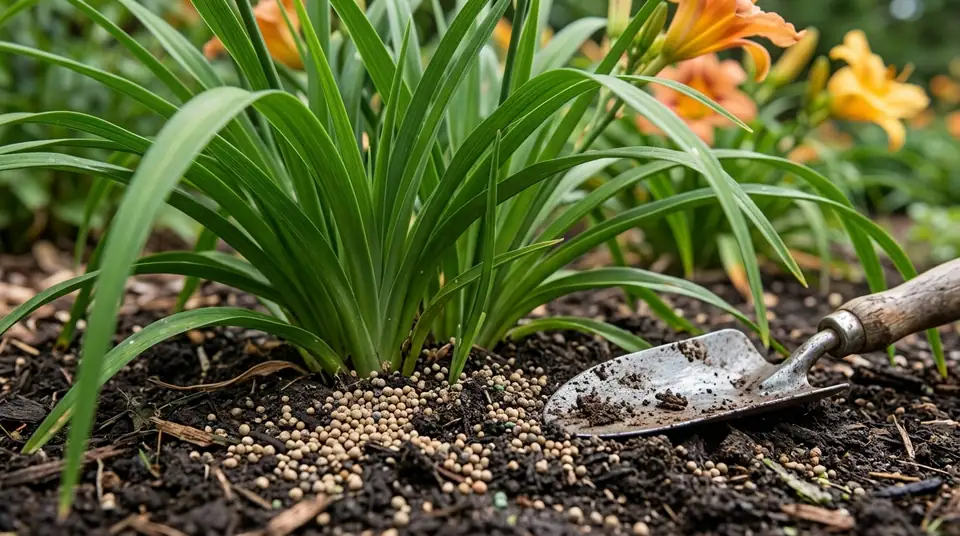
Unlike true lilies (Lilium species), which grow from true bulbs, daylilies develop from a complex root system composed of fleshy storage roots and fibrous roots attached to a short, subterranean crown. These fleshy roots act as physiological reservoirs, storing carbohydrates, water, and nutrients over wintering periods of 90 to 120 days. In their native habitats across temperate and subtropical regions of China, Japan, and Korea, daylilies thrive in open meadows, woodland edges, and mountain slopes where soils are naturally rich in organic matter, slightly acidic to neutral (pH 6.0 to 6.5), and exceptionally well-drained.
Understanding this root architecture dictates how we approach soil nutrition. Because Hemerocallis can store nutrients in their tuberous roots, they are remarkably drought-tolerant once established (typically taking 60 to 90 days post-transplant). However, this evolutionary adaptation also means that over-fertilizing—particularly with synthetic, fast-release nitrogen—forces erratic cellular expansion in the leaves at the expense of root carbohydrate storage. When working with daylilies in a landscape design plan, I always evaluate their integration with other plants; if you are curious about broader garden safety or pairing options, you might review our Are Daylilies Toxic: Expert Gardening Guide & Science-Backed Tips for family-safe border strategies.
2. Essential Environmental & Care Requirements
To maximize the efficacy of any fertilizer for daylilies, you must first optimize their baseline environmental conditions. Without proper sunlight and moisture, even the most precisely balanced fertilizer will sit unused in the soil matrix.
| Parameter | Optimal Condition | Common Mistake | Why It Matters |
|---|---|---|---|
| Sunlight | 6 to 8 hours of direct daily sunlight | Planting in deep shade or heavy afternoon shade | Insufficient light halts bud set (scape formation) regardless of soil fertility. |
| Soil pH | 6.0 to 6.5 (slightly acidic to neutral) | Ignoring soil tests; letting pH drop below 5.5 | Extreme pH locks out micronutrients like phosphorus and iron, causing chlorosis. |
| Drainage | Loamy, well-draining soil with 5% organic matter | Heavy clay holding stagnant water for 48+ hours | Waterlogged roots suffer from hypoxia and root rot (Fusarium or Pythium). |
| Watering | 1 inch (2.5 cm) of water per week via rain or irrigation | Frequent, shallow sprinkling | Shallow watering encourages surface root development instead of deep drought-resistance. |
💡 Pro-Tip: When amending clay soils for daylilies, avoid dumping pure compost or peat moss exclusively into the planting hole. This creates a "bathtub effect" where water drains through the amended pocket, hits the surrounding clay wall, and pools around the fleshy roots. Instead, broad-fork or till organic matter across the entire 12-inch (30 cm) planting bed to ensure uniform percolation.
For further reading on optimizing perennial soil health and utilizing kitchen amendments safely in your broader landscape beds, consult the University of Minnesota Extension Yard and Garden guidelines on soil fertility.
3. Step-by-Step Cultivation, Feeding & Propagation
Applying a fertilizer for daylilies requires timing that syncs with the plant's natural phenology—specifically, the emergence of spring foliage, the pre-budding swelling phase, and the post-bloom recovery period. Follow this step-by-step protocol to feed your daylilies effectively without damaging their delicate root crowns.
- Conduct a Spring Soil Assessment: When soil temperatures consistently reach 50°F (10°C) in early spring (typically April in USDA Zone 6), clear away dead winter foliage from the crowns. Test the soil pH to ensure it falls within the 6.0–6.5 window.
- Select the Right N-P-K Ratio: Choose a balanced, slow-release granular organic fertilizer with a ratio close to 5-10-10 or 10-10-10. Avoid high-nitrogen formulas (such as 29-0-4 lawn fertilizers), which stimulate leafy vegetative growth at the expense of flower scapes. If you are looking for alternative organic soil amendments for your broader garden ecosystem, consider reading about How to Use Coffee Grounds As Organic Fertilizer for Tomatoes to understand how carbon-to-nitrogen ratios behave in garden soil.
- Calculate Application Rates: Measure out approximately 1 cup (240 ml) of granular organic fertilizer per 10 square feet (0.9 square meters) of established daylily bed.
- Apply via the Drip-Line Method: Broadcast the fertilizer evenly around the outer perimeter of the daylily clump, following the drip line rather than piling it directly on top of the crown. Piling fertilizer against the crown can cause chemical burn and rot.
- Work and Water In: Lightly scratch the granules into the top 1 to 2 inches (2.5 to 5 cm) of soil using a hand cultivator. Immediately irrigate the bed with 1 inch (2.5 cm) of water to dissolve the nutrients and begin the microbial breakdown process.
- Provide a Mid-Season Boost (Optional): For reblooming cultivars (e.g., 'Stella de Oro' or 'Happy Returns'), apply a light top-dressing of compost or a half-dose of liquid organic bloom-booster (high in phosphorus and potassium) immediately after their first heavy flush of flowers fades in mid-summer (around July).
- Cease Fertilization in Late Summer: Stop all fertilizing by late August or at least 6 to 8 weeks before your region's first expected autumn frost. Late-season feeding forces soft, succulent new growth that will easily be ruptured by freezing temperatures dropping below 32°F (0°C).
⚠️ Important Caution: Never apply raw, uncomposted manure directly around daylily crowns. Manure carries high concentrations of free ammonia and salts that will dehydrate the fleshy roots and introduce fungal pathogens, frequently causing rapid crown collapse within 14 days of application.
To maintain long-term vigor, divide overcrowded daylily clumps every 3 to 5 years. Dig up the entire root mass in late summer or early autumn, wash away the soil to inspect the tubers, and use a sharp spade or two garden forks back-to-back to pry the clump apart into sections containing at least 3 to 4 robust fans each. Replant immediately at the exact same depth it was growing previously—burying the crown deeper than 1 inch (2.5 cm) below the soil surface will stall flowering for up to two seasons. For comprehensive botanical classification standards and cultivar registration data, you can reference the American Hemerocallis Society resources.
4. Common Problems, Pests & Troubleshooting
Even with pristine fertilization regimens, daylilies can run into physiological and pathological roadblocks. Diagnosing them early saves the season.
- Foliage is Lush and Green, But No Flowers Appear: This is almost exclusively caused by excess nitrogen fertilization or insufficient sunlight (less than 4 hours of direct sun). Solution: Halt nitrogen applications entirely for two years, incorporate a low-nitrogen, high-phosphorus bone meal or rock phosphate amendment, and prune back surrounding tree branches to increase light exposure.
- Leaf Tips Turn Brown and Die Back (Tip Burn): Frequently caused by over-fertilization (salt burn) combined with erratic watering during hot spells exceeding 85°F (29°C). Solution: Flush the soil deeply with 2 inches (5 cm) of water over a 48-hour period to leach out excess mineral salts, and mulch with a 2-inch (5 cm) layer of shredded hardwood bark to stabilize soil moisture and root temperatures.
- Daylily Rust (Puccinia hemerocallidis): Appears as tiny yellow spots on leaves that soon erupt into raised, orange-brown pustules releasing powdery spores. This is often exacerbated by high-nitrogen soft growth, which is easily penetrated by fungal hyphae. Solution: Prune off heavily infected leaves, dispose of them in the trash (do not compost), and apply a broad-spectrum bio-fungicide or copper-based spray in strict accordance with label directions.
- Aphids and Thrips Stacking on Scapes: Sucking insects that target the nutrient-rich sap of rapidly growing flower buds, causing distorted, sticky, or aborted blooms. Solution: Blast pests off with a sharp stream of water from a garden hose in the morning, or apply insecticidal soap directly to the colonies during cooler twilight hours when temperatures drop below 80°F (27°C).
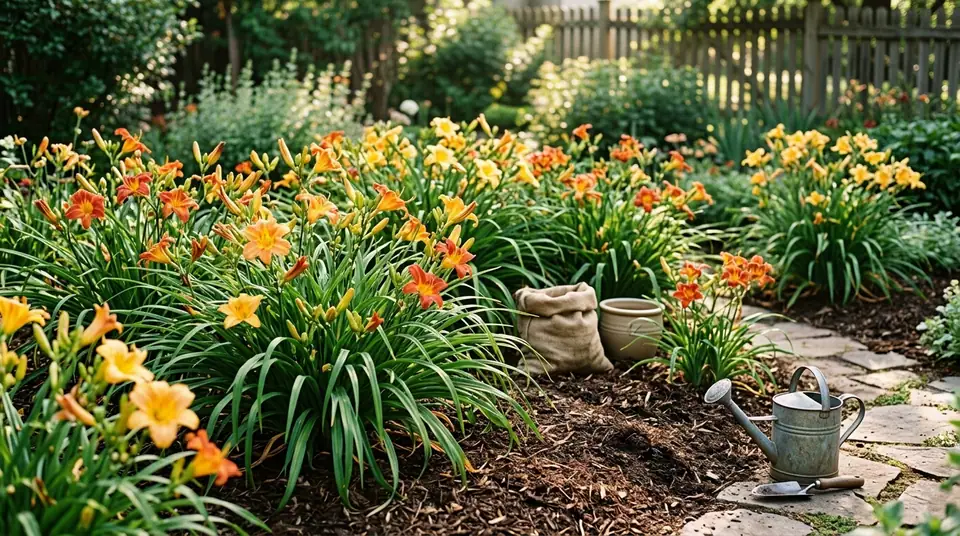
Green daylily plants with orange and yellow blossoms growing in a sunny garden bed alongside a watering can and a burlap bag
5. Frequently Asked Questions
When is the best time of year to fertilize daylilies?
The primary feeding should occur in early spring when new green shoots emerge from the soil (around 50°F / 10°C soil temperature). A secondary, optional feeding can be given to reblooming varieties right after their initial summer flush finishes. Never fertilize daylilies after late August, as late stimulation prevents the crowns from entering their necessary winter dormancy.
Can I use tomato fertilizer on my daylilies?
Yes, provided the N-P-K ratio is balanced or skewed toward phosphorus and potassium (such as a 4-6-8 or 5-10-10). Tomato fertilizers are typically formulated to encourage heavy flowering and fruiting rather than vine growth, which aligns well with daylily requirements. Avoid using high-nitrogen vegetable formulas intended for leafy greens like spinach or lettuce.
Do daylilies need fertilizer every year?
Not necessarily. If your daylilies are planted in rich, loamy garden beds that receive annual top-dressings of 1 to 2 inches (2.5 to 5 cm) of finished leaf mold or compost, they may require little to no supplemental commercial fertilizer. Perform a soil test every 2 to 3 years to determine whether phosphorus and potassium levels have been depleted before applying amendments.
How do I fix over-fertilized daylilies that refuse to bloom?
If you have accidentally over-fertilized your daylilies with nitrogen, you must actively leach the excess nutrients from the root zone. Run a garden sprinkler over the bed for 2 to 3 hours over the course of a weekend to wash water-soluble nitrogen deep below the root zone. Refrain from adding any fertilizer for at least 24 months, ensure the plants receive full sun, and scratch in a cup of bone meal per clump to rebalance the soil chemistry in favor of phosphorus.
Related Guides
- When to Water After Granular Fertilizer
- Fertilizer for Plumerias
- How to Use Coffee Grounds As Organic Fertilizer for Tomatoes
📋 Table of Contents ▼ Click to expand
Tags:
Keep reading
🌿 Related Plants You Might Like






PlantSavvyWorld
Editorial team
PlantSavvyWorld is an independent botanical education project. Articles are drafted with AI assistance, then edited and checked against university extension services, botanical garden collections and other published horticultural sources.