

When to Plant Tomatoes San Diego
Written with AI assistance, edited and checked against horticultural sources.
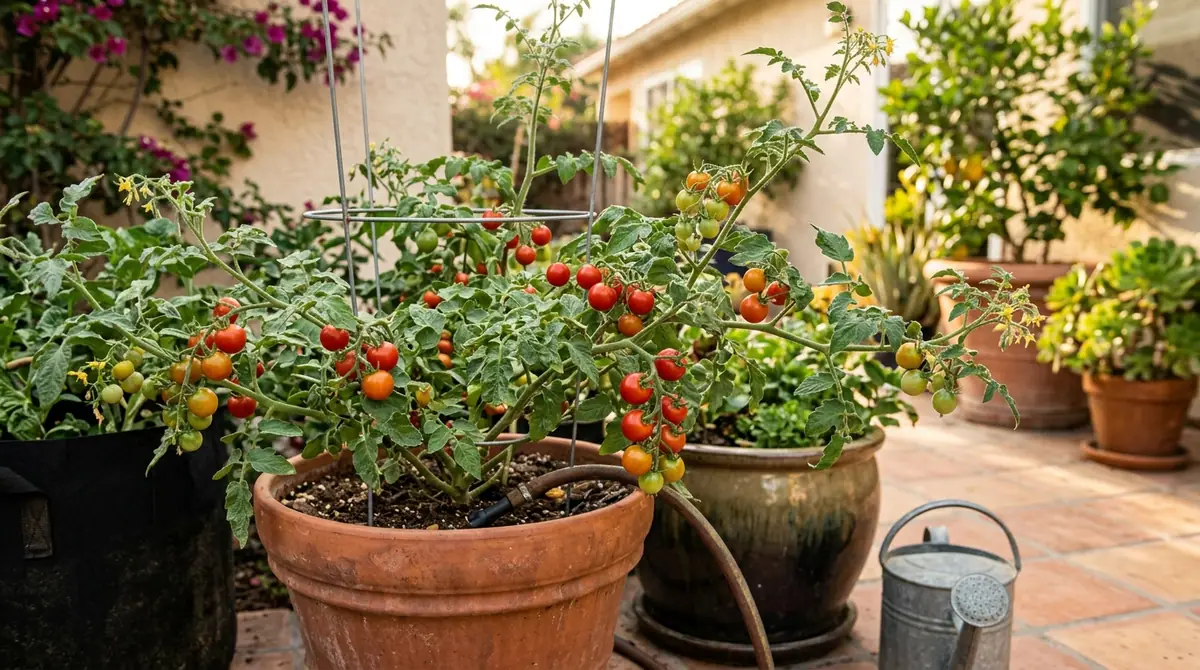
I was standing in my Mission Hills garden last March, staring at a tray of leggy 'Early Girl' transplants while a damp, stubborn coastal fog rolled in off the Pacific at 8:30 AM. My thermometer read a deceptive 55°F (13°C) in the shade, but my soil probe told the real truth: 54°F (12°C) at a 4-inch depth. Planting tomatoes in San Diego is never a simple matter of looking at a generic Southern California calendar. Between our microclimates—shifting wildly from the marine layer of La Jolla to the baking, radiation-heavy interior of El Cajon—timing is everything. If you drop your warm-season solanaceous crops into the earth too early, you trap them in stasis; too late, and you miss the sweet window before the intense autumn pests arrive.

1. Botanical Overview & Natural Habitat
Tomatoes are tender perennial vines native to the high-elevation western slopes of the Andes mountain range in Peru, Ecuador, and Chile. In their natural habitat, they evolved under intense equatorial UV radiation, alternating dry mountain air, and root systems that plunged deep into well-drained, rocky, volcanic scree. Botanically classified as Solanum lycopersicum within the nightshade family (Solanaceae), they are technically berries that function ecologically as short-lived perennials, though we cultivate them as annuals in agricultural and residential landscapes.
Understanding this native habitat explains why San Diego's climate is both a blessing and a trap. Our Mediterranean climate mimics the dry summers of the Andes, but our coastal marine layer creates high humidity and cool mornings that these sun-loving plants never evolved to handle natively. When you grow tomatoes here, you are mimicking an Andean slope: intense afternoon sun, rapid soil drainage, and protection from stagnant, fog-laden air.
If you are pairing your summer solanaceous crops with other edibles in your Southern California layout, you might also want to consult my guide on When to Plant Onions in Southern California (Zone 9 & 10 Planting Calendar) to sequence your raised bed rotations effectively. Similarly, if you are planning companion plantings or evaluating root expansion limits, reference my technical notes on How Deep Do Pepper Plant Roots Go? Pot Size & Substrate Depth Guide to ensure your soil preparation accommodates deep taproots across the nightshade family.
2. Essential Environmental & Care Requirements
To trigger active vegetative growth and robust fruit set, tomatoes require specific environmental baselines. In San Diego, these parameters dictate your planting window, which typically opens in late March through April for interior zones (10b/11a), and pushes into mid-to-late April along the immediate coast (Zone 10a) where the marine layer lingers.
| Parameter | Optimal Condition | Common Mistake | Why It Matters |
|---|---|---|---|
| Soil Temperature | 60°F to 75°F (15°C to 24°C) | Planting when soil is below 55°F (13°C) | Cold soil halts phosphorus uptake, causing purple stems and severe root stunting. |
| Air Temperature | 70°F–85°F (21°C–29°C) days; >55°F (13°C) nights | Planting before coastal "May Gray" clears | Temperatures below 55°F (13°C) at night disrupt pollen viability, causing flower drop. |
| Sunlight Exposure | Minimum 6 to 8 hours of direct, unfiltered sun | Planting in filtered eucalyptus or pine shade | Insufficient light drops photosynthesis rates, reducing sugar accumulation in fruit. |
| Soil pH | 6.2 to 6.8 (slightly acidic) | Ignoring native alkaline San Diego clay (pH 7.5+) | High pH locks out essential micronutrients like iron and manganese. |
| Watering Depth | 1 to 1.5 inches (2.5 to 3.8 cm) per week, deeply | Frequent, shallow surface sprinkling | Deep watering trains roots to plunge 24 to 36 inches (60 to 90 cm) down. |
For regional agricultural data and weather pattern monitoring, the UC Statewide Integrated Pest Management Program (UC IPM) provides exceptional localized tracking tools for Southern California growers.
💡 Pro-Tip: Never rely on air temperature alone to determine planting time. Buy a digital soil thermometer with a 5-inch probe. Stick it into your garden bed at 8:00 AM. Only when that mercury hits a stable 60°F (15°C) for three consecutive mornings should you bury your transplants.
3. Step-by-Step Cultivation, Feeding & Propagation
Getting the timing right is only half the battle; the physical installation method dictates whether your plants survive San Diego’s drying Santa Ana winds and intense summer sun. Follow this precise protocol for planting tomato starts:
- Harden Off the Seedlings: Take your indoor- or nursery-grown starts outside 14 days before planting. Expose them to 1 hour of morning sun on day one, increasing exposure by 1 hour daily until they endure a full 8 hours of direct light without wilting.
- Amend the Substrate: Clear a 2-foot circle per plant. Incorporate 3 inches (7.6 cm) of aged compost and a balanced organic slow-release fertilizer into the top 12 inches (30 cm) of soil to lower our regional alkaline pH and boost microbial life.
- Trench or Deep Plant: Strip the lower two-thirds of leaves off your tomato start. Dig a vertical hole 8 to 10 inches (20 to 25 cm) deep, or lay the stem horizontally in a 4-inch (10 cm) trench pointing north. Bury the stem completely; every buried hair-like trichome will transform into a vigorous adventitious root within 10 days.
- Install Structural Support: Drive your redwood stakes, concrete reinforcing wire cages, or Florida weave trellises 18 inches (45 cm) deep into the ground immediately after planting to avoid driving stakes through established root balls later.
- Initial Deep Irrigation: Deliver 2 gallons (7.5 liters) of water per plant immediately after backfilling to settle air pockets around the root zone. Apply a 3-inch (7.6 cm) layer of organic arbor mulch across the surface, keeping it 2 inches away from the main stem to prevent collar rot.
As your seasonal garden transitions, you may also find it helpful to look at vegetative propagation strategies in other families, such as those detailed in The Complete Guide to Coleus Plants: 50+ Varieties, Care, Propagation & Landscaping, or manage succession planting using techniques similar to When to Transplant Cucumber Seedlings: Stop Root Shock & Boost Growth.
⚠️ Important Caution: Do not over-fertilize young San Diego tomatoes with high-nitrogen synthetic fertilizers. Excess nitrogen triggers massive, lush vine growth at the expense of blossoms, inviting aphids and whiteflies while producing bland, watery fruit.
4. Common Problems, Pests & Troubleshooting
Even when planted at the exact right moment, San Diego's distinct environmental pressures bring specific physiological disorders and pest challenges.
- Blossom End Rot (BER): You notice sunken, leathery black patches on the bottom of your ripening fruit. This is not a pathogen, but a calcium uptake failure driven by erratic watering schedules in our drying coastal breeze. Fix this by maintaining consistent soil moisture and ensuring your soil pH sits below 7.0 so calcium remains soluble.
- Tomato Hornworms (Manduca quinquemaculata): These massive green caterpillars can strip a vine of its foliage overnight. Look for dark green frass on lower leaves. Hand-pick them at dusk using a UV blacklight (they glow a fluorescent neon green), or apply Bacillus thuringiensis (Bt) if infestations are severe.
- Powdery Mildew (Erysiphe lycopersicum): Thriving in our coastal high-humidity marine layers, this white, powdery fungus coats leaves. Prune lower foliage up to 18 inches from the soil to improve airflow, and spray preventatively with potassium bicarbonate or a bio-fungicide like Bacillus subtilis.
- Sunscald: Interior Valley growers in El Cajon, Ramona, or Lakeside often see white, blistered patches on fruit exposed to direct afternoon sun. Maintain adequate canopy foliage through proper pruning restraint, or use 30% shade cloth during heat waves exceeding 95°F (35°C).

5. Frequently Asked Questions
Can I plant tomatoes in January or February in San Diego?
No. While San Diego winters are mild compared to the rest of the country, planting in January or February exposes your soil to temperatures well below the critical 55°F (13°C) threshold. Soil this cold causes permanent root stunting, phosphorus lockout, and susceptibility to fungal pathogens. Wait until April.
What are the best tomato varieties for the San Diego coast versus inland?
Coastal microclimates (Zone 10a) feature cooler summers and heavy marine layers, which favor early-maturing, disease-resistant indeterminate varieties like 'Early Girl', 'Stupice', or 'Sungold'. Inland microclimates (Zones 10b/11a) experience intense summer heat, making heat-tolerant varieties like 'Celebrity', 'Early Cascade', and 'San Marzano' vastly more productive.
Why are my tomato flowers dropping off without setting fruit in May?
This is almost always caused by San Diego's "May Gray" and "June Gloom" weather patterns. When nighttime temperatures drop below 55°F (13°C) or daytime temperatures spike above 90°F (32°C), tomato pollen becomes sterile or sticky, preventing fertilization. The flowers dry up and drop off naturally. Once ambient temperatures stabilize, normal fruit set will resume.
How often should I water established tomatoes in San Diego clay soil?
In heavy clay soils, water deeply 1 to 2 times per week rather than shallowly every day. Deliver approximately 1.5 inches (3.8 cm) of water per irrigation cycle, allowing the top 2 to 3 inches (5 to 7.6 cm) of soil to dry out between waterings. Use a soil moisture meter to verify that moisture has penetrated down to the 12-inch root zone before watering again.
Related Guides
- What Planting Zone is San Diego
- What Zone is San Diego for Plants
- What Zone is San Diego for Planting
- What Zone is San Diego for Gardening
- Epsom Salt for Peppers and Tomatoes
📋 Table of Contents ▼ Click to expand
Tags:
Keep reading
🌿 Related Plants You Might Like






PlantSavvyWorld
Editorial team
PlantSavvyWorld is an independent botanical education project. Articles are drafted with AI assistance, then edited and checked against university extension services, botanical garden collections and other published horticultural sources.