

Floor Greenhouse
Written with AI assistance, edited and checked against horticultural sources.
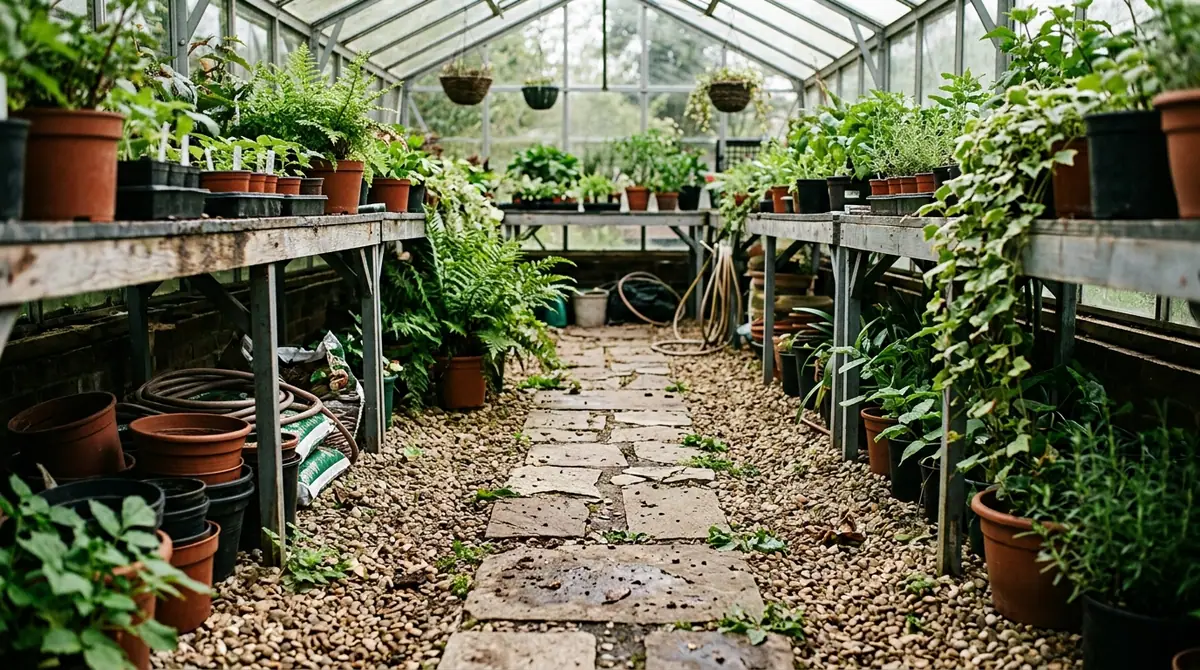
Low-profile, floor-dwelling understory tropicals struggle when forced onto vertical display shelves. Placing a clear-paneled, ground-level mini-greenhouse—what botanists and landscape designers call a floor greenhouse—directly over a radiant-heated flagstone provides the ideal environment to help humidity-loving epiphytes thrive.
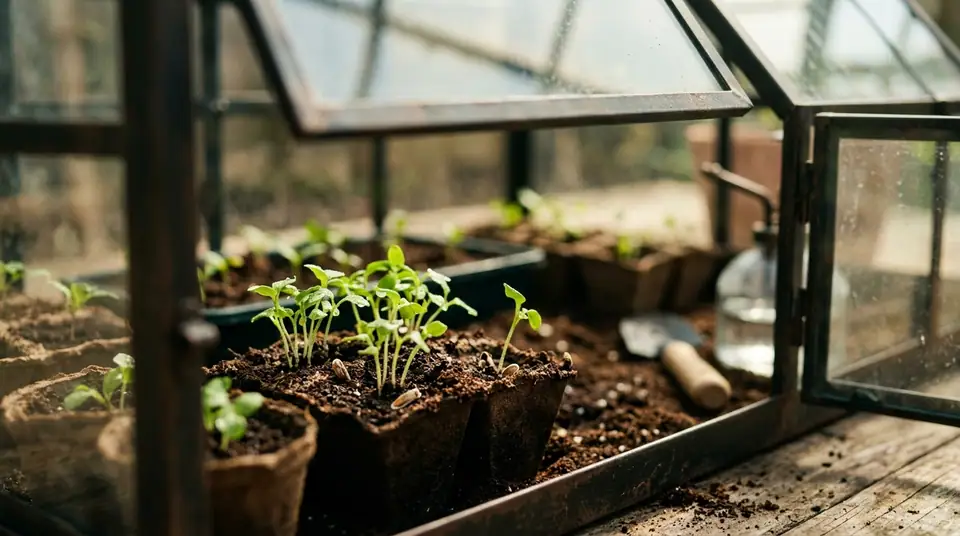
1. Botanical Overview & Natural Habitat
A floor greenhouse—frequently styled as a low-profile cold frame, lean-to floor cabinet, or walk-in ground enclosure—operates on the principles of microclimate engineering. In nature, plants that thrive in the lowest strata of the earth experience very different atmospheric conditions than canopy dwellers. They live in high-humidity, low-airflow environments cushioned by the thermal mass of soil, rock, and leaf litter.
When you place a floor greenhouse directly onto a foundational surface, you isolate a volume of air, trapping geothermal heat radiating from the ground while blocking the drying drafts of a typical home or yard. From a plant physiology perspective, this architecture excels at keeping vapor pressure deficit (VPD) low. Low VPD prevents the stomata of delicate ferns, orchids, carnivorous plants, and tender stem cuttings from losing water too rapidly through transpiration.
I often specify floor greenhouses for urban spaces, sunrooms, and patio corners where vertical clearance is limited but horizontal square footage is available. Because they sit low to the ground, they naturally capture radiant heat from concrete slabs, basement floors, or earth beds. This makes them exceptionally efficient for overwintering dormant perennials, starting spring root crops like radishes (Raphanus sativus) and carrots (Daucus carota), or nursing tropical understory species that detest dry HVAC air.
| Parameter | Optimal Condition | Common Mistake | Why It Matters |
|---|---|---|---|
| Internal Air Temperature | 65°F to 78°F (18°C to 25°C) | Allowing temps to exceed 95°F (35°C) in direct sun | Extreme heat rapidly cooks tender root systems and induces permanent leaf scorch. |
| Relative Humidity (RH) | 70% to 90% | Letting RH drop below 40% during dry winter months | Low humidity causes crispy leaf margins, bud drop, and vulnerability to spider mites. |
| Substrate Moisture | Evenly moist, field capacity | Maintaining waterlogged, anaerobic soil conditions | Saturated soil suffocates root hairs, preventing nutrient uptake and inviting root rot pathogens. |
| Light Transmission | 60% to 80% diffused light | Exposing structure to intense, unshaded midday sun | Direct, unfiltered solar radiation acts like a magnifying glass, burning delicate foliage. |
2. Essential Environmental & Care Requirements
Operating a floor greenhouse requires careful attention to the dynamic interplay between temperature, light, and ventilation. Because these structures sit at ground level, they are particularly susceptible to stratification: cool air sinks to the bottom, while warm air rises to the roof apex.
Temperature management is your primary daily task. During active spring propagation, aim for internal daytime temperatures between 70°F and 78°F (21°C to 25°C), dropping no lower than 60°F (15°C) at night for tropical species. If you are using your floor greenhouse outdoors as a cold frame for frost-hardy crops, you will want to maintain ambient levels between 45°F and 65°F (7°C to 18°C).
💡 Pro-Tip: Place a heavy rubber paver or a layer of unglazed terracotta tiles directly on the floor inside your greenhouse before arranging your plant pots. Terracotta and dense stone act as thermal batteries, absorbing heat during peak sunlight hours and slowly releasing it back into the enclosure over a 4-to-6-hour window after sunset, buffering your plants against sharp nocturnal temperature drops.
Light quality inside a floor greenhouse depends heavily on your choice of glazing material. Polycarbonate panels diffuse light evenly, eliminating hot spots that can scorch tender leaves. Glass offers superior clarity and light transmission but provides less thermal insulation. If your floor greenhouse sits indoors near a south-facing window, you may need to apply a 30% shade cloth during the peak UV hours of 11:00 AM to 3:00 PM.
Air circulation is the hidden variable that makes or breaks a floor greenhouse. Stagnant air combined with high humidity is an open invitation for fungal pathogens like Botrytis cinerea (gray mold) and powdery mildew. Install a miniature, battery-operated USB circulation fan inside the enclosure to keep air moving gently across the soil surface 24 hours a day.
Water management must adapt to the high-humidity microclimate. Because evaporation rates drop significantly inside an enclosed structure, your potting media will retain moisture up to three times longer than it would on an open shelf. Always check soil moisture 2 inches (5 cm) deep with your index finger before watering.
For deeper insights into timing your propagation cycles inside controlled environments, review our guide on When to Start Seeds in Greenhouse.
3. Step-by-Step Cultivation, Feeding & Propagation
Setting up a floor greenhouse for optimal growth requires a methodical approach. Whether you are rooting hardwood cuttings or growing microgreens, follow this proven protocol to establish a thriving indoor ecosystem.
- Site Selection and Foundation Prep: Clear a level space on a sturdy indoor floor, patio, or garden bed. Lay down a waterproof rubber mat or a tray filled with a 1-inch (2.5 cm) layer of washed pea gravel to catch drainage water and maintain localized humidity.
- Structural Assembly and Sealing: Assemble your floor greenhouse frame according to the manufacturer specifications. Ensure door seals and zippers close flush against the frame to prevent draft leaks that disrupt internal humidity zones.
- Thermal and Monitoring Setup: Position a dual digital hygrometer-thermometer with a remote probe at plant canopy level. Place your thermal mass pavers or tiles on the floor surface.
- Substrate Formulation: Prepare a lightweight, highly porous propagation mix consisting of 50% professional peat-free potting compost, 30% horticultural perlite, and 20% coarse vermiculite. This ensures a drainage rate that prevents root suffocation.
- Plant Arrangement and Spacing: Group plants by water and light requirements. Space containers at least 1 inch (2.5 cm) apart from one another to allow lateral airflow from your internal circulation fan.
- Irrigation and Acclimatization: Water your pots thoroughly with room-temperature, chlorine-free water until it runs freely from the container base. Let excess water drain into the gravel tray, then seal the enclosure. Monitor internal humidity; if RH exceeds 95% for more than 4 consecutive hours, crack the top vents by 1 inch (2.5 cm) to restore airflow.
Feeding plants inside a floor greenhouse must be approached with caution. Because growth rates accelerate under stable warmth and humidity, nutrient uptake increases, but over-fertilization leads to weak, spindly stem elongation. Apply a balanced, water-soluble organic fertilizer diluted to one-quarter strength once every 14 days during the active growing season (spring through late summer). Cease fertilization entirely during autumn and winter dormancy periods.
⚠️ Important Caution: Never use chemical sulfur burners or systemic pesticide foggers inside a sealed floor greenhouse. The confined volume concentrates chemical vapors rapidly, causing catastrophic phytotoxicity, severe leaf drop, and sudden plant death within minutes.
4. Common Problems, Pests & Troubleshooting
Even in a controlled environment, biological imbalances occur. Because a floor greenhouse locks in moisture, minor issues can escalate rapidly if left unchecked.
Condensation Overload and Damping-Off
If you wake up to find heavy, dripping water droplets coating the ceiling and walls of your greenhouse accompanied by a distinct musty odor, your ventilation is insufficient. Extreme condensation encourages Pythium and Rhizoctonia fungi, which cause damping-off—a condition where newly sprouted seedlings suddenly pinch at the soil line and collapse within 48 hours.
- The Fix: Immediately wipe down interior walls with a clean microfiber cloth. Increase fan speed, reduce watering frequency, and dust the soil surface lightly with horticultural-grade cinnamon or powdered charcoal, which possess natural antifungal properties.
Fungus Gnats (Bradysia species)
The warm, damp organic matter inside a floor greenhouse provides an ideal breeding ground for fungus gnats. While adult gnats are harmless nuisances, their larvae feed on delicate root hairs and organic debris in the soil.
- The Fix: Allow the top 1.5 inches (3.8 cm) of your potting mix to dry out completely between waterings to break the larval life cycle. Introduce biological controls such as Steinernema feltiae beneficial nematodes, or water the soil with a mixture containing Bacillus thuringiensis subspecies israelensis (Bti) every 7 days for three consecutive watering cycles.
Nutrient Lockout and Salt Crusts
If you notice white, crusty mineral deposits forming on the rim of your pots and the surface of your soil, you are experiencing mineral salt accumulation caused by constant evaporation without adequate leaching.
- The Fix: Once every 4 weeks, take your potted plants out of the floor greenhouse and flush each container thoroughly in a sink with clean, lukewarm water equal to three times the volume of the pot. Allow them to drain completely before returning them to the enclosure.
5. Frequently Asked Questions
Can I use a floor greenhouse outdoors during winter?
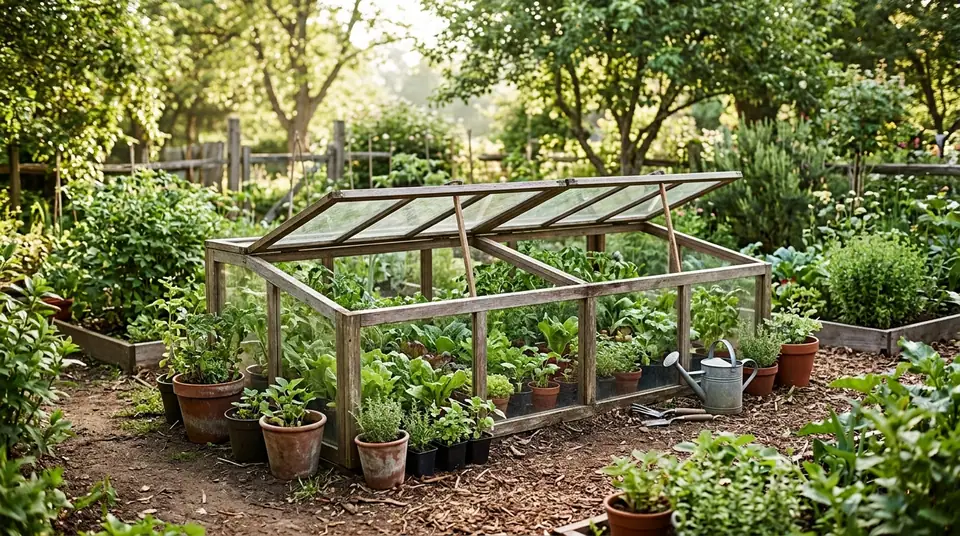
Yes, provided you choose a model designed for cold frames or heavy-duty outdoor use, featuring thick twin-wall polycarbonate panels (at least 4mm thick) and a sturdy aluminum or treated wood frame. For freezing climates where temperatures drop below 25°F (-4°C), you must supplement natural heat with a thermostatically controlled, waterproof tubular greenhouse heater to prevent plant tissue damage.
What is the best flooring surface to place a floor greenhouse on?
The ideal surface depends on your climate zone and goals. If you live in a cooler region, placing the greenhouse over a concrete patio or stone floor is beneficial because masonry absorbs daytime heat and radiates it upward overnight. If you are setting the structure up indoors on hardwood or laminate flooring, always place a heavy-duty waterproof tray underneath to protect your interior flooring from moisture damage and soil spills.
How do I prevent a greenhouse from overheating in the spring?
Spring weather is notoriously fickle; a morning frost can give way to blazing afternoon sun that turns a sealed greenhouse into an oven within hours. To prevent overheating, install automatic louver window openers that use heat-sensitive wax pistons to push vents open as temperatures rise past 75°F (24°C). Alternatively, apply a removable external shade cloth or place the structure where it receives bright morning sun but is shaded during peak afternoon heat.
How often should I wash the panels of a floor greenhouse?
You should wash the interior and exterior glazing panels at least twice a year—once in early spring before peak growing season begins, and once in autumn as you transition plants indoors. Dust, algae films, and mineral splatter accumulate on clear panels, reducing light transmission by up to 25%. Wash the panels gently using a soft sponge, warm water, and a few drops of mild dish soap, then rinse thoroughly with clean water. Avoid harsh ammonia-based glass cleaners, which can degrade acrylic and polycarbonate materials over time.
Related Guides
- Insulating Greenhouse
- How to Heat Greenhouse in Winter
- Glass for Greenhouse
- When to Start Seeds in Greenhouse
📋 Table of Contents ▼ Click to expand
Tags:
Keep reading
🌿 Related Plants You Might Like






PlantSavvyWorld
Editorial team
PlantSavvyWorld is an independent botanical education project. Articles are drafted with AI assistance, then edited and checked against university extension services, botanical garden collections and other published horticultural sources.