


You've been watering your Spider Plant ALL WRONG!
Written with AI assistance, edited and checked against horticultural sources.
The Spider Plant (Chlorophytum comosum) is a classic example of a species that is widely misunderstood. Labelled as a "beginner-friendly, hard-to-kill" plant, it is frequently subjected to neglectful, highly inconsistent watering regimes. Because this species has evolved highly specialized physiological adaptations to survive periodic droughts, typical home growers assume it can handle a constant onslaught of stagnant tap water. In reality, modern indoor conditions demand a refined, scientifically backed hydration strategy to prevent chronic stress.
1. Botanical Overview & Natural Habitat
To understand how to hydrate Chlorophytum comosum properly, we must first examine its native environment. Indigenous to the coastal forest understories and shaded river valleys of Southern Africa, the spider plant thrives in environments characterized by dappled canopy light, high ambient humidity, and highly porous, organic soils. These details are beautifully documented in the botanical profiles curated by the North Carolina State University Extension.

PLAY22 Gardening Tools Set of 10
A 10-piece hand tool set with a carry bag — trowel, transplanter, pruners and weeder. Suited to repotting and general container work.
View on Amazon ↗Unlike many soft-stemmed tropicals, the spider plant possesses a highly specialized root architecture. If you were to unpot a healthy specimen today, you would observe thick, fleshy, white, sausage-like tubers. These are not typical fibrous roots; they are specialized rhizomatous storage structures designed to retain water and carbohydrates.
In its native habitat, these tuberous roots allow the spider plant to endure dry spells between seasonal rainfalls. When rain does come, the porous, leaf-litter-rich forest floor drains rapidly, ensuring the roots are never submerged in stagnant water.
At the root zone (rhizosphere), gas exchange is just as critical as moisture. When potting mix becomes dense, muddy, or suffocated by standing drainage water, fine root hairs quickly suffer from hypoxia (oxygen deprivation), leaving the door wide open for opportunistic fungal pathogens like Pythium and Phytophthora. Conversely, an open, biologically active substrate enables robust nutrient uptake and rapid vegetative vigor.
Understanding this biological framework is key. When you water a spider plant, you are not simply dampening the soil; you are recharging a living, underground biological reservoir while trying to maintain the gas-exchange pathways necessary for cellular respiration.
2. Essential Environmental & Care Requirements
Every environmental variable in your home dictates how fast your spider plant uses water. For instance, a plant sitting in a warm, bright room with active air movement will experience a much faster rate of transpiration (water evaporation through the stomata) than one tucked into a dim, stagnant corner.
The relationship between light, heat, and hydration is linear: higher light levels increase photosynthetic activity, which triggers the stomata to open wide, pulling water up from the roots to cool the leaves. If you water a plant heavily in a low-light environment, the roots will rot because the plant lacks the metabolic drive to draw that water up through its xylem.
The following comprehensive framework outlines the target parameters required to maintain optimal metabolic balance:
"Successful indoor gardening isn't a game of luck—it is the art of respecting root biology and working in harmony with natural physiological cycles."
3. Step-by-Step Cultivation, Feeding & Propagation
Transitioning your spider plant from a state of survival to a state of robust health requires a deliberate, step-by-step approach. Over the years, through trial and error in my own growing rooms, I have refined a systematic protocol designed to align with the plant’s seasonal physiological cycles.
Step 1: Optimize Container Aeration and Substrate
The foundation of proper hydration lies in the pot and the soil. You cannot water a plant correctly if the container does not drain. Select a pot (terracotta is highly recommended for beginners as its clay walls are porous and allow excess moisture to evaporate) that has ample bottom drainage holes.
To prepare the substrate:
- Combine 50% organic potting mix or coco coir (to hold beneficial nutrients).
- Add 30% coarse perlite or pumice (to create large air pockets).
- Add 20% horticultural charcoal or medium orchid bark (to absorb excess salts and provide structural integrity).
- Mix thoroughly until it feels light and airy. This aggregate ensures that even when fully saturated, the root zone retains at least 20% air porosity.
Step 2: Gauge Soil Moisture via the "Chopstick Method"
Never water your spider plant on a set schedule (e.g., "every Tuesday"). Instead, monitor the moisture level of the substrate. Insert a clean wooden chopstick or dowel at least 2 to 3 inches (5 to 7.5 cm) into the pot.
- If the wood comes out with dark, clinging soil or feels damp to the touch, do not water.
- If the chopstick comes out completely clean and dry, it is time to hydrate. Alternatively, you can lift the pot; with experience, you will easily recognize when the pot feels light, indicating the water reserves in the soil are depleted.
Step 3: Implement the "Drench-and-Drain" Hydration Method
When you water, water deeply. Pour room-temperature water over the surface of the soil until it flows freely out of the drainage holes at the bottom of the pot. This deep watering serves two critical botanical functions: it ensures the entire root mass (especially those deep, water-storing tubers) is fully rehydrated, and it flushes out accumulated fertilizer salts that can build up in the substrate and cause root burn.
Step 4: Stabilize Climate & Micro-Environment
Position your spider plants in a location with consistent airflow but far away from environmental extremes. Keep them at least 3 feet (90 cm) away from cold winter drafts, open windows, and forced-air heating registers to prevent extreme humidity drops and rapid desiccation.
Step 5: Apply Dilute Organic Nutrients
During active vegetative phases (typically early spring through mid-summer), nourish your spider plant with half-strength, organic liquid fertilizer once every 28 days. Avoid synthetic fertilizers with high mineral salt indexes, which can compound tip-burn problems. If you want to dive deeper into the science of indoor plant health and nutrient management, you can read the excellent cultural guidelines published by the University of Wisconsin-Madison Extension.
Step 6: Propagate Healthy "Spiderettes"
Healthy, properly hydrated spider plants will regularly produce long runner stems (stolons) featuring small plantlets, or "spiderettes."
To propagate these offsets:
- Wait until the spiderette develops small, visible root nubs at its base (usually when it reaches about 2 inches / 5 cm in diameter).
- Snip the stolon connecting it to the mother plant.
- Place the base of the plantlet into a small container of moist, well-draining substrate or suspend it in a jar of pure, distilled water for 10 to 14 days. Keep the water at room temperature.
- Once roots reach 1 inch (2.5 cm) in length, transplant the baby into a permanent container filled with the optimal substrate described in Step 1.
💡 Pro-Tip: Always hydrate with room-temperature water (ideally between 68°F and 72°F / 20°C and 22°C); icy tap water induces thermal root shock, which immediately causes the stomata to close and halts nutrient absorption for several hours.
⚠️ Important Caution: Never let pots stand in saucer runoff water for more than fifteen minutes (15 mins); stagnant water creates anaerobic conditions that rapidly cause root rot and lead to irreversible fungal decay.
4. Common Problems, Pests & Troubleshooting
When a spider plant is watered incorrectly, it will signal its distress through its foliage. Learning to read these visual cues allows you to make quick adjustments before irreversible damage occurs.
Symptom: Brown, Crispy Leaf Tips (Chemical Toxicity vs. Low Humidity)
This is the most common issue growers face. Spider plants are highly sensitive to fluoride, chlorine, and soluble salts found in standard tap water. Because the plant cannot easily transpire fluoride, the chemical accumulates at the very tips of the long, narrow leaves, eventually burning the delicate tissue and causing necrotic, brown ends.
- The Fix: Switch immediately to distilled water, harvested rainwater, or reverse osmosis water. Additionally, group your plants together or place a humidifier nearby to raise ambient humidity above 50% to minimize dry-air tip browning.
Symptom: Pale, Faded, or Translucent Foliage
If the vibrant green and cream stripes of your spider plant look washed out, gray-green, or translucent, the plant is likely suffering from severe underwatering. When soil moisture is depleted and the root tubers run dry, the cells lose their turgidity, causing the leaves to fold inward lengthwise and lose their luster.
- The Fix: Perform a thorough, deep bottom-watering. Submerge the bottom half of the nursery pot in a bowl of room-temperature distilled water for 30 minutes, allowing the dry peat-rich soil to slowly wick moisture back up through capillary action.
Symptom: Soggy Bases, Limp Leaves, and Blackening Crown
If the lower leaves of the plant feel soft, mushy, and easily pull away from the soil, you are dealing with advanced overwatering and root rot. This occurs when the root zone remains waterlogged for too long, depriving the roots of oxygen and allowing Pythium or Phytophthora fungi to destroy the root system.
- The Fix: Unpot the plant immediately and rinse away the old soil. Inspect the root system: healthy roots are firm and white, while rotten roots are black, stringy, and mushy. Using clean, sterilized scissors, prune away all rotten tissue. Dip the remaining healthy root system in a solution of 3% hydrogen peroxide (diluted 1:10 with distilled water) to kill remaining fungal spores, then repot into a fresh, highly aerated substrate mix.
5. Frequently Asked Questions
Why are my spider plant leaf tips turning black?
Black or dark brown leaf tips are primarily caused by fluoride and mineral salt accumulation. Municipal tap water is heavily treated with fluoride and chlorine, which spider plants cannot process. Over time, these minerals accumulate in the leaf tips, causing tissue necrosis. Switching to distilled water, rainwater, or reverse osmosis water will prevent new leaf tips from turning black.
Can you revive a spider plant with root rot?
Yes, if you catch it early enough. You must remove the plant from its soggy pot, prune away any black, mushy, or stringy roots, and sterilize the remaining healthy roots with a mild antifungal solution or diluted 3% hydrogen peroxide. Repot the survivor into fresh, dry, highly aerated soil with at least 30% perlite, and hold off on watering for the first 3 to 5 days to allow the roots to heal.
When is the best time of year to change my watering and feeding routine?
Early spring through mid-summer represents the active metabolic window when plants can rapidly utilize increased light and fresh nutrients. During winter dormancy, reduce hydration frequency accordingly. As the days shorten and temperatures drop in late autumn, your spider plant's metabolic rate slows down, meaning it will take much longer to dry out between waterings.
Does tap water actually damage spider plants?
Yes, tap water often contains chemicals and heavy minerals that can accumulate in the soil over time. Beyond the aesthetic damage of burnt, crispy leaf tips, a high concentration of dissolved salts in tap water can prevent the roots from absorbing water efficiently, leading to chronic dehydration even if the soil is damp.
How quickly will I see visible improvements after fixing my watering?
Most foliage houseplants respond within 7 to 14 days with noticeable leaf turgidity, deeper emerald color, and active apical shoot emergence. While existing brown tips will not turn green again (you can carefully snip them off with sharp shears at an angle to mimic the natural leaf shape), all new growth should emerge clean, vibrant, and tip-burn-free.
Have you tried this technique with your own houseplants? Share your results with our global grower community on the Community Forum, explore more expert guides on Plant Tips, or visit our Home Page for comprehensive plant care archives.
📋 Table of Contents ▼ Click to expand
PlantSavvyWorld
Editorial team
PlantSavvyWorld is an independent botanical education project. Articles are drafted with AI assistance, then edited and checked against university extension services, botanical garden collections and other published horticultural sources.
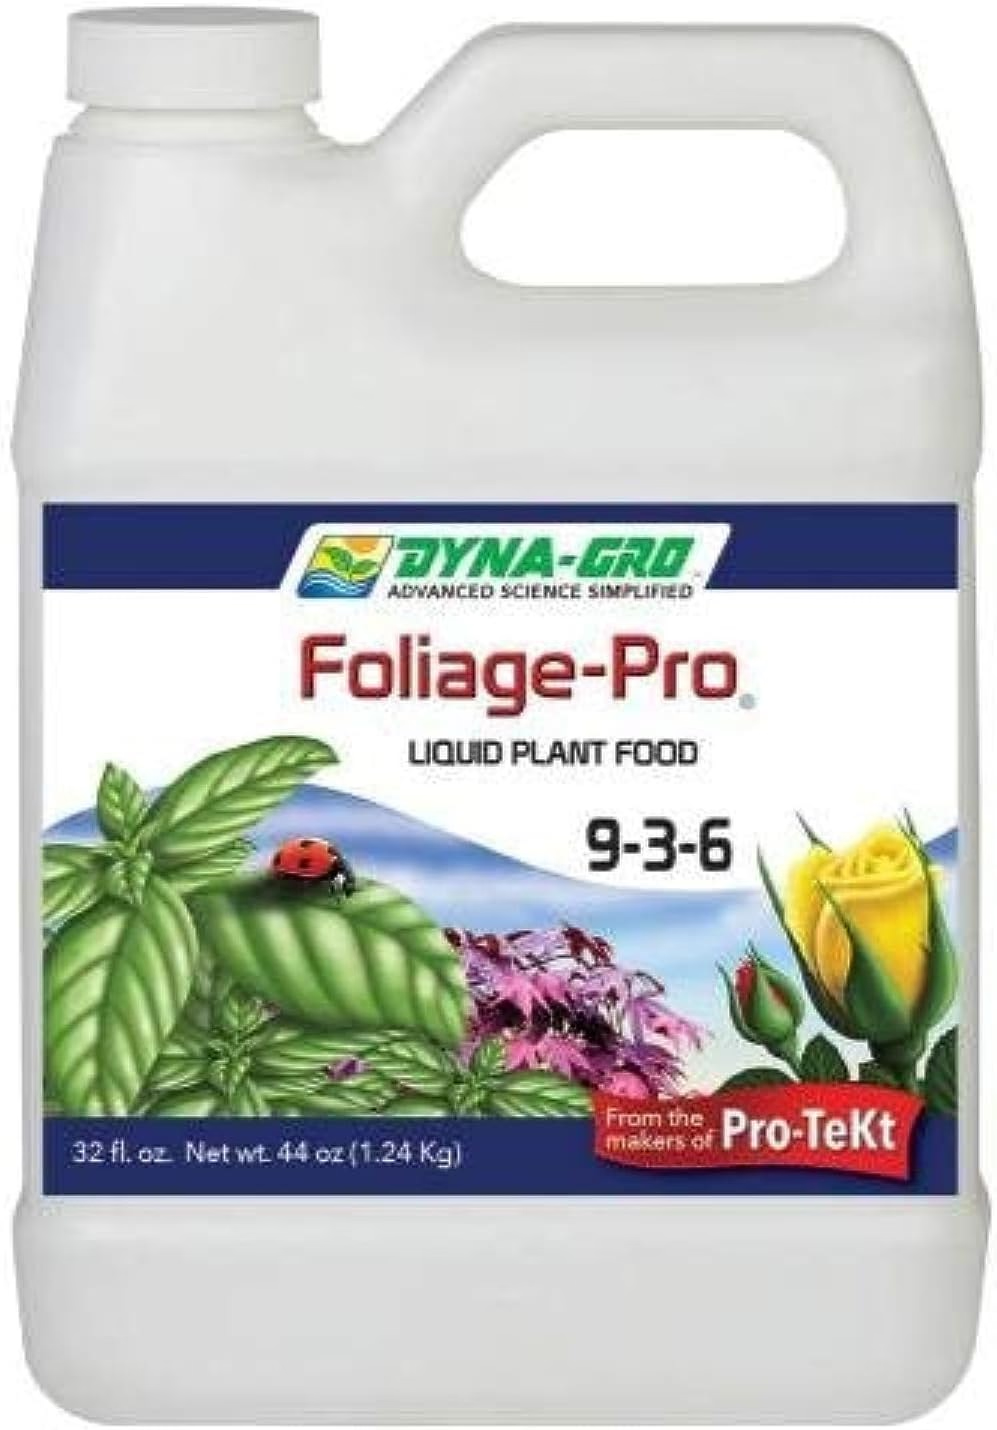
Organic Liquid Plant Food (FoxFarm)
A liquid organic plant food. Applied at label rate during active growth; most houseplants do better at reduced strength and not at all in winter.
View on Amazon ↗
PlantSavvyWorld
Editorial team
PlantSavvyWorld is an independent botanical education project. Articles are drafted with AI assistance, then edited and checked against university extension services, botanical garden collections and other published horticultural sources.
💬 Discussion