


WATERING THIS PLANT IS THE MOST DEADLY SCIENTIFIC MISTAKE YOU CAN MAKE!
Written with AI assistance, edited and checked against horticultural sources.
What I discovered transformed my entire perspective. The single most catastrophic error indoor gardeners make relates to how and when they apply water. To put it bluntly: WATERING THIS PLANT IS THE MOST DEADLY SCIENTIFIC MISTAKE YOU CAN MAKE! if you do it without understanding the gas-exchange dynamics of the rhizosphere.
To stop this silent killer in its tracks, we have to look beneath the soil surface and explore the physical, chemical, and biological forces at play inside the pot.
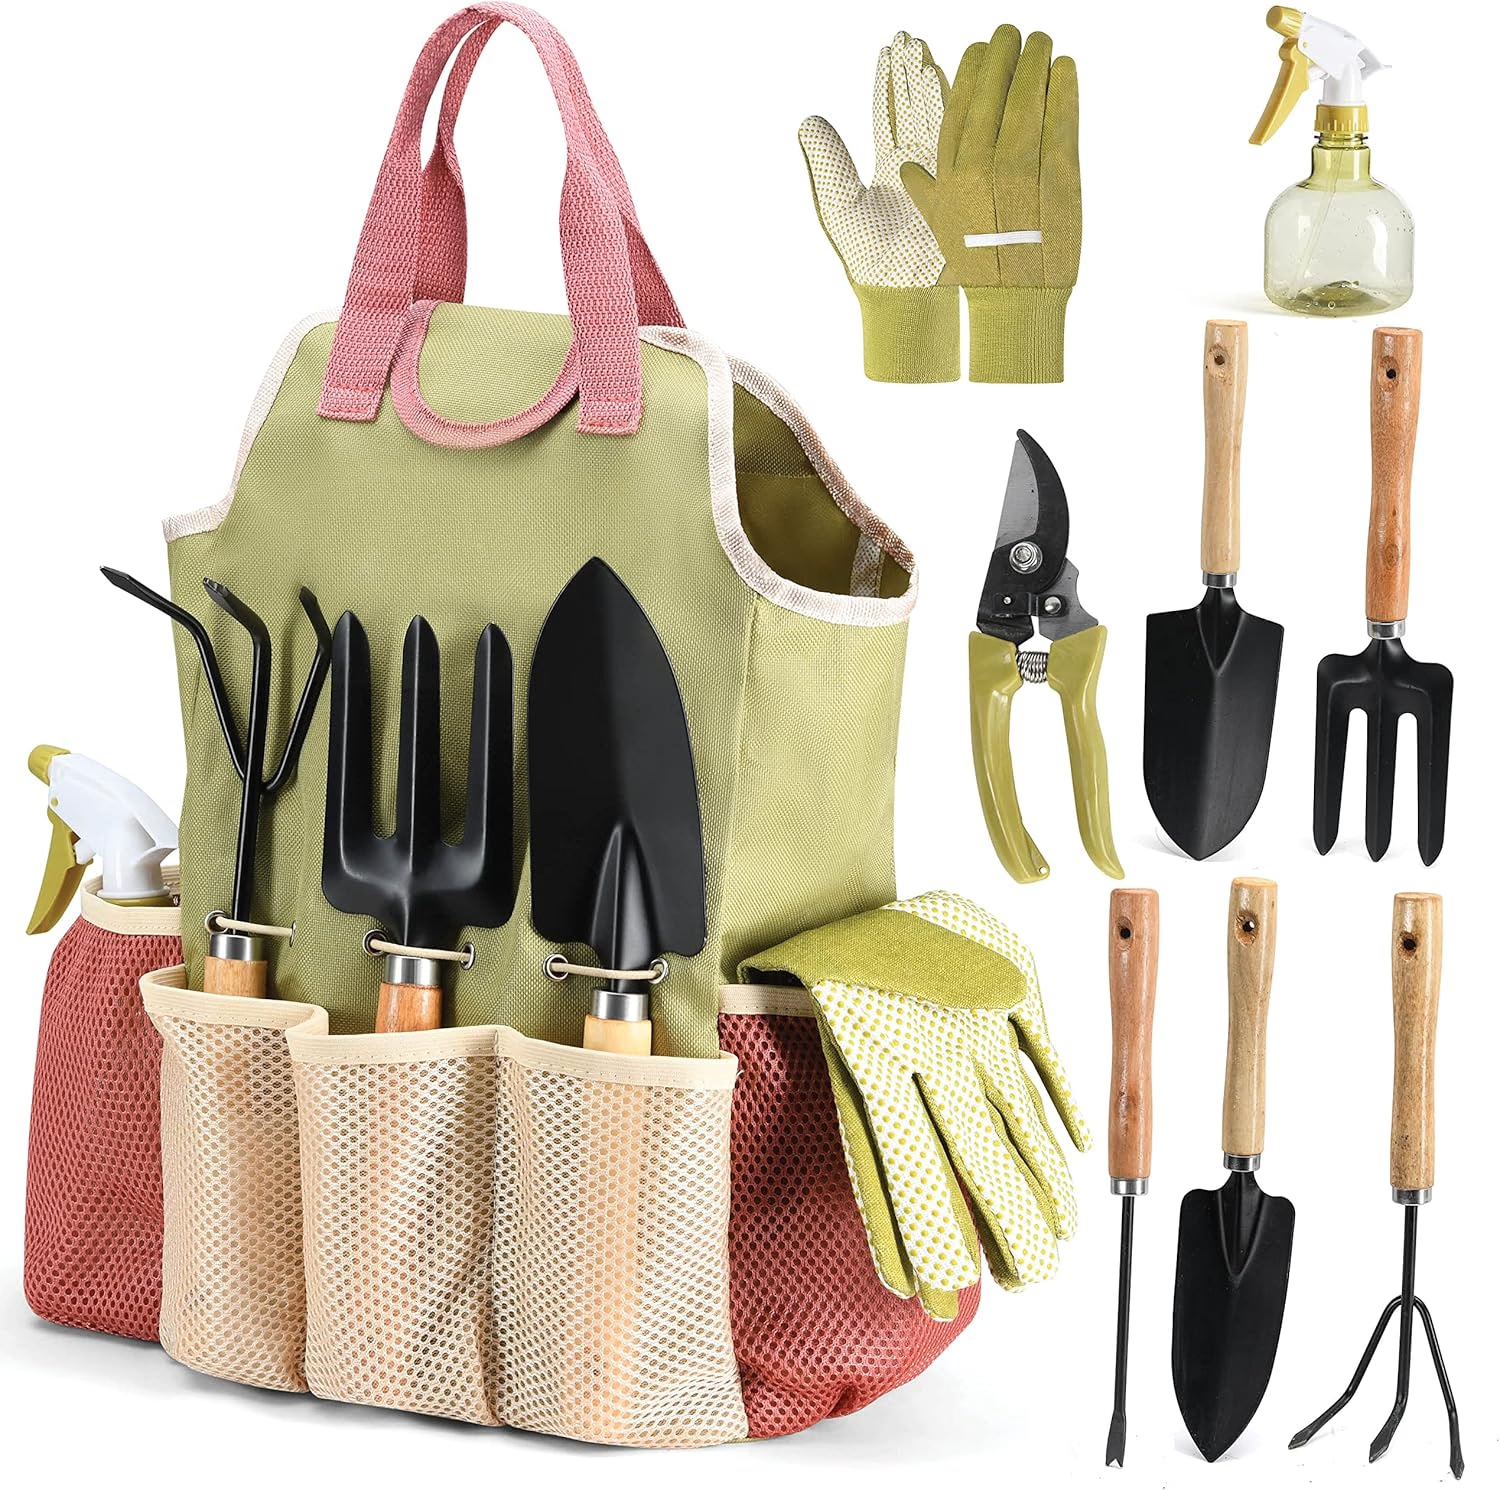
PLAY22 Gardening Tools Set of 10
A 10-piece hand tool set with a carry bag — trowel, transplanter, pruners and weeder. Suited to repotting and general container work.
View on Amazon ↗1. Botanical Overview & Natural Habitat
To understand why improper hydration is so destructive, we must look at where our most popular indoor plants—such as Monstera deliciosa, Philodendron, Epipremnum aureum (Pothos), and various Anthurium species—originated. The vast majority of these species are native to tropical rainforests, where they grow as understory plants, scramblers, or true hemi-epiphytes.
In their native habitats, these plants rarely grow in dense, compacted dirt. Instead, their roots scramble up mossy tree bark, anchor into rock crevices, or weave through a highly porous layer of decaying leaf litter, twigs, and organic detritus on the forest floor. This wild substrate is subject to frequent, torrential downpours, but it possesses exceptional macro-porosity. Rainwater rushes past the roots and drains away instantly, pulling a fresh draft of oxygen down into the root zone immediately behind it.
At the root zone (rhizosphere), gas exchange is just as critical as moisture. When potting mix becomes dense, muddy, or suffocated by standing drainage water, fine root hairs quickly suffer from hypoxia (oxygen deprivation), leaving the door wide open for opportunistic fungal pathogens like Pythium and Phytophthora. Conversely, an open, biologically active substrate enables robust nutrient uptake and rapid vegetative vigor.
Root hairs are microscopic extensions of the root epidermis. They are the primary site of water and mineral absorption, operating via delicate osmotic gradients. For these cells to perform active transport—the energy-intensive process of pulling mineral ions against their concentration gradient into the plant—they require energy in the form of Adenosine Triphosphate (ATP). Cellular respiration produces this ATP, a process that requires a constant supply of molecular oxygen ($O_2$).
When you saturate a compacted, non-porous soil mix, you fill all the micro- and macro-pores with water, driving out the air. Within hours, the rhizosphere becomes anaerobic (depleted of oxygen). Deprived of oxygen, root cells cannot produce ATP, active transport halts, and the root hairs begin to die. This leads to a tragic botanical paradox: the plant wilts from dehydration because its suffocated, dying roots can no longer absorb the water surrounding them.
2. Essential Environmental & Care Requirements
Preventing this physiological disaster requires a holistic understanding of how water, light, temperature, and soil texture interact. You cannot treat watering as an isolated chore on a calendar; it is part of a complex thermodynamic system driven by solar energy and air movement.
The driving force behind water movement in plants is the Transpiration-Cohesion-Tension mechanism. Light striking the foliage drives photosynthesis and warms the leaves, causing the stomata (microscopic leaf pores) to open. As water vapor escapes through these stomata into the drier surrounding air, it creates a negative pressure (tension) that pulls a continuous column of water molecules up through the xylem vessels all the way from the roots.
If your plant is sitting in a dark corner, its stomata remain closed, photosynthesis slows to a crawl, and transpiration ceases. Consequently, the water sitting in the pot has nowhere to go. It stagnates, initiating the hypoxic cascade. Therefore, light exposure is the ultimate governor of how much water your plant can safely process.
To help you balance these critical environmental variables, study this comprehensive parameters matrix:
"Successful indoor gardening isn't a game of luck—it is the art of respecting root biology and working in harmony with natural physiological cycles."
3. Step-by-Step Cultivation, Feeding & Propagation
Transitioning your plant care routine from a guessing game to a scientific discipline involves restructuring how you pot, position, hydrate, and nourish your collection.
Follow this precise, systematically tested cultivation protocol to optimize root health and vegetative growth:
Step 1: Optimize Container Aeration and Substrate Engineering
Do not use pots without drainage holes. If you have a decorative cachepot with no drainage, keep the plant in a plastic nursery pot with multiple bottom openings and slip it inside the decorative container.
When potting, create a custom, high-porosity potting mix. Combine:
- 40% high-quality coconut coir or peat moss (for moisture retention)
- 30% medium-grade orchid bark (for structural macro-pores)
- 30% coarse perlite or pumice (to prevent compaction and ensure oxygenation)
Gently blend these components dry. When filling the pot, do not pack the soil down with force. Lightly tap the base of the pot on your workspace to settle the mixture naturally. This preserves the delicate air pockets required by root hairs.
Step 2: Stabilize Climate & Micro-Environment
Examine the physical placement of your plant. Ensure it is positioned at least 3 feet (90 cm) away from drafty single-pane windows in winter, exterior doors, and direct streams of forced-air heating registers.
To monitor this micro-climate, install a cheap digital hygrometer nearby. If your indoor winter humidity drops below 40%, use a small evaporative humidifier to raise it back into the safe 50% to 60% zone. This prevents the leaf cells from desiccating while the roots are resting in cooler, damp soil.
Step 3: Implement the "Drench-and-Dry" Hydration Technique
Never water your plants on a fixed calendar schedule (e.g., "every Tuesday"). Instead, use your finger or a clean wooden chopstick to test the moisture level. Insert it 2 to 3 inches (5 to 7.5 cm) down into the substrate. If the soil at that depth feels damp and clings to the wood, do not water. If it is dry and loose, it is time to hydrate.
When you water, carry the pot to a sink or tub. Pour room-temperature water evenly over the entire surface of the substrate until it starts draining freely out of the bottom. Let it sit for 5 minutes, then drench it a second time. This ensures that the organic materials in your chunky mix are fully hydrated and do not develop dry, hydrophobic channels.
Step 4: Apply Dilute Organic Nutrients Safely
During active vegetative phases (typically from early spring through late summer), your plant requires essential macronutrients (Nitrogen, Phosphorus, Potassium) and micronutrients to build new cell walls. However, excess synthetic mineral salts can build up in the soil, raising the osmotic pressure of the substrate water. If the soil water becomes more concentrated than the liquid inside the root cells, water will actually be pulled out of the roots, causing chemical root burn.
To avoid this, nourish your collection with a half-strength organic liquid seaweed or fish emulsion feed once every two waterings. Organic fertilizers break down slowly, feeding the natural soil microbes and fueling cell division without damaging fragile root structures.
Step 5: Transition Water-Propagated Cuttings to Soil
Many growers propagate stem cuttings in pure water. While this is highly effective for inducing adventitious root growth, "water roots" are anatomically different from "soil roots." Water roots lack abundant root hairs and have highly porous, delicate outer cell walls designed to absorb dissolved oxygen directly from standing water.
To transition these cuttings successfully without rot:
- Wait until the water-grown roots are at least 2 to 3 inches (5 to 7.5 cm) long and have begun branching.
- Pot the cutting into a small, 3-inch (7.5 cm) nursery pot using a very light, sterile mix of 50% peat and 50% perlite.
- Keep this mix consistently damp (but never soggy) for the first 10 to 14 days. This transitional moisture allows the plant to slowly differentiate its root tissue, growing hardy soil-adapted roots complete with functional root hairs.
- Gradually transition to the standard "drench-and-dry" protocol described in Step 3.
For more details on managing water and soil dynamics, see the University of Maryland Extension Guide on Soil Wetness and Anaerobic Conditions.
💡 Pro-Tip: Always hydrate with room-temperature water between 65°F and 70°F (18°C to 21°C). Pouring icy tap water onto your tropical plants causes rapid thermal shock to the root membranes, paralyzing their ability to absorb water and nutrients for up to 24 hours. If your tap water is cold, let it sit in an open watering can overnight to reach ambient room temperature before use.
⚠️ Important Caution: Never let pots stand in saucer runoff water for more than fifteen minutes. The water that collects in the saucer is devoid of dissolved oxygen and holds flushed-out fertilizer salts. If the bottom of the pot sits in this stagnant pool, capillary action will draw it back into the lower layers of the soil, quickly creating an anaerobic rot zone. Always dump the saucer out completely after watering.
4. Common Problems, Pests & Troubleshooting
When plants suffer from the "deadly watering mistake," they display distinct physiological indicators. Recognizing these early signs can mean the difference between a simple care adjustment and losing a prized specimen.
Leaf Chlorosis (Yellowing) and Edema
One of the earliest signs of overwatering is the yellowing of lower, older leaves. As the root system suffocates and dies, it can no longer send nitrogen and other mobile nutrients up to the growing tips. The plant systematically moves these nutrients from its oldest leaves to save the fresh growth, causing the bottom foliage to fade to a pale yellow.
Additionally, look out for edema—tiny, water-filled blisters or rough, corky bumps on the undersides of leaves. This happens when the roots absorb water faster than the leaves can transpire it, causing individual plant cells to swell and rupture under hydrostatic pressure.
Loss of Turgor (The Wilting Paradox)
If your plant is drooping and looks wilted, your instinct is probably to grab the watering can. But first, check the soil. If the soil is wet, yet the leaves are limp, you are dealing with advanced root rot. The roots have decayed, losing their semi-permeable membranes. They can no longer generate the turgor pressure needed to keep the stems upright. Adding more water at this stage will only accelerate the decay of any remaining healthy roots.
Fungus Gnat Infestations (Bradysia spp.)
Fungus gnats are small, dark flies that hover around the surface of moist potting soil. While the adults are harmless, their soil-dwelling larvae feed on decaying organic matter and delicate root hairs. A sudden explosion of fungus gnats is a reliable indicator that your substrate is staying wet too long, providing the ideal organic decay and moisture levels required for gnat reproduction.
How to Rescue a Waterlogged, Rotting Plant
If you discover mushy, black, foul-smelling roots during an inspection, you must act quickly to save the plant:
- Extract the Root Ball: Gently slide the plant out of its pot. Carefully shake or wash away the old, waterlogged soil to expose the raw root structure.
- Prune the Decay: Using sharp shears sterilized with rubbing alcohol, snip away all soft, brown, black, or slimy roots. Leave only the firm, white, or light-tan healthy roots.
- Sanitize the System: Submerge the remaining healthy root system in a solution of 1 part 3% hydrogen peroxide to 4 parts clean water for 5 minutes. This effervescent bath kills remaining anaerobic fungal spores on contact and releases oxygen into the damaged tissues.
- Repot in Clean Substrate: Pot the plant back up into a clean container with fresh, sterile, chunky potting mix. Keep the soil barely damp, and place the plant in bright, indirect light under a clear plastic humidity dome to reduce transpirational stress while it regenerates its root system.
For additional guidance on recognizing and treating root issues, consult the Royal Horticultural Society (RHS) Guide on Watering Houseplants.
5. Frequently Asked Questions
When is the best time of year to change my watering routine?
Early spring through mid-summer represents the active metabolic window when plants can rapidly utilize increased light and fresh nutrients. During these warm, bright months, you will need to water more frequently because transpiration rates are high. Conversely, during winter dormancy, when daylight hours shorten and indoor temperatures drop, you must significantly reduce hydration frequency, allowing the substrate to dry out much deeper down between watering sessions.
How quickly will my plant recover and show visible improvements after root rot?
Most foliage houseplants respond within 7 to 14 days of being repotted into a clean, well-aerated mix. You will first notice a return of leaf turgidity as the remaining roots stabilize, followed by a deeper green color in the foliage. Active apical shoot emergence and fresh leaf unfurling typically follow within 3 to 4 weeks, signaling that a healthy new root system has successfully established.
Is this chunky substrate and soaking technique suitable for all indoor plant varieties?
Yes! It is exceptionally effective for Monsteras, Philodendrons, Pothos, Snake Plants, ZZ Plants, and tropical foliage collections. These plants evolved to thrive with high airflow around their roots. The only indoor plants that require a slightly modified approach are true bog plants (like Venus Flytraps) or delicate ferns, which require consistently moist, fine-textured media that never dries out, though they still require adequate drainage to prevent complete stagnation.
Why are my plant's leaves turning yellow even though the soil is completely dry?
If you let your potting mix dry out completely for a long period, peat-based soils can become hydrophobic (water-repellent). When you finally water, the liquid will run down the inside edges of the pot and drain out the bottom without actually soaking into the root ball. The root core remains bone-dry, causing the plant to shed its lower leaves from dehydration. To fix this, place the entire pot in a sink filled with 3 inches (7.5 cm) of warm water and let it soak from the bottom up for 30 minutes to fully rehydrate the peat.
Have you tried these techniques with your own houseplants? Share your results with our global grower community on the PlantSavvyWorld Community Forum, explore more expert guides in our archives, or visit our home page for comprehensive, science-based plant care guides.
📋 Table of Contents ▼ Click to expand
PlantSavvyWorld
Editorial team
PlantSavvyWorld is an independent botanical education project. Articles are drafted with AI assistance, then edited and checked against university extension services, botanical garden collections and other published horticultural sources.
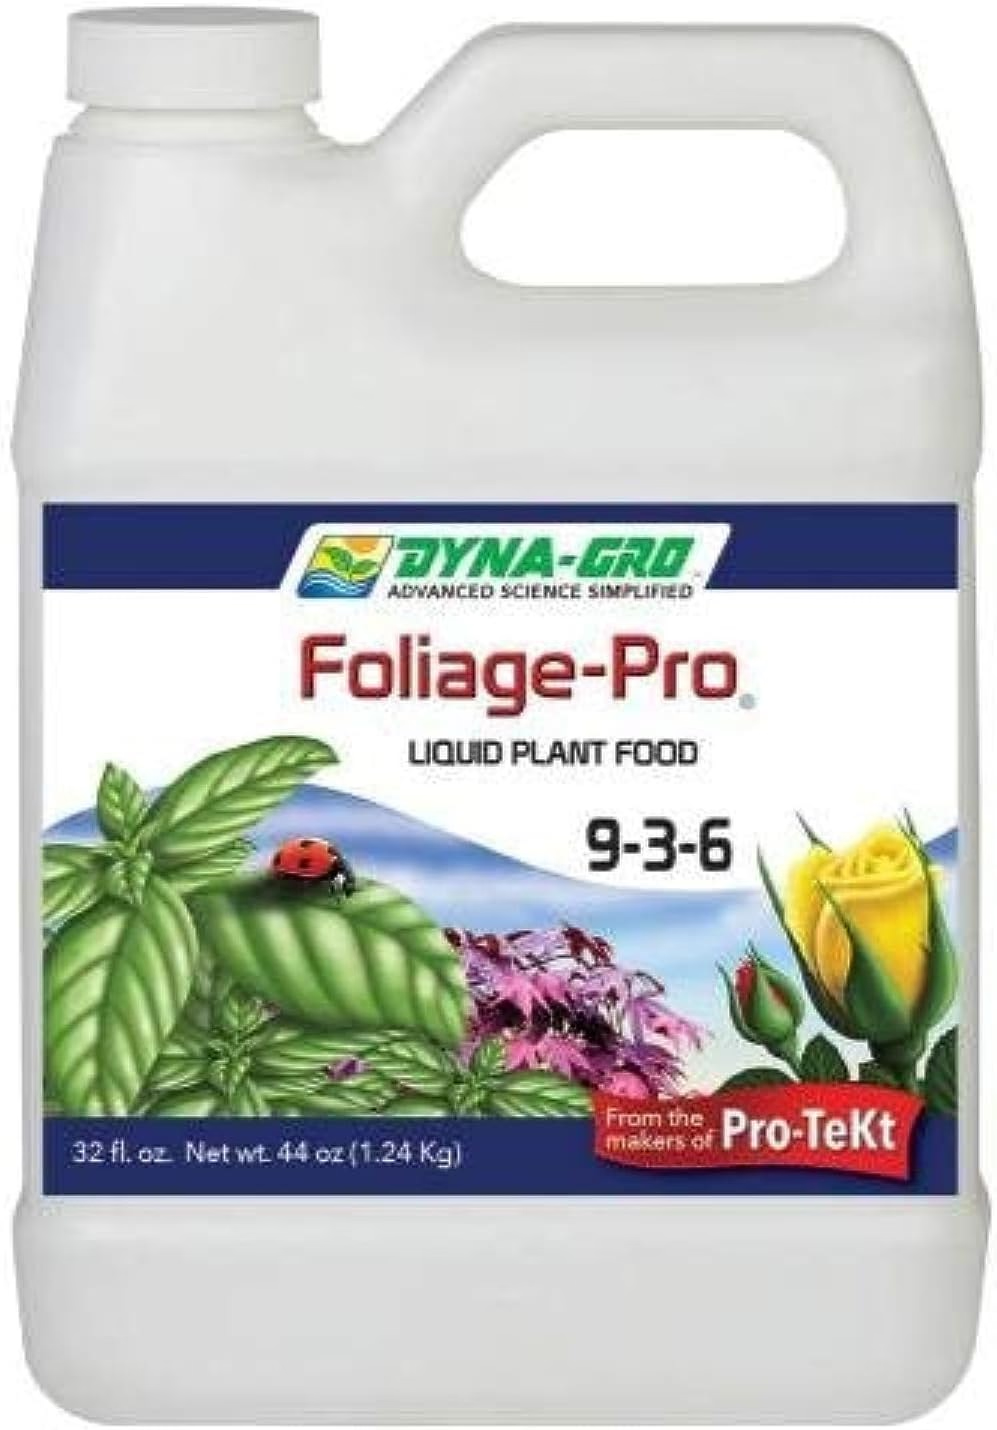
Organic Liquid Plant Food (FoxFarm)
A liquid organic plant food. Applied at label rate during active growth; most houseplants do better at reduced strength and not at all in winter.
View on Amazon ↗
PlantSavvyWorld
Editorial team
PlantSavvyWorld is an independent botanical education project. Articles are drafted with AI assistance, then edited and checked against university extension services, botanical garden collections and other published horticultural sources.
💬 Discussion