


✋STOP WATERING YOUR SNAKE PLANT FROM THE TOP! You've been doing it wrong this whole time!
Written with AI assistance, edited and checked against horticultural sources.
Among all the plants in my collection, the snake plant (Dracaena trifasciata, formerly Sansevieria trifasciata) taught me the most profound lesson about soil hydrology. For years, the conventional wisdom was to "water sparingly from the top." But once I dissecting the morphological evolution of these succulents, I realized that top-watering is one of the most destructive habits an indoor grower can cultivate. This comprehensive guide will explain the botanical science of why top-watering fails, and how switching to a bottom-watering protocol will completely transform your snake plant's vitality.
1. Botanical Overview & Natural Habitat
To understand why top-watering is so detrimental, we must first look at the native environment where the snake plant evolved. Indigenous to the arid and tropical regions of West Africa—spanning from Nigeria to the Congo—the snake plant thrives in dry, rocky, and highly draining soils.

PLAY22 Gardening Tools Set of 10
A 10-piece hand tool set with a carry bag — trowel, transplanter, pruners and weeder. Suited to repotting and general container work.
View on Amazon ↗In these wild habitats, rainfall is infrequent but torrential. The water quickly drains through coarse, sandy soil, leaving the surface bone-dry within hours while the deeper soil layers retain trace moisture. The root system of the snake plant has adapted specifically to these conditions:
- Rhizomatous Growth: Snake plants spread via thick, underground starch-storing stems called rhizomes. These rhizomes act as water reservoirs, allowing the plant to survive prolonged droughts.
- Shallow, Fibrous Root Architecture: Extending from these rhizomes is a delicate network of fine, fibrous root hairs. These roots do not plunge deep into the earth; instead, they spread horizontally just beneath the soil surface to capture brief surface moisture.
- Tight Leaf Rosette Morphology: The upright, sword-like leaves emerge in tight, overlapping rosettes. In the wild, this shape helps channel morning dew down toward the root zone. However, in an indoor environment lacking intense sun and wind, pouring water directly into these rosettes from above traps water in the leaf axils, creating a stagnant pool that breeds bacterial and fungal pathogens.
For more detailed taxonomic information on this resilient species, you can consult the North Carolina State University Extension.
Furthermore, snake plants utilize Crassulacean Acid Metabolism (CAM) photosynthesis. Unlike typical houseplants, CAM plants keep their stomata (microscopic leaf pores) closed during the scorching day to prevent water loss through transpirational cooling. They only open their stomata at night to absorb carbon dioxide. Because their metabolic processes are adapted for water conservation, their roots are highly sensitive to prolonged wetness. When you water from the top, you risk oversaturating the soil column and suffocating the root system during active daytime periods.
2. Essential Environmental & Care Requirements
At the root zone (rhizosphere), gas exchange is just as critical as moisture. When potting mix becomes dense, muddy, or suffocated by standing drainage water, fine root hairs quickly suffer from hypoxia (oxygen deprivation), leaving the door wide open for opportunistic fungal pathogens like Pythium, Phytophthora, and Fusarium. Conversely, an open, biologically active substrate enables robust nutrient uptake and rapid vegetative vigor.
To keep the rhizosphere healthy, you must balance four core parameters: light, substrate composition, temperature, and your hydration delivery method.
When you water a snake plant from the top, the gravity-fed water pushes downward, compressing the soil particles and pushing out vital oxygen pockets. This mechanical action leads to soil compaction.
Over time, compacted soil develops dry channels where water simply runs straight down the inside edge of the pot and out the bottom holes, leaving the core root ball completely dry. By switching to bottom-watering, you utilize capillary action (the movement of water through a porous material against gravity), which preserves the soil's delicate structure and ensures even, thorough moisture distribution.
3. Step-by-Step Cultivation, Feeding & Propagation
Transitioning your snake plant to a bottom-watering regimen is the single most effective change you can make to your plant-care routine. It respects the natural biology of the roots and prevents water from pooling in the delicate leaf crowns.
"Successful indoor gardening isn't a game of luck—it is the art of respecting root biology and working in harmony with natural physiological cycles."
Here is the proven, systematic protocol I personally follow in a greenhouse:
Step 1: Optimize Container Aeration and Substrate Choice
Ensure your snake plant is housed in a container with generous drainage holes. Terracotta or unglazed clay pots are ideal because their porous walls allow lateral gas exchange and speed up soil drying.
Amend your potting mix to ensure optimal capillary action. I recommend a specialized mix of:
- 40% coco coir (for moisture retention and capillary lift)
- 30% coarse perlite or pumice (to prevent compaction and provide oxygen pockets)
- 20% coarse orchid bark or coconut husk chips (for structural variety)
- 10% worm castings (for natural, slow-release microbes and nutrition)
Step 2: Stabilize Climate & Micro-Environment
Before watering, evaluate your plant's location. Position your snake plants at least 3 feet (90 cm) away from cold winter drafts, air conditioners, and forced-air heating registers. Rapid temperature fluctuations or low temperatures (below 55°F / 13°C) slow the plant's transpiration rate, meaning the soil will remain wet for too long, regardless of your watering method.
Step 3: The Bottom-Watering Execution Protocol
Follow this process every time your snake plant needs hydration:
- Verify Dehydration: Insert a wooden chopstick or moisture meter deep into the pot. Only water when the soil is dry at least 2 inches (5 cm) down, or when the entire pot feels incredibly lightweight.
- Prepare the Hydration Basin: Find a clean tray, sink, or shallow basin. Fill it with 1 to 2 inches (2.5 to 5 cm) of clean, room-temperature water.
- Position the Pot: Gently lower your potted snake plant into the basin. The water level should reach approximately 1/4 to 1/3 of the height of your pot.
- Allow Capillary Rise: Leave the plant in the water for 20 to 30 minutes. The dry soil will slowly draw water upward like a sponge.
- Check Moisture Levels: Touch the top layer of soil. Once the top 1 inch (2.5 cm) feels cool and damp, the substrate has absorbed its maximum water capacity.
- Drain Thoroughly: Remove the pot from the basin and place it on a wire rack or in an empty sink for 15 minutes to let gravity pull away any excess water from the bottom of the pot.
💡 Pro-Tip: Always hydrate with room-temperature water (ideally between 68°F and 72°F / 20°C and 22°C). Icy tap water induces thermal root shock, damaging the fine root hairs and halting nutrient absorption for hours, which can cause the leaves to develop unsightly yellow halos.
⚠️ Important Caution: Never let pots stand in saucer runoff water for more than fifteen minutes. Stagnant water quickly creates anaerobic conditions that suffocate roots and cause root rot within 48 hours.
Step 4: Apply Dilute Organic Nutrients
During active vegetative phases (spring through late summer), your snake plant needs nutritional support to build strong, upright leaf walls.
Add a high-quality, water-soluble organic fertilizer with an N-P-K ratio of 3-1-2 to your bottom-watering basin. Dilute the fertilizer to half-strength to prevent salt buildup on the roots. Since the water is absorbed from the bottom up, the roots get immediate access to these vital minerals without chemical burns.
4. Common Problems, Pests & Troubleshooting
Even with a perfect watering routine, indoor growing comes with challenges. Here is a diagnostic guide to help you identify and treat common issues:
1. Mushy, Yellowing Leaf Bases (Crown Rot)
- Cause: Water has pooled in the central leaf rosette due to top-watering, or the plant has been sitting in stagnant water.
- Solution: Immediately remove the plant from its pot. Cut away any dark, mushy, or foul-smelling roots and rhizomes with sterile pruning shears. Treat the remaining healthy roots with a 3% hydrogen peroxide solution to kill lingering fungal spores, and repot into fresh, dry, highly draining soil.
2. Wrinkled, Puckered, or Creased Leaves
- Cause: Extreme dehydration. The plant's internal water reserves in the leaves have dried up, causing the cells to lose turgor pressure.
- Solution: Give the plant a deep, 45-minute bottom-soak in tepid water. The leaves should plump back up within 3 to 5 days. If the soil has become so dry that it has shrunk away from the sides of the pot, gently press the soil back down to close those air gaps before soaking.
3. Fungal Gnats, Mealybugs, and Spider Mites
- Cause: Excessively wet topsoil attracts fungus gnats, while dry, stagnant indoor air invites spider mites and mealybugs.
- Solution: Switching to bottom-watering naturally controls fungus gnats because the top layer of soil remains dry, preventing adult gnats from laying eggs. For sap-sucking pests like mealybugs (which look like small cotton balls in the leaf joints), dip a cotton swab in 70% isopropyl alcohol and apply it directly to the pests. For persistent infestations, treat the leaves with a light coat of cold-pressed neem oil mixed with warm water and a few drops of mild insecticidal soap.
For comprehensive pest identification resources and professional treatment protocols, visit the Royal Horticultural Society (RHS).
5. Frequently Asked Questions
When is the best time of year to implement these changes?
Early spring through mid-summer represents the active metabolic window when plants can rapidly utilize increased light and fresh nutrients. During winter dormancy, reduce hydration frequency accordingly, as cold soil dries much slower.
How quickly will I see visible improvements?
Most foliage houseplants respond within 7 to 14 days with noticeable leaf turgidity, deeper emerald color, and active apical shoot emergence. Within a month, you should also notice new, bright green rhizome shoots pushing up through the dry topsoil.
Is this technique suitable for all indoor plant varieties?
Yes! It is exceptionally effective for Monsteras, Philodendrons, Pothos, Snake Plants, and tropical foliage collections. However, it is especially critical for succulents and epiphytes that are prone to crown rot, as their physical structures are highly sensitive to trapped water.
Can I bottom-water a snake plant in a large, heavy pot?
Yes, though handling large pots can be physically demanding. If your snake plant is in a heavy container, you can use a siphon pump to easily empty your drainage trays after watering. Alternatively, you can use a deep plant saucer as a mini-reservoir. Simply fill the saucer with water, wait 20 minutes for the soil to draw it up, and use a turkey baster or towel to remove any remaining water.
Why is the top of my soil still dry after bottom-watering?
In tall pots (over 10 inches / 25 cm deep), capillary action might not quite reach the very top layer of soil. This is completely normal and actually beneficial! As long as the root zone in the bottom two-thirds of the pot is thoroughly hydrated, your snake plant will thrive. The dry surface layer also prevents mold growth and keeps pests like fungus gnats away.
Have you tried this technique with your own houseplants? Share your results with our global grower community on the Community Forum, explore more expert guides on Plant Tips, or visit our Home Page for comprehensive plant care archives.
📋 Table of Contents ▼ Click to expand
PlantSavvyWorld
Editorial team
PlantSavvyWorld is an independent botanical education project. Articles are drafted with AI assistance, then edited and checked against university extension services, botanical garden collections and other published horticultural sources.
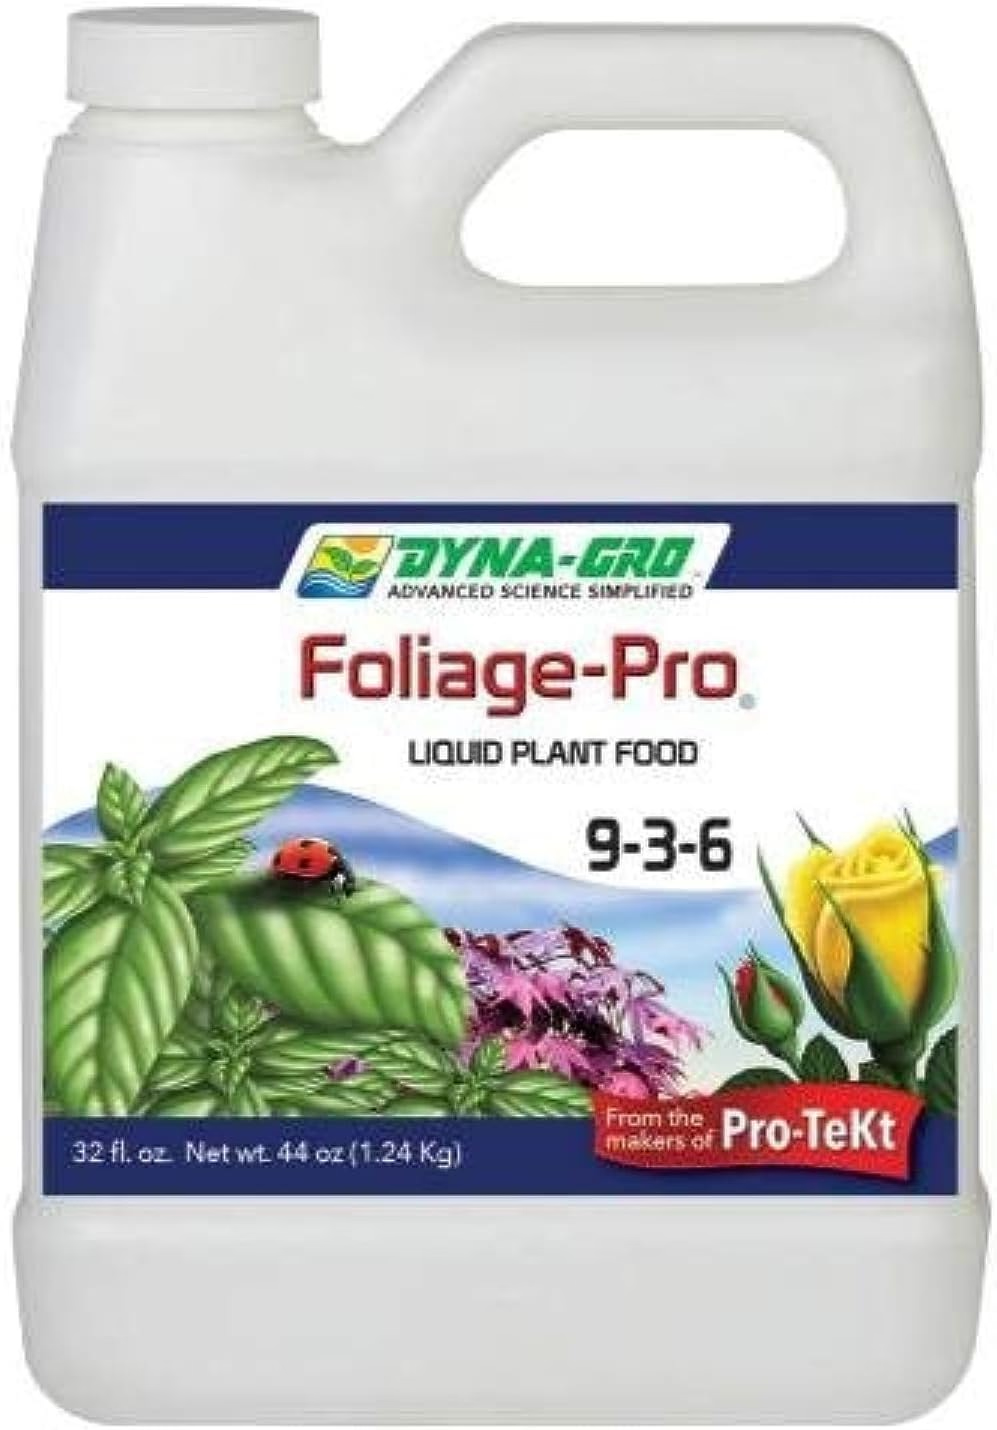
Organic Liquid Plant Food (FoxFarm)
A liquid organic plant food. Applied at label rate during active growth; most houseplants do better at reduced strength and not at all in winter.
View on Amazon ↗
PlantSavvyWorld
Editorial team
PlantSavvyWorld is an independent botanical education project. Articles are drafted with AI assistance, then edited and checked against university extension services, botanical garden collections and other published horticultural sources.
💬 Discussion