


STOP watering your Aloe in soil! This SHOCKING secret from a legendary botanist...
Written with AI assistance, edited and checked against horticultural sources.
I had to confront a hard truth: we are killing our Aloes by forcing them to live and drink in traditional, organic-rich potting soil. The "shocking secret" passed down by generations of legendary desert botanists is simple yet revolutionary: Aloes are not terrestrial soil-dwellers. They are structurally adapted to thrive in highly weathered, inorganic mineral crevices. Treating them like standard houseplants by watering them in dense, peat-based soils is a slow death sentence.
1. Botanical Overview & Natural Habitat
To understand why traditional soil watering destroys your Aloe, we must journey to its evolutionary birthplace. The genus Aloe, comprising over 500 species, is native to the arid regions of the Arabian Peninsula, Madagascar, and sub-Saharan Africa. Here, they do not grow in rich, loamy forest floors. Instead, they are lithophytic and chasmophytic—wedged tightly into rocky basalt cliffs, limestone crevices, and highly weathered volcanic gravel fields.
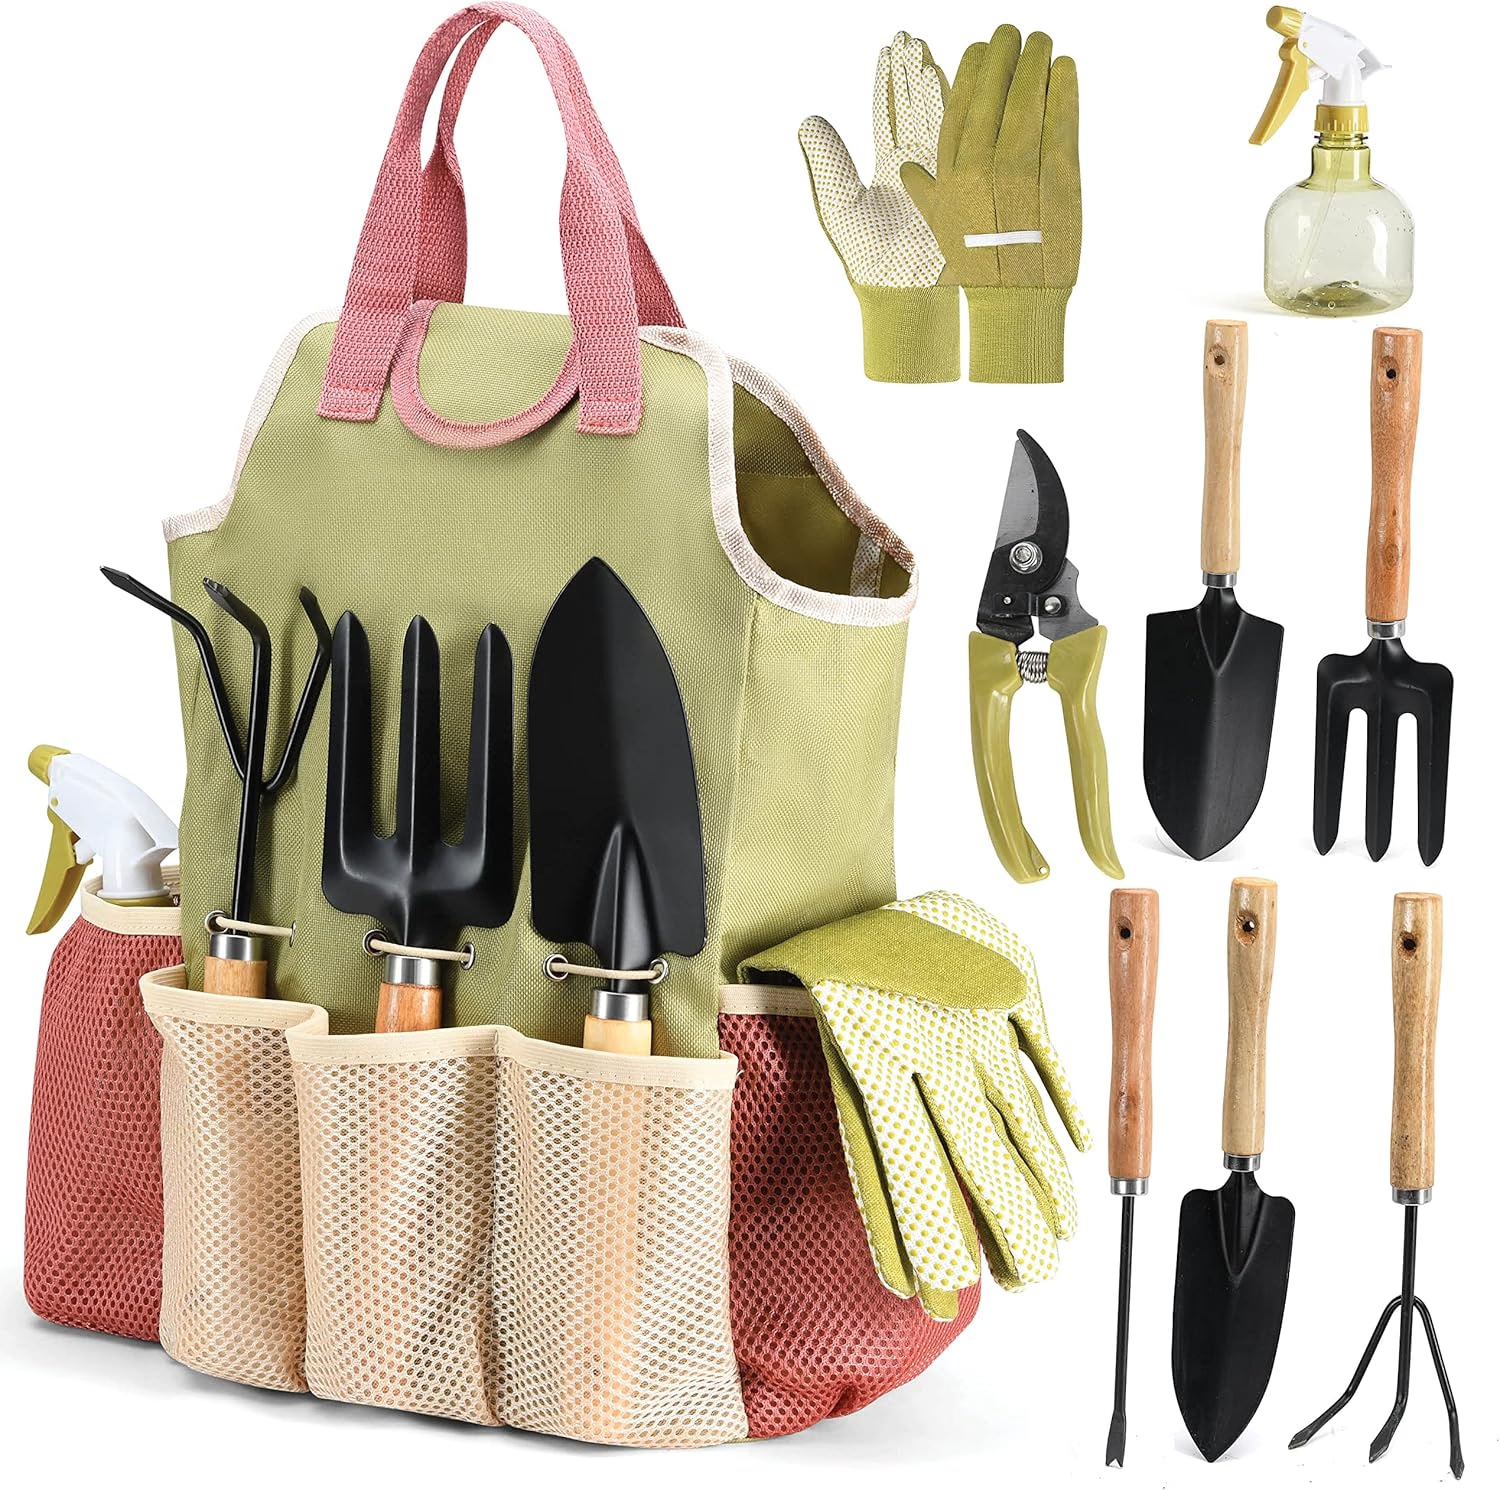
PLAY22 Gardening Tools Set of 10
A 10-piece hand tool set with a carry bag — trowel, transplanter, pruners and weeder. Suited to repotting and general container work.
View on Amazon ↗In these extreme environments, water is fleeting. When rain does fall, it rushes down mountain slopes and drains away instantly, leaving behind nothing but a thin film of moisture coating the mineral stones. The root system of an Aloe has evolved specifically for this dynamic:
- Shallow, Adventitious Architecture: Aloe roots spread horizontally rather than deeply, staying within the top 2 to 6 inches (5 to 15 cm) of the surface to capture immediate dew and flash rains.
- Velamen-Like Sheath: The outer layer of the roots features a specialized epidermal structure that rapidly drinks in water but requires immediate subsequent drying to prevent asphyxiation.
- Crassulacean Acid Metabolism (CAM): Aloes keep their stomata closed during the blazing day to prevent transpirational water loss. They open them only at night to collect carbon dioxide. This means their water utilization rates are incredibly low during daylight hours.
At the root zone (rhizosphere), gas exchange is just as critical as moisture. When a standard potting mix becomes dense, muddy, or suffocated by standing drainage water, fine root hairs quickly suffer from hypoxia (oxygen deprivation). This lack of oxygen leaves the door wide open for opportunistic fungal pathogens like Pythium and Phytophthora to dissolve the root cortex. Conversely, an open, biologically active, mineral-based substrate enables robust nutrient uptake, rapid vegetative vigor, and continuous cellular respiration.
For a deep dive into the evolutionary morphology of succulent root systems, review the physiological studies hosted by the University of California Division of Agriculture and Natural Resources.
"Successful indoor gardening isn't a game of luck—it is the art of respecting root biology and working in harmony with natural physiological cycles."
2. Essential Environmental & Care Requirements
If you keep your Aloe in standard potting soil and water it from above, the organic peat and compost fibers act like a sponge. They retain moisture for 10 to 14 days, creating a stagnant, anaerobic zone at the base of your pot. This is known as the "perched water table"—a zone of completely saturated soil that sits at the bottom of the container, drowning any roots that attempt to grow downward.
To transition your Aloe to an optimal environment, we must recreate the physical and chemical parameters of its native cliffs. This means trading organic retention for structural drainage and high light intensity.
3. Step-by-Step Cultivation, Feeding & Propagation
Here is the proven, systematic protocol I personally follow in a greenhouse. This step-by-step guide will help you transition your Aloe from a suffocating soil medium to a highly oxygenated, mineral-rich system.
Step 1: Extract and Bare-Root the Plant
Carefully slide your Aloe out of its current pot. Gently massage the root ball to shake loose the old, damp potting soil. If the soil is compacted, submerge the root system in a bucket of lukewarm water (approx. 70°F / 21°C) and gently wash away every trace of organic peat and compost. You want to expose the bare, white-and-orange skeletal root structure.
Step 2: Perform Fungal Triage
Examine the roots closely. Any roots that are black, mushy, slimy, or smell of sulfur must be pruned away using micro-disinfected shears (wiped with 70% isopropyl alcohol). Healthy roots should feel firm and look pale orange, yellow, or white.
Step 3: Let the Roots Callus
Do not repot the plant immediately. Place the bare-root Aloe on a dry, clean paper towel in a warm room with indirect light for 24 to 48 hours. This allows any micro-tears or cuts on the root tissue to callus over, preventing opportunistic pathogens in the new medium from entering the vascular system.
Step 4: Mix the Ultimate Gritty Substrate
Forget commercial "cactus soils," which still contain up to 60% water-retaining peat moss. Instead, formulate a legendary botanical gritty mix:
- 40% Pumice or Perlite (size: 1/4 inch / 6 mm) for permanent macroporosity.
- 30% Red Lava Rock (scoria) for mineral trace elements and structural grip.
- 20% Calcined Clay (or Turface) to absorb moisture and release it slowly without collapsing.
- 10% Coarse Coconut Coir (washed and buffered) to provide just a touch of organic cation exchange capacity.
Step 5: Repot in Unglazed Terracotta
Choose a pot that is only 1 to 2 inches (2.5 to 5 cm) wider than the root ball. Ensure the pot has a generous, unobstructed drainage hole at the bottom. Unglazed clay or terracotta is highly recommended because its porous walls allow lateral gas exchange and evaporation, ensuring the substrate dries evenly from all sides. Position the calloused Aloe in the center and backfill with your dry gritty mix. Do not compress the mix; simply tap the sides of the pot to let the aggregates settle naturally around the roots.
Step 6: Hold the Water (The Dry Phase)
Do not water your newly potted Aloe for at least 5 to 7 days. This dry window allows the root system to adapt to its new physical surroundings and heals any minor abrasions that occurred during repotting.
Step 7: Implement the "Soak-and-Dry" Drenching Method
When it is time to hydrate, do not pour a tiny splash of water onto the surface. Instead, submerge the entire bottom half of the terracotta pot in a shallow basin of water for 15 minutes, or drench the top thoroughly until water pours freely out of the drainage hole. After watering, let the pot drain completely.
💡 Pro-Tip: Always hydrate with room-temperature water (68°F to 72°F / 20°C to 22°C); icy tap water induces thermal root shock, constricts root cell membranes, and halts nutrient absorption for up to 48 hours.
During active vegetative phases (spring and summer), nourish your Aloe once every 4 weeks with half-strength, low-nitrogen organic liquid feeds (such as a 2-7-7 NPK formulation). This gently fuels cell division and gel production without causing weak, leggy growth or root burn.
⚠️ Important Caution: Never let your potted Aloe stand in saucer runoff water for more than fifteen minutes. Stagnant water creates immediate anaerobic conditions, starving the root zone of oxygen and encouraging opportunistic fungal pathogens like Phytophthora to destroy the plant's core.
4. Common Problems, Pests & Troubleshooting
Transitioning to a mineral-based gritty mix will eliminate about 90% of your indoor gardening headaches. However, as your Aloe acclimates, you may encounter a few physiological hurdles.
Leaf Shriveling and Thinning
If the thick, fleshy leaves of your Aloe begin to look thin, flat, or curl inward like a straw, the plant is consuming its internal water reserves.
- The Cause: If the substrate is bone dry and has been for over 3 weeks, the plant simply needs a thorough soak.
- The Paradox: If the substrate is damp, yet the leaves are flat, the root system has already rotted away due to poor drainage. Without roots, the plant cannot absorb water, resulting in dehydration. Unpot the plant immediately, check for root viability, prune back to healthy stem tissue, callus, and restart in pure, dry pumice.
Mealybugs (Pseudococcidae)
These tiny, white, cotton-like pests love to hide deep within the tight leaf axils of Aloe species, sucking the sugary sap from the plant's vascular system.
- The Solution: Dip a cotton swab in 70% isopropyl alcohol and dab the pests directly to dissolve their protective waxy coating. For systemic defense, apply a top-dressing of food-grade diatomaceous earth to the dry mineral gritty mix.
To identify and manage common succulent pests with scientific accuracy, consult the pest management protocols designed by the Royal Horticultural Society.
5. Frequently Asked Questions
Why are the lower leaves of my Aloe turning yellow and translucent?
Yellow, mushy, translucent lower leaves are the classic hallmark of overwatering and cell wall rupture. Because the root zone is trapped in soggy, airless soil, the plant is taking in more water than its vacuoles can store, causing the cells to burst. Stop watering immediately, remove the mushy leaves with a sterilized blade, and transition the plant into a dry mineral aggregate.
When is the best time of year to change my Aloe's substrate?
Early spring through mid-summer represents the active metabolic window when plants can rapidly utilize increased light and fresh nutrients to generate new roots. If you must repot in winter due to active root rot, keep the plant under a bright grow light and provide a root zone heating mat set to 70°F (21°C) to simulate spring conditions.
Can I grow Aloe in a glass container without a drainage hole?
No. Growing an Aloe in a container without a drainage hole is a recipe for disaster. Without a drainage hole, excess water pools at the bottom of the vessel, creating a stagnant, toxic environment where anaerobic bacteria run rampant. Always use pots with at least one large drainage hole.
How quickly will my Aloe show signs of recovery after switching to a gritty mix?
Most foliage and succulent plants respond within 7 to 14 days with noticeable leaf turgidity, a deeper emerald or blue-green color, and active apical shoot emergence. Within 30 days, you will find thick, fuzzy new root hairs anchoring deep into the mineral stones.
Have you tried this technique with your own houseplants? Share your results with our global grower community on the Community Forum, explore more expert guides on Plant Tips, or visit our Home Page for comprehensive plant care archives.
📋 Table of Contents ▼ Click to expand
PlantSavvyWorld
Editorial team
PlantSavvyWorld is an independent botanical education project. Articles are drafted with AI assistance, then edited and checked against university extension services, botanical garden collections and other published horticultural sources.
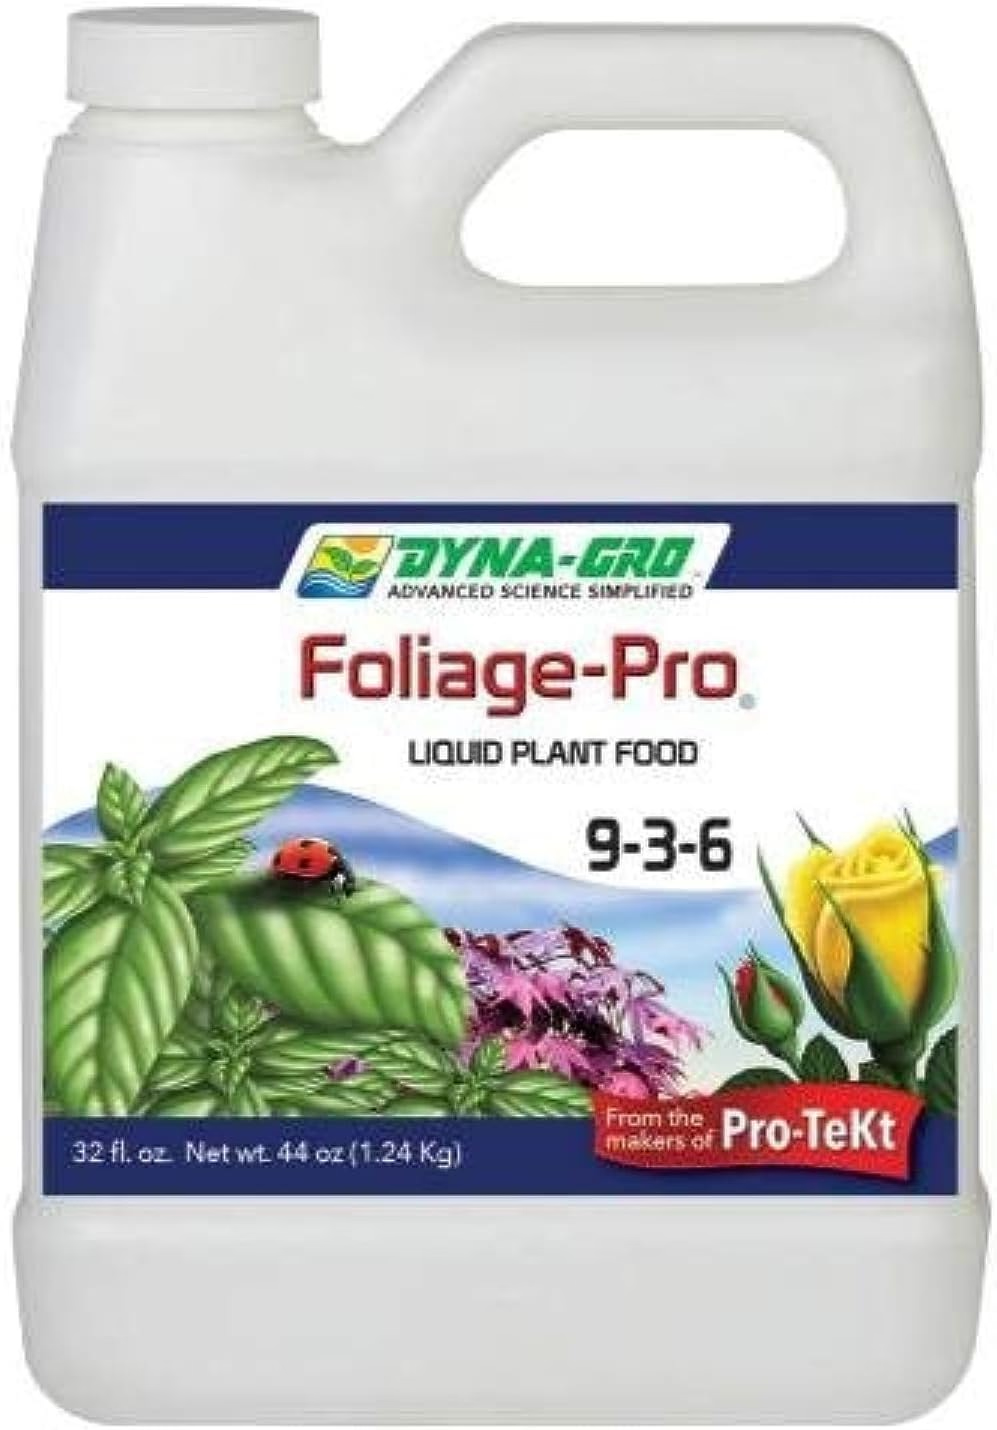
Organic Liquid Plant Food (FoxFarm)
A liquid organic plant food. Applied at label rate during active growth; most houseplants do better at reduced strength and not at all in winter.
View on Amazon ↗
PlantSavvyWorld
Editorial team
PlantSavvyWorld is an independent botanical education project. Articles are drafted with AI assistance, then edited and checked against university extension services, botanical garden collections and other published horticultural sources.
💬 Discussion