


Mastering Soil Solarization: How I Cleared Stubborn Garden Weeds Using the Summer Sun
Written with AI assistance, edited and checked against horticultural sources.
Tenacious Bermuda grass (Cynodon dactylon) and relentless field bindweed (Convolvulus arvensis) form an endless carpet that returns with aggressive new shoots just days after a warm summer rain when pulled out by the roots. To manage these beds without chemicals, soil solarization offers a game-changing botanical strategy that stops weeds from returning.
I had studied the physics of soil thermodynamics in textbook theory, but applying it to my own choked garden plots changed my entire practical approach to bed preparation. Soil solarization turns the intense radiation of the midsummer sun into your most diligent, chemical-free weeding assistant, sterilizing the top layers of earth without destroying the long-term ecological balance of your soil food web.
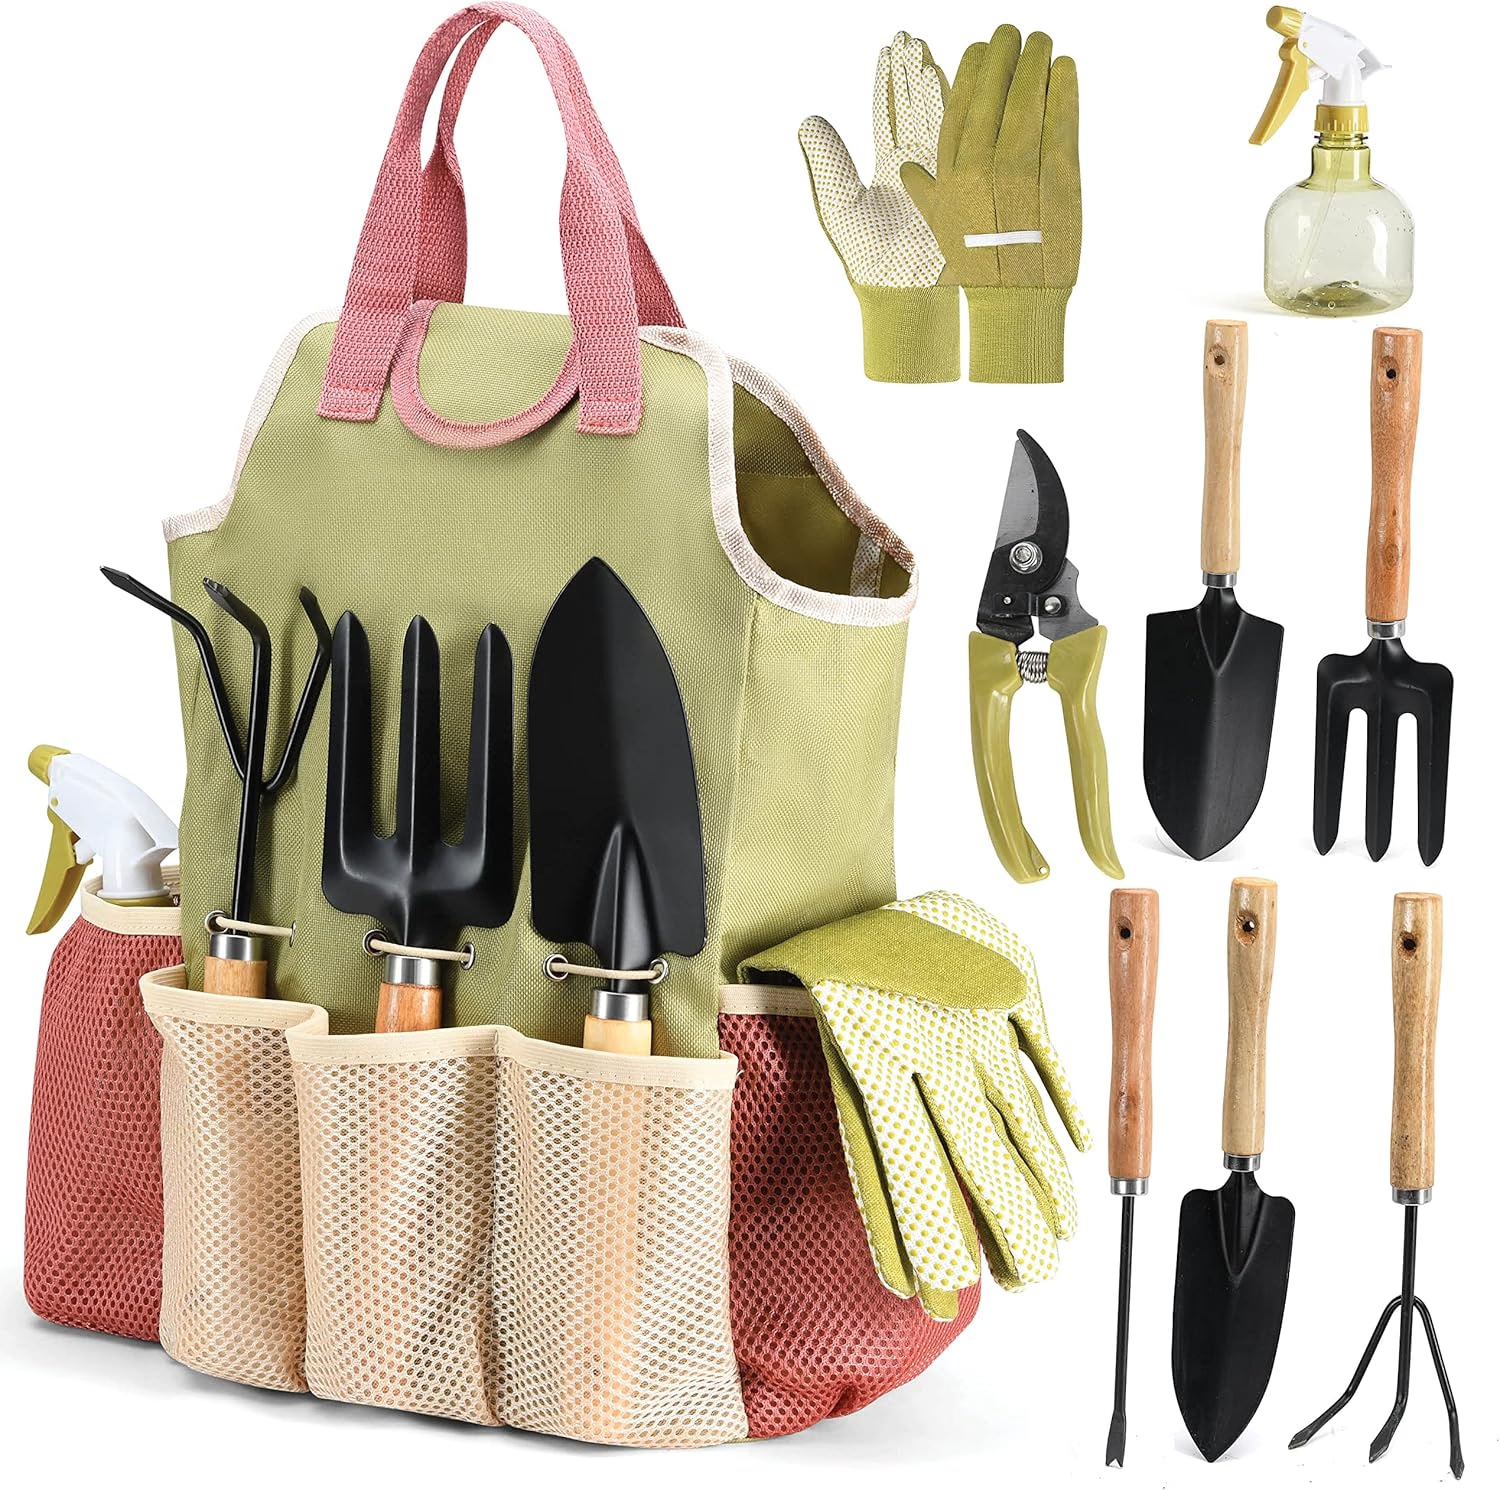
PLAY22 Gardening Tools Set of 10
A 10-piece hand tool set with a carry bag — trowel, transplanter, pruners and weeder. Suited to repotting and general container work.
View on Amazon ↗1. Botanical Overview & Natural Habitat
To understand why solarization works when pulling, hoeing, and smothering fail, we must look at the cellular biology of invasive plant species and soil pathogens. Soil solarization is a non-chemical hydro-thermal method that uses solar energy to heat moist soil to temperatures lethal to dormant weed seeds, root fragments, plant-parasitic nematodes, and soil-borne fungal pathogens.
When you stretch a specialized, high-density polyethylene sheet tightly over thoroughly saturated soil during peak summer, you construct a localized greenhouse environment. The transparent plastic permits short-wave solar radiation (wavelengths between 0.3 and 3.0 micrometers) to pass directly through to the soil surface. The damp earth absorbs this radiant energy and re-emits it as long-wave thermal infrared radiation (wavelengths greater than 3.0 micrometers). The plastic sheet acts as a barrier to this escaping thermal energy, trapping latent heat within the top 6 to 12 inches (15 to 30 cm) of the soil profile.
This sustained elevated heat alters cellular respiration, denatures vital plant enzymes, disrupts membrane lipid structures, and rapidly exhausts the non-structural carbohydrate reserves (starches and sugars) stored within creeping rhizomes and dormant seed coats.
Clear Plastic vs. Black Plastic Mechanics
One of the most frequent mistakes I observe among home gardeners is reaching for a roll of opaque black plastic or landscape fabric. While black plastic blocks light and deprives existing foliage of photosynthesis, it functions primarily as a light shield rather than a thermal conductor. Black plastic absorbs heat at its top surface and radiates much of that thermal energy back out into the open air, acting as an insulating blanket that keeps heat from driving deep into the soil.
In contrast, clear, transparent polyethylene transmits 85% to 90% of incoming solar radiation directly into the soil substrate. According to detailed agricultural trials archived by the UC IPM Soil Solarization Guidelines, clear plastic consistently raises soil temperatures up to 10°F to 20°F (5.5°C to 11°C) higher than black plastic under identical weather conditions.
2. Essential Environmental & Care Requirements
Successful soil solarization depends entirely on three physical variables: radiation intensity, soil moisture content, and surface air tightness. Skimping on any of these three factors will leave dormant weed seeds viable beneath the surface.
Atmospheric Windows & Solar Geometry
Solarization requires high solar radiation angles and long daylight hours. In North America and Europe, the optimal window opens in late May and closes by late August, peaking during the summer solstice in June and July. Daily high temperatures should consistently reach at least 85°F (29°C) or higher at surface level. Solarization attempted during spring or autumn yields poor results because low solar angles cannot generate the intense internal heat required to pasteurize deeper soil layers.
Soil Moisture as a Thermal Conductor
Dry soil is a poor conductor of heat because air pockets between soil aggregates act as thermal insulation. Water conducts heat roughly four times faster than air pockets. Deeply soaking the treatment zone to a depth of at least 12 inches (30 cm) prior to sealing the plastic serves three distinct botanical purposes:
- It dramatically increases the soil's thermal conductivity, allowing heat to penetrate down to 6–12 inches (15–30 cm).
- It breaks the dormancy of weed seeds, rendering their germinating cellular tissues far more vulnerable to thermal damage.
- It stimulates latent fungal spores to germinate, exposing them to lethal heat stress before they can colonize host roots.
Plastic Film Specifications
Do not use heavy 6-mil construction sheeting. Thick plastic reflects a higher percentage of sunlight and lacks the flexibility to lay flush against the earth. Instead, select a 1 to 2 mil (0.025 to 0.05 mm) thick, UV-stabilized clear polyethylene film. Thin plastic allows maximum light transmission while remaining flexible enough to conform to the ground contours.
💡 Pro-Tip: For the ultimate thermal magnification, pull your plastic sheet drum-tight across the soil surface until no billows or wrinkles remain. Air gaps between the plastic and the earth act as insulating cushions that reduce thermal transfer into the soil profile by up to 15°F (8°C).
3. Step-by-Step Cultivation, Feeding & Propagation
Preparing your garden bed for solarization requires meticulous surface preparation. Follow this precise 6-step protocol to achieve complete pasteurization of weed seeds and soil pathogens.
1. Bed Site Clearance and Grading
Begin by clearing all existing surface vegetation, thick roots, rocks, and plant debris from your target bed. Rake the soil surface completely smooth, breaking up large dirt clods until the top 2 inches (5 cm) consist of fine, uniform tilth. A smooth surface ensures the plastic makes direct, flush contact with the earth, eliminating insulating air pockets beneath the sheet.
2. Deep Moisture Conduction Layering
Set up a overhead sprinkler or soaker hose across the prepared bed. Irrigate the soil thoroughly until moisture penetrates to a depth of at least 12 inches (30 cm). You can verify moisture depth by pushing a long metal probe or long screwdriver into the ground; it will slide smoothly through moist earth and meet resistance at dry soil. Allow surface water to pool slightly, then drain for 2 to 4 hours until the soil reaches field capacity (damp, but not slushy mud).
3. Plastic Sheet Deployment and Tensioning
Select a calm, windless day to lay your sheet. Unroll your 1 to 2 mil clear polyethylene film across the saturated bed. If your bed is wider than your plastic rolls, join seams using clear weather-resistant greenhouse repair tape, overlapping edges by at least 8 inches (20 cm).
4. Trenching and Perimeter Sealing
Dig a shallow, 6-inch deep by 6-inch wide (15 cm x 15 cm) trench around the entire perimeter of the garden bed. Lay the edges of the clear plastic down into the trench. Working from one side to the other, pull the plastic taut across the plot while backfilling the trench with soil, packing it firm with your boots.
5. Thermal Incubation Phase
Leave the sealed plastic undisturbed for 6 to 8 weeks (42 to 56 days) during peak summer heat. Check the perimeter weekly to ensure wind has not loosened the edges and animals have not punctured the film. If small holes appear, patch them immediately with clear heavy-duty tape. During this phase, internal soil surface temperatures will routinely hover between 110°F and 140°F (43°C to 60°C).
6. Plastic Removal and Bed Preparation
After 6 to 8 weeks, slice around the inner perimeter trench with a utility knife and carefully peel off the plastic film. Shake off condensation and recycle the plastic sheeting. The underlying soil will appear smooth, light-colored, and completely devoid of living green foliage.
⚠️ Important Caution: Avoid tilling, deep-digging, or double-digging your bed immediately after removing the solarization plastic! Digging deeper than 2 inches (5 cm) brings dormant weed seeds from untreated lower soil layers right back up to the surface, undoing your hard work.
To plant into solarized soil without bringing up dormant seeds:
- Gently rake the top 1 inch (2.5 cm) of soil to break any light crusting.
- Apply a 2-inch (5 cm) layer of weed-free, fully finished compost directly over the surface as a top-dressing.
- Plant your autumn vegetable starts, perennials, or seeds directly into this clean surface layer.
4. Common Problems, Pests & Troubleshooting
Even when solarization is executed correctly, local weather variations, tough perennial root structures, or mechanical damage can affect your results. Here is how to handle common issues:
1. Punctures, Tears, and Wind Lift
Clear, thin polyethylene plastic is susceptible to damage from sharp stones, domestic pets, wildlife, or high summer winds. A single hole allows steam and trapped thermal energy to escape, dropping sub-surface soil temperatures by as much as 15°F (8°C) within hours.
- Troubleshooting Action: Inspect the sheet weekly. Patch tears immediately using clear UV-resistant greenhouse film repair tape. If wind lifts the edges, dig the trench deeper, re-tension the sheet, and anchor the edges with heavy stones or concrete cinder blocks.
2. Resistant Perennial Weeds (Nutsedge & Bindweed)
While annual weeds (like crabgrass, pigweed, and lamb's quarters) are easily controlled within 4 weeks, aggressive perennials with deep underground tuber networks—such as Yellow Nutsedge (Cyperus esculentus) and Field Bindweed (Convolvulus arvensis)—can survive standard solarization if heat does not penetrate deep enough.
- Troubleshooting Action: Extend the solarization period to 8 to 10 full weeks. Alternatively, implement a double-layer solarization technique: lay one sheet of clear plastic flush against the ground, install 1-inch (2.5 cm) plastic pipes or wooden spacers over it, and stretch a second clear sheet over the top. This creates a double-glazed greenhouse effect that increases soil temperatures by an additional 6°F to 10°F (3°C to 6°C).
3. Mid-Summer Cloud Cover and Unseasonal Rain
If cool weather or heavy cloud cover sets in for more than 3 consecutive days during your solarization cycle, the soil will cool, allowing resilient weed seeds to recover from thermal stress.
- Troubleshooting Action: Simply pause your mental clock. Add 7 to 10 extra days onto the total treatment duration for every cool or overcast week experienced during the cycle.
4. Soil Biology and Microbe Recovery
A frequent concern among organic gardeners is whether solarization destroys beneficial soil life. High heat does reduce populations of beneficial earthworms, mycorrhizal fungi, and nitrifying bacteria in the top 2 to 4 inches (5 to 10 cm). However, research from the Royal Horticultural Society Guide to Non-Chemical Weed Control demonstrates that beneficial organisms quickly recolonize the treated zone. Earthworms burrow down into cooler soil strata (below 12 inches / 30 cm) during peak heat, and thermophilic, spore-forming bacteria (such as Bacillus species) survive the pasteurization process.
To speed up biological recovery post-solarization:
- Top-dress the bed with 1 to 2 inches (2.5 to 5 cm) of mature, biologically active organic compost.
- Water the bed with compost tea or liquid humic acids prior to planting.
- Avoid applying synthetic high-salt fertilizers, which can stress recovering beneficial soil microbes.
5. Frequently Asked Questions
Does soil solarization kill beneficial earthworms and microorganisms?
Extreme heat reduces populations of beneficial microbes and earthworms in the top 2 to 4 inches (5 to 10 cm) of soil during treatment. However, earthworms escape the heat by retreating into deeper soil layers below 12 inches (30 cm). Beneficial spore-forming bacteria (Bacillus species) survive high temperatures, and mycorrhizal populations recolonize the topsoil within weeks after you remove the plastic, especially once you add fresh compost.
Can I perform soil solarization during the spring or autumn months?
No, solarization requires high ambient summer temperatures (consistently above 85°F / 29°C) combined with direct, high-angle solar radiation. Spring and autumn sun angles are too low to heat soil to the lethal 110°F–140°F (43°C–60°C) range required to sterilize weed seeds and pathogens beneath the surface layer.
How long does the weed-suppression effect last after removing the plastic?
When performed correctly during peak summer, a single 6- to 8-week solarization treatment provides significant weed suppression for 1 to 2 full growing seasons. To maintain these results, avoid deep tilling after treatment, as turning the soil brings dormant weed seeds from untreated layers up to the surface.
Why is clear plastic better than black plastic for solarization?
Clear plastic allows short-wave solar radiation to pass directly through and heat the damp soil underneath, trapping long-wave heat energy inside a localized greenhouse environment. Black plastic absorbs solar radiation at its surface and radiates much of that heat back out into the air, keeping soil temperatures 10°F to 20°F (5.5°C to 11°C) cooler than clear plastic under identical sun exposure.
Can I plant crops immediately after removing the solarization plastic?
Yes, you can plant immediately after peeling back the sheet. Because solarization leaves no chemical residues, the bed is ready for planting right away. Simply rake the top 1 inch (2.5 cm) of soil lightly, add a layer of finished compost to feed beneficial soil microbes, and set out your late-summer or autumn crop transplants.
📋 Table of Contents ▼ Click to expand
PlantSavvyWorld
Editorial team
PlantSavvyWorld is an independent botanical education project. Articles are drafted with AI assistance, then edited and checked against university extension services, botanical garden collections and other published horticultural sources.
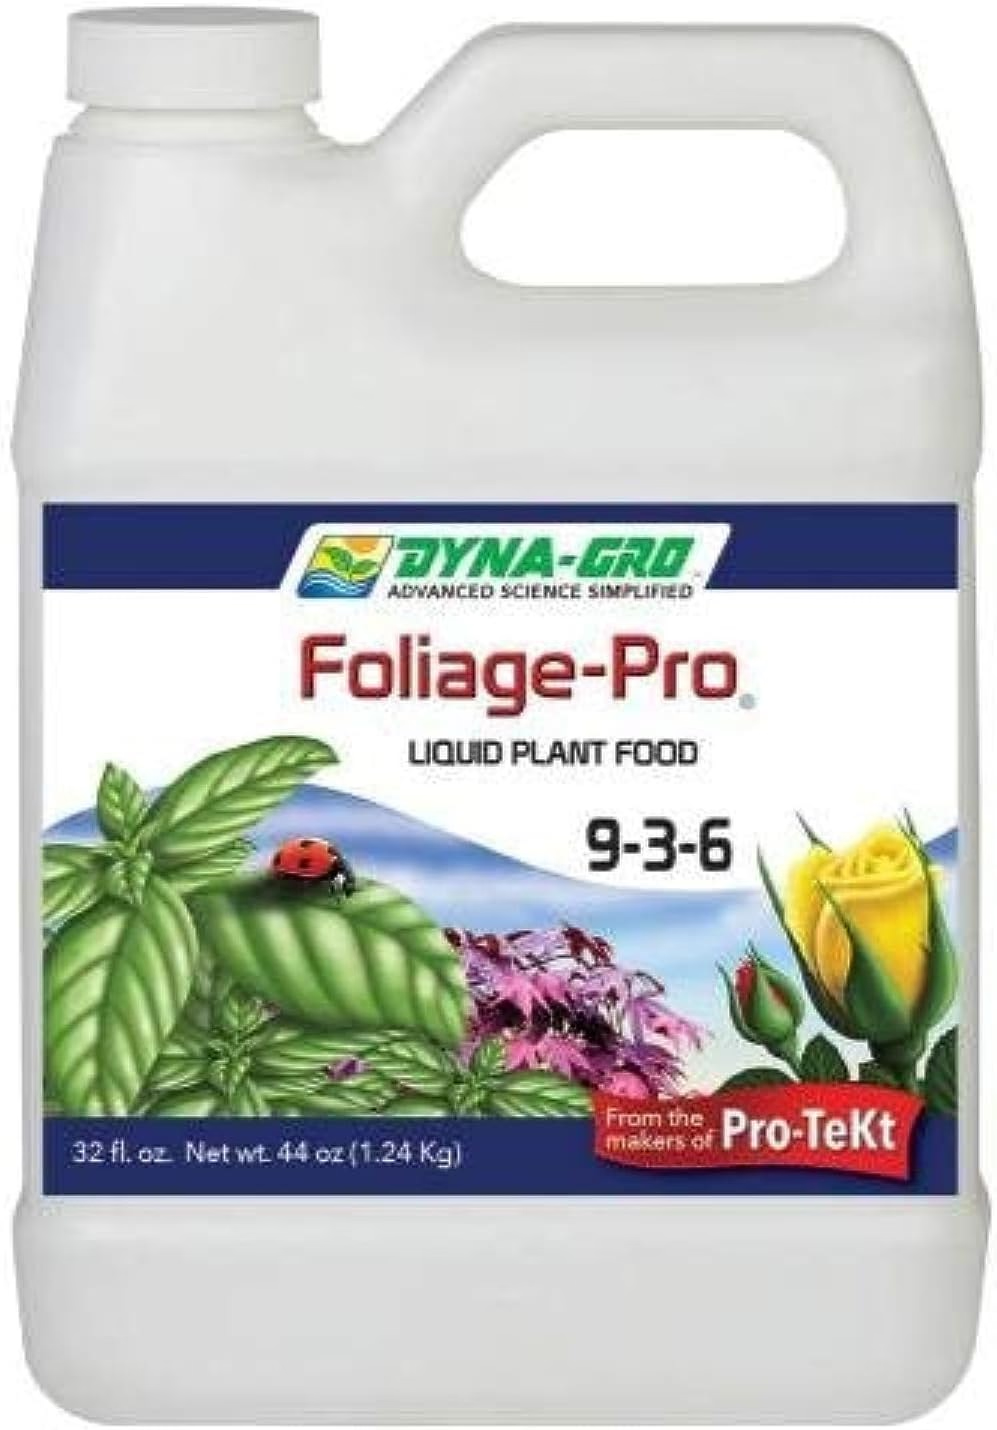
Organic Liquid Plant Food (FoxFarm)
A liquid organic plant food. Applied at label rate during active growth; most houseplants do better at reduced strength and not at all in winter.
View on Amazon ↗
PlantSavvyWorld
Editorial team
PlantSavvyWorld is an independent botanical education project. Articles are drafted with AI assistance, then edited and checked against university extension services, botanical garden collections and other published horticultural sources.
💬 Discussion