


I thought my Alocasia was DEAD until I found THIS hidden secret!
Written with AI assistance, edited and checked against horticultural sources.
Before discarding that seemingly dead container, I unpotted the soil and made a discovery that changed my entire approach to tropical plant care: beneath the rotten stem lay a firm, pristine, energy-dense subterranean organ called a corm. The plant wasn't dead; it was in a defensive physiological state of dormancy.
1. Botanical Overview & Natural Habitat
Members of the genus Alocasia belong to the family Araceae (commonly called aroids) and are native to the warm, hyper-humid understory environments of subtropical and tropical East Asia, Southeast Asia, and Queensland, Australia. In their endemic habitats—such as the rainforest floors of Borneo or the Philippines—these plants grow beneath dense forest canopies where light filtered through leaves sits consistently between 200 and 400 foot-candles (FC).
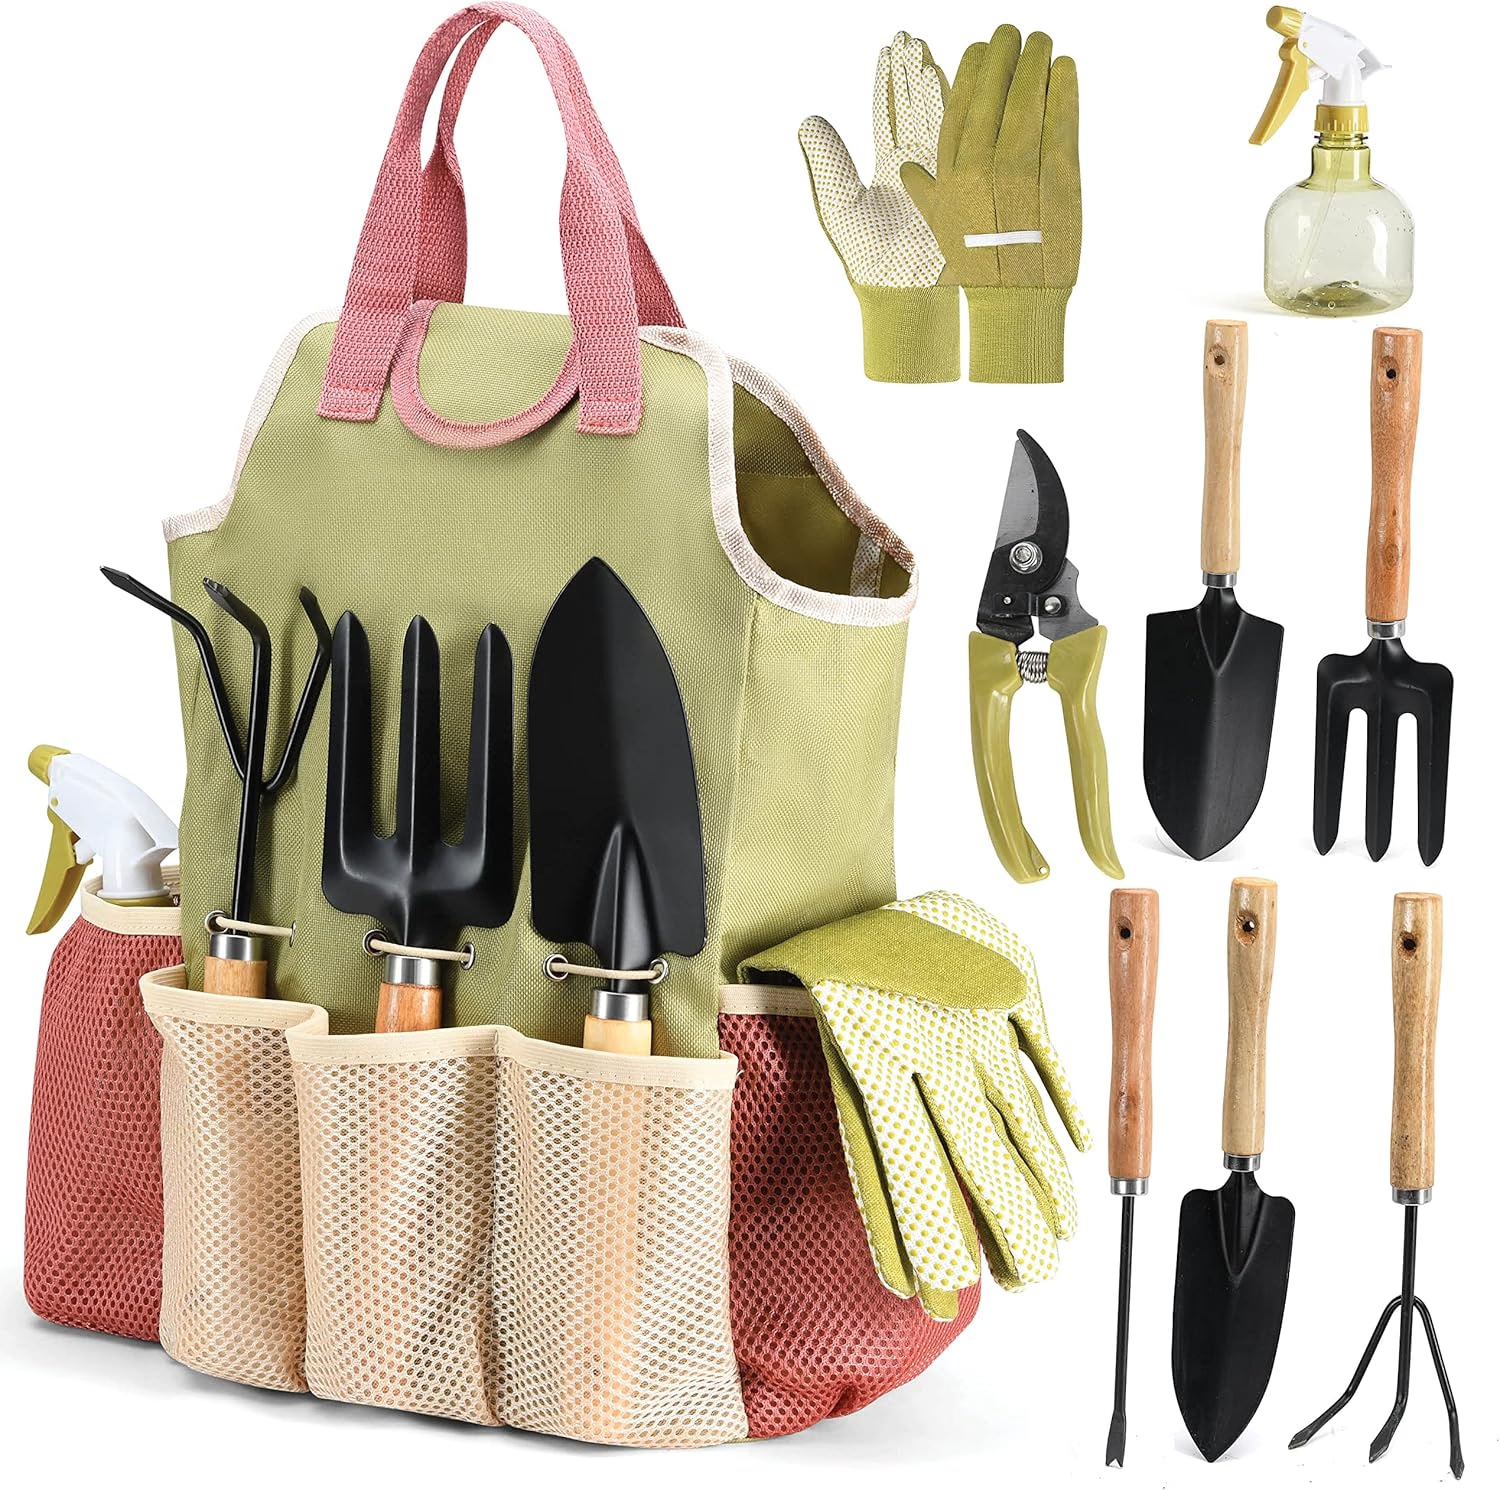
PLAY22 Gardening Tools Set of 10
A 10-piece hand tool set with a carry bag — trowel, transplanter, pruners and weeder. Suited to repotting and general container work.
View on Amazon ↗The evolutionary survival mechanism of the Alocasia centers on its modified stem structures: corms and rhizomes. A corm is a swollen, starch-storing underground stem base wrapped in papery tunic layers. In nature, when seasonal monsoons yield to brief dry spells or temperature drops below 60°F (15.5°C), the aerial foliage of an Alocasia may completely senesce (die back). The plant reabsorbs mobile nutrients—primarily nitrogen, phosphorus, and potassium—from its outer leaves, directing that energy down into the corm.
At the root zone (rhizosphere), gas exchange is just as critical as moisture. When potting mix becomes dense, muddy, or suffocated by standing drainage water, fine root hairs quickly suffer from hypoxia (oxygen deprivation), leaving the door wide open for opportunistic fungal pathogens like Pythium and Phytophthora. Conversely, an open, biologically active substrate enables robust nutrient uptake and rapid vegetative vigor.
"Successful indoor gardening isn't a game of luck—it is the art of respecting root biology and working in harmony with natural physiological cycles."
Understanding this natural adaptation is the "hidden secret" to Alocasia survival: a leaf-less Alocasia is rarely a dead Alocasia. So long as the underground corm remains structurally firm and free of soft-rot bacterial decay (Pectobacterium carotovorum), the plant retains meristematic tissue capable of generating an entirely new root architecture and lush leaf canopy within 21 to 45 days given proper warmth and humidity. To learn more about standard botanical classifications of the Araceae family, refer to the taxonomic archives at the Royal Horticultural Society.
2. Essential Environmental & Care Requirements
To keep your Alocasia from dropping into panic-induced dormancy, you must replicate its native rainforest microclimate within your indoor space. Balance light intensity, atmospheric moisture, and substrate porosity carefully.
Photoperiod & Light Quality
Alocasias require high-density, indirect light to fuel rapid leaf tissue expansion. Position your plant within 2 to 4 feet (0.6 to 1.2 meters) of an east-facing window or a shaded south-facing window. If relying on artificial light, aim for a daily light integral (DLI) of 10 to 14 mol/m²/day, or set a full-spectrum LED grow light to deliver 300 to 500 foot-candles (3,200 to 5,400 Lux) for 12 to 14 hours daily. Harsh, direct sun over 800 FC will quickly bleach chlorophyll molecules and scorch thin leaf cuticles.
Thermal & Atmospheric Parameters
Keep ambient temperatures strictly between 68°F and 85°F (20°C to 29°C) during the day, with night temperatures not dipping below 62°F (16.5°C). Sustained exposure to temperatures under 55°F (13°C) forces the corm into metabolic dormancy.
Relative humidity (RH) must be maintained at a minimum of 60%, though 70% to 80% is optimal. When indoor air drops below 40% RH, cell turgor pressure drops, stomata close to restrict water loss, leaf margins turn brown and crispy, and the plant becomes highly susceptible to two-spotted spider mites (Tetranychus urticae).
Substrate Mechanics & Hydration
Alocasias demand an open, coarse "aroid substrate" that balances high moisture retention with extreme air permeability (macro-porosity). Never use standard, heavy peat-based potting soils alone. Combine:
- 30% coarse perlite or horticultural pumice (size #3 or #4)
- 30% medium-grade orchid bark (Douglas fir or pine bark chips)
- 20% coco coir fiber or chunky peat moss
- 10% horticultural charcoal (flushes impurities and maintains aerobic stability)
- 10% quality worm castings (microbial inoculation)
💡 Pro-Tip: Always hydrate your Alocasia with room-temperature water (68°F–72°F / 20°C–22°C). Cold tap water under 55°F (13°C) induces thermal root shock, triggering immediate stomatal closure and halting nutrient absorption for up to 48 hours. If tap water contains heavy chloramines or fluorine, use distilled water or reverse-osmosis water to avoid tip necrosis.
3. Step-by-Step Cultivation, Feeding & Propagation
If your Alocasia has lost all its leaves, do not throw it away! Follow this proven, systematic protocol to resurrect a naked corm and establish a thriving plant:
The Corm Resuscitation & Propagation Protocol
- Unpot and Perform a Rhizosphere Audit: Gently extract the plant from its container. Shake away all old, compacted soil. Rinse the root mass under tepid running water (70°F / 21°C).
- Expose and Inspect the Central Corm: Trim away all soft, dark brown, or foul-smelling roots using sterilized micro-tip pruning shears. Healthy Alocasia corms are firm, light tan or ivory inside, and resist gentle thumb pressure.
- Fungicidal Sanitation Bath: Soak the firm, cleaned corm for 15 minutes in a mild solution of 3% hydrogen peroxide mixed with water at a 1:4 ratio (or 1 tsp copper fungicide per gallon of water). This eliminates residual Pythium or Rhizoctonia spores.
- Prepare the Incubation Substrate: Fill a clear plastic propagation container or small 4-inch (10 cm) nursery pot with pre-moistened perlite, coarse stratum, or damp long-strand Chilean sphagnum moss.
- Position the Corm: Plant the corm upright, ensuring the top growth tip (apical meristem) points upward and is positioned 0.5 inches (1.3 cm) above the substrate surface, while the bottom base remains submerged in the medium.
- Enclose in a High-Humidity Micro-Environment: Cover the container with a clear dome, plastic zip bag, or glass cloche to lock in 85% to 95% relative humidity. Place the setup on a seedling heat mat set precisely to 75°F–78°F (24°C–25.5°C) under a indirect grow light.
- Monitor Root & Shoot Sprouting: Within 14 to 28 days, tiny white root initials will push outward from the base, followed by a light green leaf sheath emerging from the top.
- Repot and Feed: Once roots reach 2 inches (5 cm) long and the first leaf opens fully, repot the plant into the chunky aroid substrate blend described in Section 2. Apply a half-strength organic liquid NPK fertilizer (such as a balanced 3-1-2 formula with trace minerals) every two weeks during active vegetative phases to gently fuel cell division without risking root burn.
⚠️ Important Caution: Never let your pots stand in saucer runoff water for more than 15 minutes. Stagnant standing water completely depletes dissolved oxygen levels within 2 inches of the container base, creating anaerobic conditions that rapidly cause root rot and stem collapse.
4. Common Problems, Pests & Troubleshooting
Even under careful management, indoor Alocasias may occasionally exhibit physiological distress or insect pressures. Use this diagnostic reference to quickly identify and correct issues before defoliation occurs:
Leaf Yellowing (Chlorosis) & Sequential Shedding
It is completely normal for smaller, older leaves at the base of the plant to yellow and die off as a new, larger leaf emerges. The plant is simply reabsorbing mobile nitrogen to fuel larger structural growth. However, if multiple leaves yellow simultaneously, check for underwatering or low room temperatures (<60°F / 15.5°C).
Corm Rot vs. Environmental Dormancy
- Dormancy: Leaves wither and drop, but the corm remains solid, firm, and securely anchored in dry or semi-moist soil. Solution: Reduce watering by 70%, keep warmth above 65°F (18°C), and wait for spring light levels to re-trigger growth.
- Corm Rot: Leaves turn limp and mushy at the petiole junction. The base of the plant feels soft or squishy when compressed between two fingers, often giving off a sour odor. Solution: Immediately initiate the Corm Resuscitation Protocol detailed in Section 3, carving away all decayed tissue down to clean, white stem material.
Spider Mites (Tetranychus urticae)
Because Alocasia leaves feature broad, smooth underside laminae, they are primary targets for spider mites, which pierce plant cells to extract sap.
- Signs: Fine silk webbing around petiole junctions, speckled yellow undersides (stippling), and dusty residue on leaf backs.
- Treatment: Isolate the plant. Wash foliage thoroughly with a steady stream of room-temperature water. Spray all leaf surfaces bi-weekly with an insecticidal soap or a 0.5% solution of cold-pressed organic neem oil combined with horticultural soap. Increase ambient humidity above 65% to suppress mite reproduction cycles.
For diagnostic charts on diagnosing vector-borne plant pathogens, inspect the extension resources hosted by the University of Florida IFAS Extension.
5. Frequently Asked Questions
Why is my Alocasia dropping all of its leaves all at once?
Sudden, total leaf loss is typically triggered by environmental shock: a sudden temperature drop below 55°F (13°C), extended low humidity (<30% RH), severe underwatering, or root rot caused by dense, waterlogged soil. When stressed, the plant drops its foliage to conserve moisture and enters dormancy, preserving its energy inside the corm.
How do I know if an Alocasia corm is dead or alive?
Unpot the plant and squeeze the corm between your thumb and forefinger. If the corm feels hard, solid, and heavy (similar to a firm potato), it is fully alive and ready to re-sprout. If it feels squishy, hollow, or oozes brown liquid when squeezed, the tissues have decayed and it can no longer be saved.
How long does it take for a bare Alocasia corm to re-grow leaves?
Under ideal conditions— warmth between 75°F–80°F (24°C–27°C), relative humidity above 75%, and bright indirect grow lights—a healthy corm will initiate root growth in 7 to 14 days and push its first emergent leaf sheath within 3 to 6 weeks.
When is the best time of year to implement these changes?
Early spring through mid-summer represents the active metabolic window when indoor plants can rapidly utilize increased light intensity, elevated room warmth, and fresh nutrients. During winter dormancy, reduce hydration frequency significantly, pause fertilization, and wait until spring to repot or split corms.
How quickly will I see visible improvements after reviving my plant?
Once a dormant or rescued corm re-establishes its root architecture, foliage responds rapidly. You will typically see noticeable leaf emergence, firm petiole turgidity, and deep emerald coloration within 14 to 21 days of moving the sprout into an active potting mix.
Is this resuscitation technique suitable for all indoor plant varieties?
This specific corm incubation protocol works exceptionally well for all Alocasia, Colocasia, Xanthosoma, and Caladium species. Modified versions (focusing on rhizome recovery) are equally effective for saving Monstera, Philodendron, Syngonium, Zamioculcas zamiifolia (ZZ plants), and Sansevieria (Snake Plants) suffering from severe root loss.
Have you tried resurrecting a leaf-less Alocasia using subterranean corms in your houseplant collection? Share your propagation success stories and photos with our global community on the PlantSavvy forums, explore more expert botanical guides across our plant care archives, or drop your questions below!
📋 Table of Contents ▼ Click to expand
PlantSavvyWorld
Editorial team
PlantSavvyWorld is an independent botanical education project. Articles are drafted with AI assistance, then edited and checked against university extension services, botanical garden collections and other published horticultural sources.
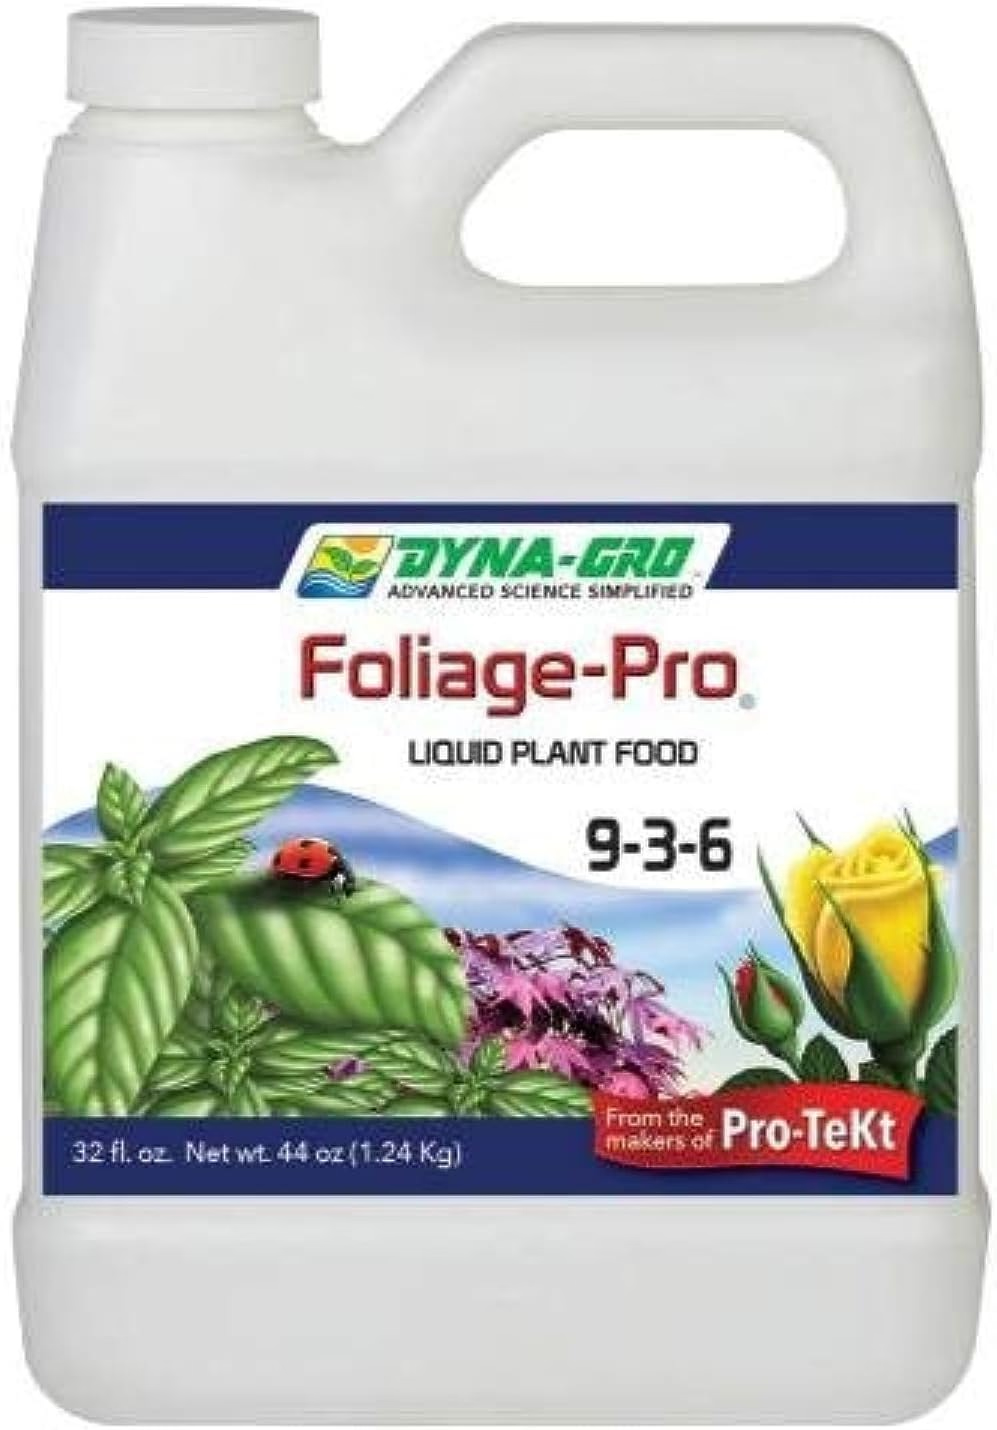
Organic Liquid Plant Food (FoxFarm)
A liquid organic plant food. Applied at label rate during active growth; most houseplants do better at reduced strength and not at all in winter.
View on Amazon ↗
PlantSavvyWorld
Editorial team
PlantSavvyWorld is an independent botanical education project. Articles are drafted with AI assistance, then edited and checked against university extension services, botanical garden collections and other published horticultural sources.
💬 Discussion