


Ever wondered how to protect your plants using nature's own microscopic shield?
Written with AI assistance, edited and checked against horticultural sources.
The secret, I discovered, didn't lie in expensive synthetic fertilizers or automated misting systems. It lay in the invisible, microscopic shield that plants have relied on for millions of years in the wild: a thriving, symbiotic rhizosphere ecosystem. Let us pull back the curtain on this subterranean world and look at how you can cultivate this natural protective shield in your own home.
1. Botanical Overview & Natural Habitat
To understand how to protect your indoor plants, we must first look at how they survive without human intervention. In their native habitats—ranging from the damp, leaf-littered floors of the Amazon rainforest to the aerated, gravelly cliffs of sub-tropical regions—plants do not grow in sterile mediums. Instead, they exist in a highly cooperative biological web.

PLAY22 Gardening Tools Set of 10
A 10-piece hand tool set with a carry bag — trowel, transplanter, pruners and weeder. Suited to repotting and general container work.
View on Amazon ↗At the root zone (rhizosphere), gas exchange is just as critical as moisture. When potting mix becomes dense, muddy, or suffocated by standing drainage water, fine root hairs quickly suffer from hypoxia (oxygen deprivation), leaving the door wide open for opportunistic fungal pathogens like Pythium and Phytophthora. Conversely, an open, biologically active substrate enables robust nutrient uptake and rapid vegetative vigor.
Under natural conditions, plants form close partnerships with beneficial microorganisms to protect themselves from these pathogens. Chief among these are mycorrhizal fungi and beneficial bacteria, such as Bacillus amyloliquefaciens and Trichoderma species. These microbes attach themselves to the outer cell walls of the plant's roots, creating a physical and chemical barrier—a microscopic shield.
The fungi extend their thread-like hyphae far beyond the reach of the plant's own root hairs, effectively increasing the root surface area by up to 1,000%. In exchange for simple sugars produced by the plant during photosynthesis, these fungi deliver water and essential nutrients (especially phosphorus) directly to the root cells.
Simultaneously, beneficial bacteria colonize the root surfaces, forming a protective biofilm. This biofilm physically blocks pathogenic spores from finding an entry point, while secreting natural compounds that inhibit fungal growth.
"Successful indoor gardening isn't a game of luck—it is the art of respecting root biology and working in harmony with natural physiological cycles."
When we bring plants indoors, we often strip away this protective biological community. By using sterile potting soils and applying harsh, salty synthetic fertilizers, we accidentally destroy this natural defense system. This leaves our plants completely dependent on us for survival, and highly vulnerable to root rot at the first sign of overwatering.
To restore this natural shield, we need to understand how the rhizosphere functions on a physiological level. Understanding these pathways allows us to transition from merely "keeping a plant alive" to fostering a self-sustaining ecosystem inside a clay pot.
2. Essential Environmental & Care Requirements
Fostering a thriving microbial shield requires maintaining an environment where both the plant and its microscopic partners can thrive. Soil microbes are living organisms; they require oxygen, moderate moisture, and warmth to remain metabolically active.
If the soil temperature drops too low, or if the soil becomes compacted and devoid of oxygen, these beneficial organisms go dormant or die, leaving the plant vulnerable to anaerobic pathogens.
The table below outlines the critical environmental parameters required to maintain both plant health and a strong, active biological root shield.
To delve deeper into how mycorrhizae build these complex soil networks, you can explore the Royal Horticultural Society guidance on mycorrhizal fungi, which explains the soil science behind these symbiotic relationships in detail.
3. Step-by-Step Cultivation, Feeding & Propagation
Establishing this microscopic shield in your indoor garden is a straightforward process when approached systematically. Here is the proven, systematic protocol I personally follow in a greenhouse to inoculate, feed, and maintain a robust rhizosphere:
Step 1: Optimize Container Aeration
Before introducing beneficial microbes, you must build a soil structure that supports them. Ensure all growing containers have generous drainage holes. Prepare an airy substrate mix by combining:
- 50% high-quality coco coir or peat moss
- 30% coarse perlite or horticultural pumice (to create large oxygen pockets)
- 20% orchid bark or horticultural charcoal (to provide structural variety and carbon surface area for microbes to colonize)
This highly porous structure prevents compaction, ensuring that oxygen-rich air can always penetrate to a depth of several inches, keeping anaerobic pathogens at bay.
Step 2: Introduce the Microscopic Inoculant
To build the microscopic shield, you must manually introduce the beneficial spores to the root zone.
- For Repotting: Dust 1 to 2 teaspoons (5 to 10 grams) of a high-quality mycorrhizal powder (containing Glomus intraradices or Glomus mosseae) directly onto the exposed root ball of your plant before placing it in the new container. Direct physical contact between the spores and the root tissue is critical for colonization.
- For Existing Plants: Mix 1 teaspoon of a soluble microbial inoculant containing Bacillus subtilis or Trichoderma into 1 gallon (3.8 liters) of room-temperature, dechlorinated water. Pour this drench slowly over the soil until it runs out the bottom of the pot. Repeat this application once a month during the active growing season.
Step 3: Stabilize Climate & Micro-Environment
Microbial shields require environmental stability to function at their peak. Position your plants at least 3 feet (90 cm) away from cold winter drafts, open windows, and forced-air heating registers. Rapid temperature fluctuations or dry, blasting heat can cause transpirational stress, forcing the plant to close its stomata and temporarily halt the production of carbon exudates, which starves the soil microbes.
Step 4: Feed the Shield with Organic Prebiotics
Unlike synthetic fertilizers, which are simple mineral salts, organic fertilizers act as "prebiotics" that feed both the plant and the soil biology.
- During active vegetative phases, nourish with half-strength organic liquid feeds, such as cold-processed seaweed, fish hydrolysate, or liquid humic acids.
- Dilute 1 tablespoon (15 ml) of organic fertilizer into 1 gallon (3.8 liters) of water. Apply this mixture once every 14 to 21 days. The organic compounds will gently fuel plant cell division and supply complex carbons that keep your microscopic shield active and multiplying.
Step 5: Incorporate Biological Protection into Propagation
When propagating stem cuttings in water or sphagnum moss, you can introduce this shield from day one. Dip the freshly cut stem into a light dusting of mycorrhizal inoculant before placing it into your propagation medium. Alternatively, add a tiny pinch of soluble beneficial bacteria to your water propagation vessel. This initiates early colonization, resulting in faster root initiation, thicker root structures, and a significantly lower rate of propagation rot.
💡 Pro-Tip: Always hydrate with room-temperature water, ideally between 68°F and 72°F (20°C to 22°C). Icy tap water induces thermal root shock, which causes fine root hairs to die off and halts both nutrient absorption and microbial activity for up to 48 hours. If you must use municipal tap water, let it sit in an open container for 24 hours prior to watering to allow dissolved chlorine gas to dissipate safely.
⚠️ Important Caution: Never let pots stand in saucer runoff water for more than 15 minutes. Stagnant water quickly creates anaerobic conditions that drown beneficial aerobic microbes, strip oxygen from the rhizosphere, and rapidly invite opportunistic fungal pathogens like Pythium and Phytophthora to destroy your plant's root system.
4. Common Problems, Pests & Troubleshooting
Even with a healthy biological shield in place, environmental stressors can occasionally disrupt the balance of your indoor garden. Recognizing the early warning signs of rhizosphere distress allows you to intervene before permanent damage occurs.
Fungal Root Rot (Rhizosphere Hypoxia)
- Symptoms: Lower leaves turn yellow and drop off; stems feel soft or mushy near the soil line; the soil emits a sour, swamp-like odor; roots appear brown, slimy, and easily slide apart when touched.
- Troubleshooting Steps:
- Gently slide the plant out of its pot and wash away the old, compacted soil.
- Use sterilized pruning shears to cut away all soft, brown, rotten roots.
- Spray the remaining healthy root system with a 3% hydrogen peroxide solution to eliminate lingering pathogen spores.
- Repot the plant into a clean pot with fresh, highly aerated substrate (minimum 30% perlite).
- Wait 3 to 4 days, then water with a fresh dose of beneficial microbial inoculant to re-establish the microscopic shield.
Fungus Gnats (Bradysia spp.)
- Symptoms: Tiny, black flies hovering around the soil surface; slow plant growth due to gnat larvae chewing on fine root hairs.
- Troubleshooting Steps: Fungus gnats thrive in wet, decaying organic matter. To combat them biologically, apply Bacillus thuringiensis israelensis (BTI) to the soil. BTI is a naturally occurring bacterium that produces crystal proteins which specifically target and destroy fungus gnat larvae without harming beneficial mycorrhizae, earthworms, or pets. Combine this biological control with yellow sticky cards placed at the soil level to catch flying adults.
To learn more about identifying and managing houseplant pests through biological controls, consult the University of California Statewide Integrated Pest Management Program (UC IPM), an authoritative database for diagnosing plant diseases and pests.
Substrate Mold & Salt Crusts
- Symptoms: A fuzzy white layer on the soil surface, or a crusty white-to-yellow buildup on the pot rim.
- Troubleshooting Steps: A white fuzzy mold on the soil is usually a harmless saprophytic fungus breaking down organic material. However, it indicates low airflow and high ambient moisture. Gently scrape off the top layer of mold, increase room air circulation with a small fan, and allow the top 2 inches (5 cm) of soil to dry out thoroughly before watering again.
If the buildup is crusty and hard, it is an accumulation of mineral salts from synthetic fertilizers or hard tap water. Flush the potting medium thoroughly with distilled or rainwater to leach out these salts, which can otherwise dehydrate root cells and damage your microbial population.
5. Frequently Asked Questions
When is the best time of year to implement these biological changes?
Early spring through mid-summer represents the active metabolic window when houseplants can rapidly utilize increased light and fresh organic nutrients. During this time, plants naturally produce more sugars to trade with soil microbes. While you can inoculate plants at any time of year, applications during winter dormancy should be scaled back, and hydration frequency should be reduced accordingly to match the plant's lowered metabolic rate.
How quickly will I see visible improvements after applying beneficial microbes?
Most foliage houseplants respond within 7 to 14 days of successful inoculation. You will notice increased leaf turgidity, a deeper green or emerald leaf color as nutrient uptake efficiency rises, and the emergence of active apical shoots. Below the soil surface, the microscopic shield begins forming within 24 to 48 hours of application, but it takes about 4 to 6 weeks for a comprehensive mycorrhizal network to fully mature throughout the pot.
Is this technique suitable for all indoor plant varieties?
Yes! It is exceptionally effective for tropical foliage collections including Monsteras, Philodendrons, Pothos, Calatheas, and Ficus species. It is also highly beneficial for succulents and cacti, which rely on mycorrhizal networks in their native, nutrient-poor desert soils to find moisture. The only exception is the brassica family (which is rarely grown as houseplants); almost all common indoor ornamentals form deep partnerships with these beneficial microbes.
Can I use tap water if I am trying to build a beneficial microbial soil network?
Yes, but with precautions. Municipal tap water often contains chlorine or chloramine to kill bacteria. While a single watering with tap water won't completely sterilize your soil, consistent use will degrade your microscopic shield over time. To protect your soil biology, let your watering can sit open for 24 hours so chlorine can evaporate, use a water filter that removes chloramines, or use harvested rainwater.
Will synthetic chemical fertilizers kill the beneficial microbes in my soil?
High concentrations of synthetic chemical fertilizers can harm your soil biology. These fertilizers contain high levels of soluble mineral salts. When these salts build up in the soil, they draw moisture out of microbial cells through osmosis, dehydrating and killing them. Additionally, if a plant receives an excess of free, synthetic phosphorus, it may stop feeding its mycorrhizal partners, causing the fungal network to wither. For a healthy, self-sustaining microscopic shield, prioritize organic fertilizers and prebiotics.
Have you tried this technique with your own houseplants? Share your results with our global grower community on the Community Forum, explore more expert guides on Plant Tips, or visit our Home Page for comprehensive plant care archives.
📋 Table of Contents ▼ Click to expand
PlantSavvyWorld
Editorial team
PlantSavvyWorld is an independent botanical education project. Articles are drafted with AI assistance, then edited and checked against university extension services, botanical garden collections and other published horticultural sources.
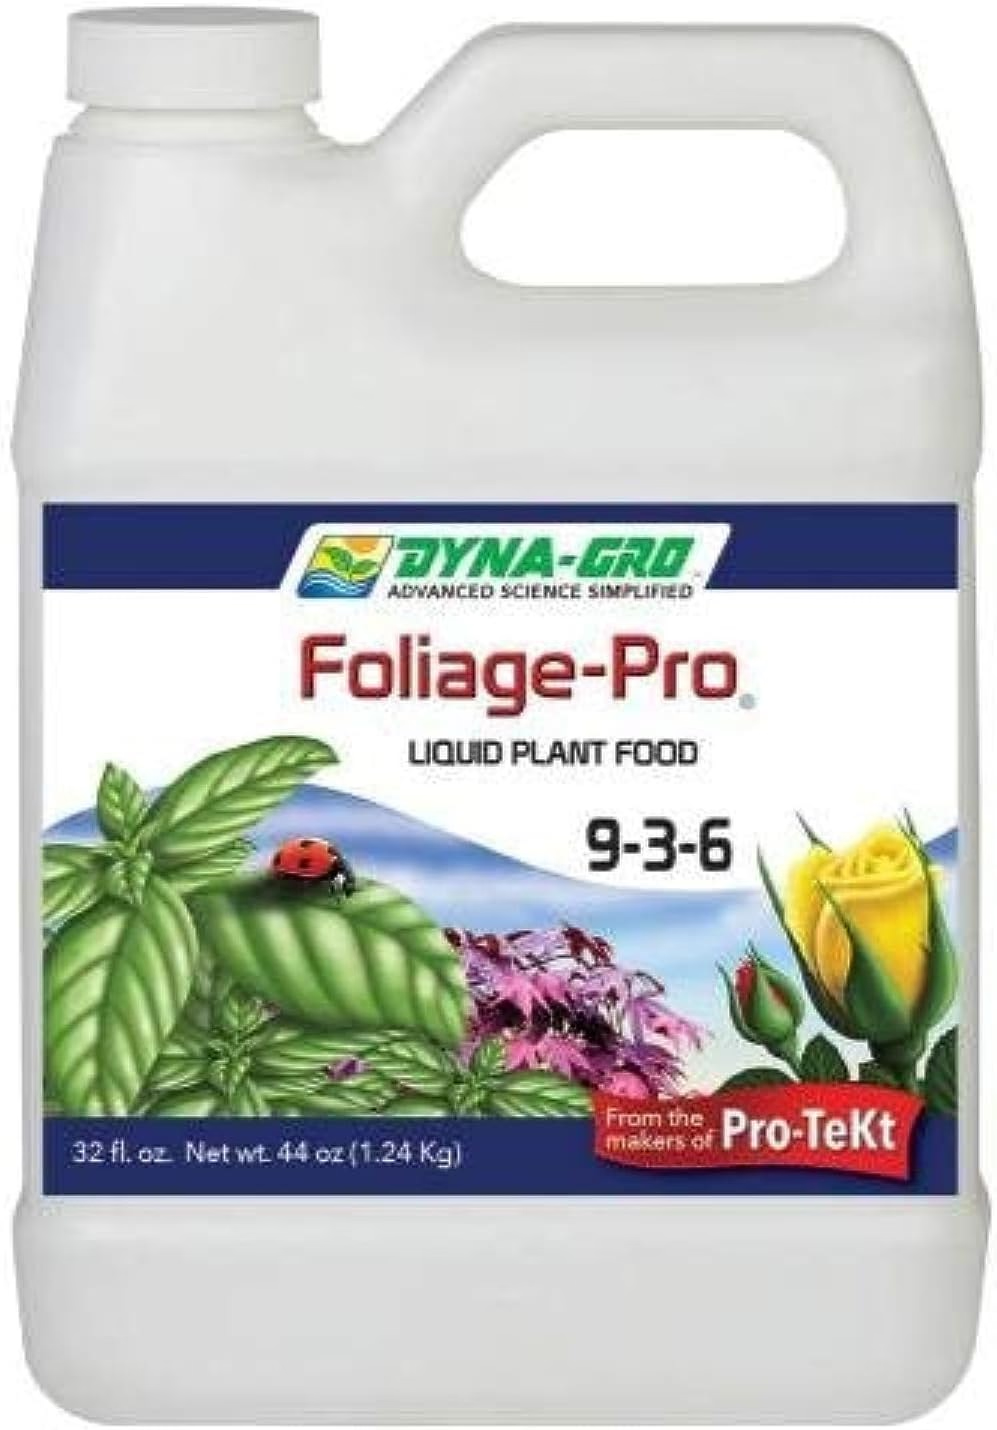
Organic Liquid Plant Food (FoxFarm)
A liquid organic plant food. Applied at label rate during active growth; most houseplants do better at reduced strength and not at all in winter.
View on Amazon ↗
PlantSavvyWorld
Editorial team
PlantSavvyWorld is an independent botanical education project. Articles are drafted with AI assistance, then edited and checked against university extension services, botanical garden collections and other published horticultural sources.
💬 Discussion