


Did you know there's actually a right and a wrong way to harvest your aloe vera?
Written with AI assistance, edited and checked against horticultural sources.
I can tell you that harvesting aloe is not just a chore; it is an anatomical intervention. Doing it incorrectly exposes your plant to airborne pathogens and causes systemic stress. Doing it correctly stimulates new growth and yields a highly potent, medicinal harvest. Let’s dive into the botanical science of harvesting this incredible plant the right way.
1. Botanical Overview & Natural Habitat
Aloe vera (scientifically classified as Aloe vera L. or Aloe barbadensis Miller) is a succulent perennial of the family Asphodelaceae. Originating in the dry, warm climates of the Arabian Peninsula, this species has evolved sophisticated survival strategies to thrive in arid conditions where water is scarce and solar radiation is intense.
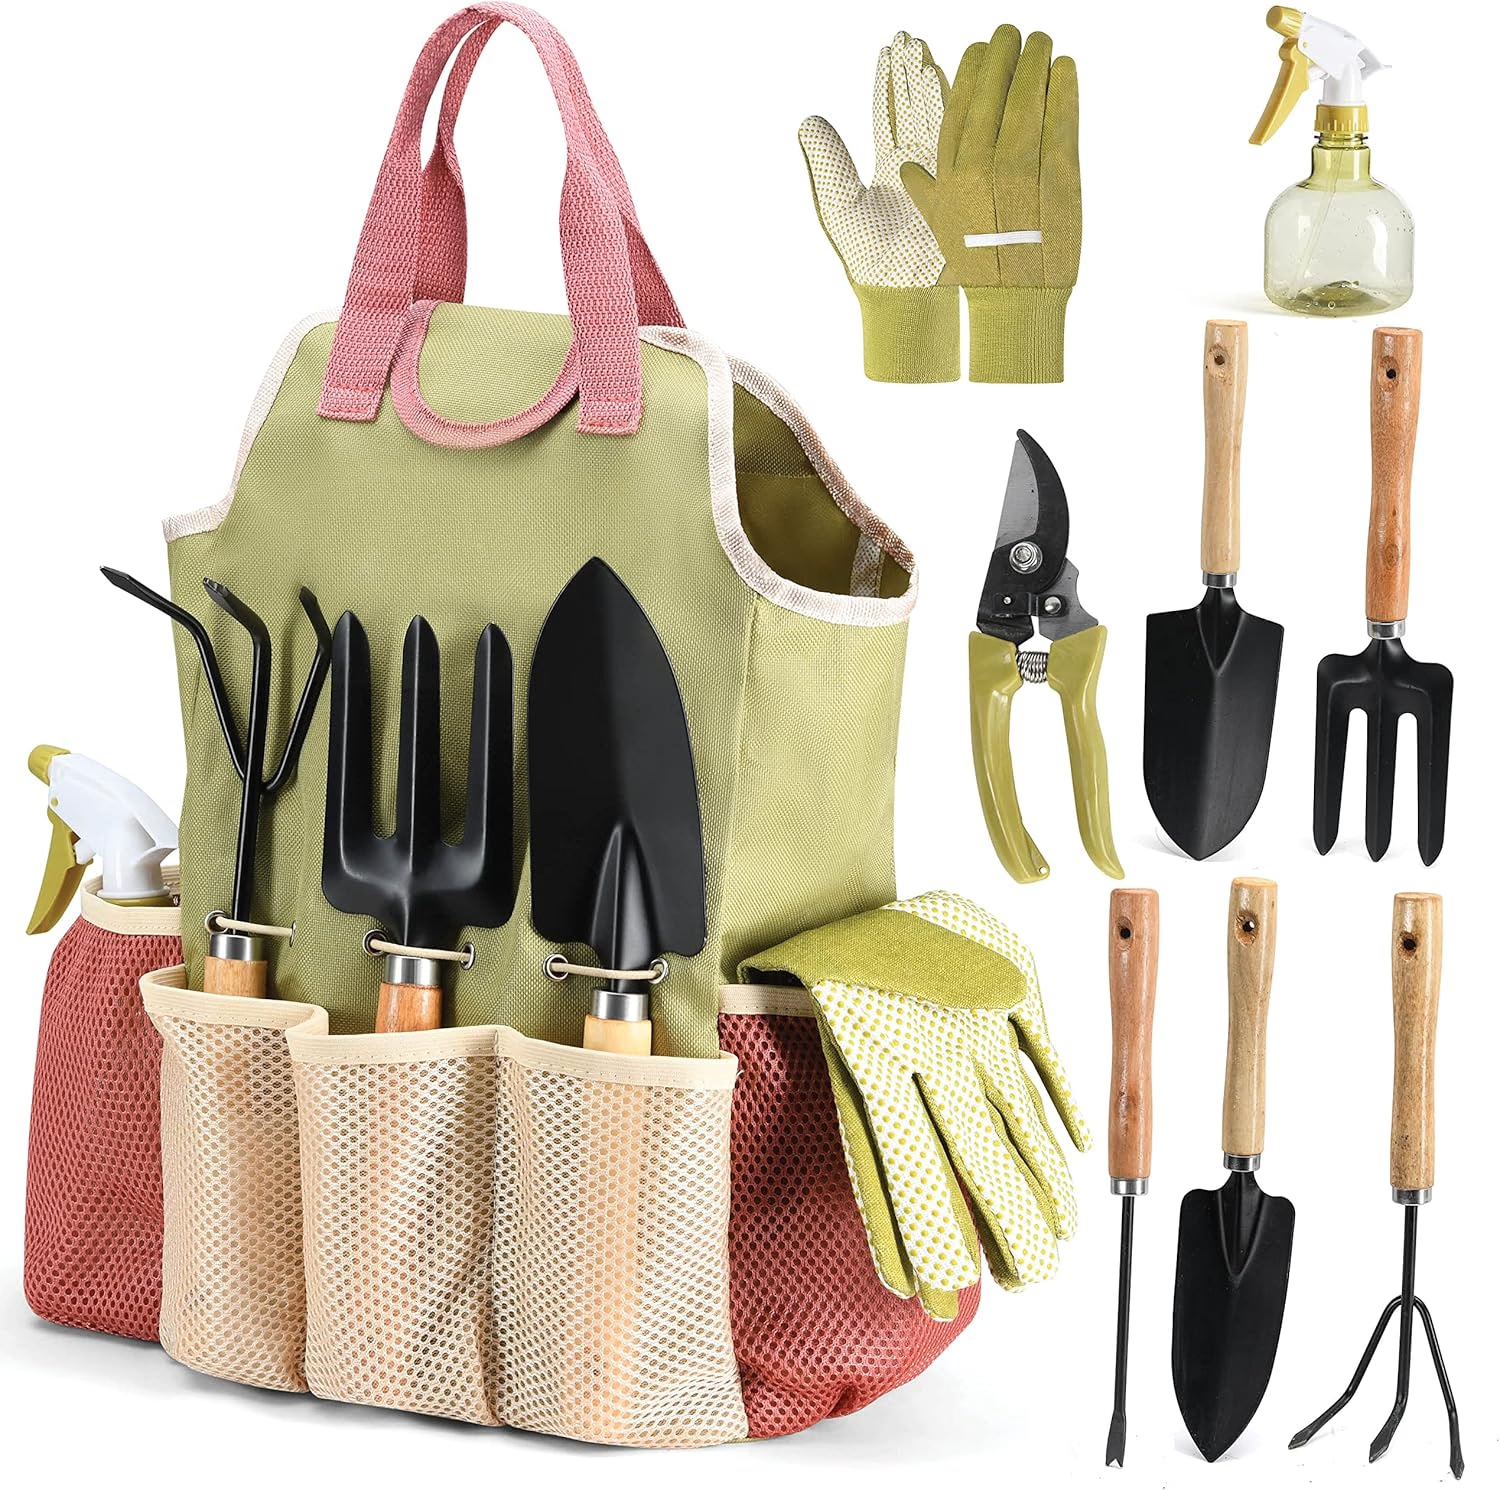
PLAY22 Gardening Tools Set of 10
A 10-piece hand tool set with a carry bag — trowel, transplanter, pruners and weeder. Suited to repotting and general container work.
View on Amazon ↗To understand why harvesting techniques matter, we must first look at the leaf’s internal anatomy. A healthy aloe leaf is divided into three distinct layers:
- The Outer Rind (Cuticle): This is the protective, photosynthetic outer skin. It regulates gas exchange and prevents moisture loss.
- The Latex Layer (Vascular Bundles): Just beneath the rind lies a system of vascular tubules that transport nutrients. This layer produces a bitter, yellow-to-orange sap containing anthraquinones (primarily aloin). Aloin acts as the plant’s natural defense mechanism, deterring herbivores with its bitter taste and potent laxative properties.
- The Inner Gel (Parenchyma): The center of the leaf consists of thin-walled parenchymal cells that store water in the form of a clear, mucilaginous gel. This gel is rich in vitamins, minerals, amino acids, and acemannan—a complex polysaccharide praised for its skin-soothing and immunological properties.
At the root zone (rhizosphere), gas exchange is just as critical as moisture. When potting mix becomes dense, muddy, or suffocated by standing drainage water, fine root hairs quickly suffer from hypoxia (oxygen deprivation), leaving the door wide open for opportunistic fungal pathogens like Pythium and Phytophthora. Conversely, an open, biologically active substrate enables robust nutrient uptake and rapid vegetative vigor, which directly translates to plump, gel-rich leaves.
To grow high-quality aloe vera with therapeutic-grade gel, we must respect these physiological structures. A plant suffering from root hypoxia or light starvation will produce thin, watery, and chemically depleted gel.
"Successful indoor gardening isn't a game of luck—it is the art of respecting root biology and working in harmony with natural physiological cycles."
2. Essential Environmental & Care Requirements
Growing an aloe vera plant that is healthy enough to withstand regular harvesting requires duplicating its native, semi-arid environment. When kept in poor lighting or dense, water-logged soils, the plant’s internal turgor pressure drops, making it highly susceptible to tissue rot after you make a cut.
To set your plant up for success, reference this botanical parameter guide:
If your aloe vera does not receive these baseline requirements, the leaves will become flat, soft, and thin. A thin leaf has a much higher ratio of bitter, irritating aloin to beneficial clear gel, making it highly disappointing to harvest.
3. Step-by-Step Cultivation, Feeding & Propagation
To keep your aloe vera in peak physical condition, you need a systematic care, propagation, and harvesting protocol. If you harvest from an immature or nutrient-starved plant, you run the risk of permanently stunting its growth.
Cultivation and Offset (Pup) Propagation
Aloe vera naturally propagates by producing "pups"—clonal offsets that emerge from the parent plant’s subterranean stolons.
- When to separate: Wait until the pup is at least 3 to 4 inches (7.5 to 10 cm) tall, or has developed at least 4 distinct leaves.
- Extraction: Gently depot the parent plant. Locate the connecting runner root (stolon) between the parent and the pup. Using a sterilized knife, slice the stolon cleanly, ensuring you preserve the pup’s independent root system.
- Potting: Plant the pup in a small, 4-inch (10 cm) terracotta pot filled with a gritty cactus mix. Do not water for 5 to 7 days; this allows the raw cut to callouse over, preventing pathogenic soil fungi from invading the tissue.
The Correct Step-by-Step Harvesting Protocol
Now let us address the critical core topic: the right and the wrong way to harvest.
The absolute wrong way to harvest is to cut an aloe leaf in half, leaving the remaining bottom portion attached to the plant. This creates an enormous, weeping surface wound that the plant cannot easily seal. The open wound drains the plant's resources, invites fungal infections, and creates an unsightly, brown, shriveled blemish.
Here is the correct, botanically safe method to harvest your aloe vera:
Step 1: Selection of Mature Leaves
Always select the oldest, outermost leaves at the very base of the rosette. These leaves have had the most time to accumulate complex polysaccharides and nutrients. A leaf is ready for harvest when it is thick, plump, and at least 8 to 10 inches (20 to 25 cm) long. Never harvest the immature, upright leaves in the center crown, as these are the plant’s primary growth center.
Step 2: Sterilize Your Equipment
Before touching your plant, sterilize a thin, sharp utility or paring knife with 70% isopropyl alcohol. Pathogens like Fusarium can easily ride on dirty blades, infecting the vascular system of the plant.
Step 3: Execute the Base Cut
Gently pull the targeted outer leaf slightly away from the main stem. Place your blade at the very base of the leaf, where it wraps around the main stalk. Slice horizontally and cleanly in a slight crescent shape. Your goal is to remove the entire leaf sheath cleanly without slicing into the main stem itself. This clean, minimal surface area cut allows the parent plant to quickly callouse over within 24 to 48 hours.
Step 4: Purge the Toxic Aloin (The Water Drain Step)
Immediately after cutting, place the leaf upright (cut-side down) in a clean glass jar or beaker at a 45-degree angle. Let it sit undisturbed for 15 to 20 minutes. You will notice a dark yellow, sticky liquid draining out. This is aloin. Draining this sap is absolutely essential because aloin can cause severe skin irritation, contact dermatitis, and intense abdominal cramping or diarrhea if ingested.
Step 5: Fillet and Extract the Gel
Lay the drained leaf flat on a clean cutting board and cut off the curved tip and the bottom 1 inch (2.5 cm) of the leaf. Next, slice off the sharp, thorny margins on both sides of the leaf. Slide your knife horizontally right underneath the top green skin, peeling it back to expose the clear gel underneath. Flip the leaf and repeat the process to remove the bottom skin.
Step 6: Rinse, Store, and Preserve
You will be left with a solid, clear, gelatinous fillet. Rinse this fillet under cold, running water for 15 seconds to wash away any microscopic traces of remaining yellow aloin.
- Short-Term Storage: Place the gel in an airtight glass container and refrigerate at 35°F to 40°F (2°C to 4°C) for up to 7 days.
- Long-Term Storage: Puree the gel in a clean blender and freeze it in silicone ice cube trays for up to 8 months. These frozen aloe cubes are perfect for soothing unexpected kitchen burns or sunburns.
💡 Pro-Tip: Always hydrate with room-temperature water; icy tap water induces thermal root shock and halts nutrient absorption for hours. When watering your indoor plants, let your watering can sit out overnight to off-gas chlorine and reach ambient room temperature.
⚠️ Important Caution: Never let pots stand in saucer runoff water for more than fifteen minutes; stagnant water creates anaerobic conditions that rapidly cause root rot. If water remains in the catch tray after irrigation, empty it immediately to preserve the root zone's oxygen levels.
4. Common Problems, Pests & Troubleshooting
When you harvest or care for aloe vera, keep a close eye out for early signs of physiological distress. Most problems manifest directly in the leaves, altering their texture and color.
Diagnostic Guide for Common Aloe Issues
- Symptoms of Overwatering (Root Rot):
If leaves become translucent, soggy, or soft at the base, and start dropping off, the plant is drowning. Gently lift the plant out of its pot. If you see slimy, black, or brown roots instead of firm, light-tan roots, you have active root rot. Trim away the decayed roots, spray the remaining root ball with a 3% hydrogen peroxide solution to kill remaining fungal spores, and repot into fresh, dry, gritty aggregate.
- Symptoms of Underwatering:
If the leaves lose their plumpness, develop a concave groove down the center, or become deeply wrinkled, the plant has exhausted its water reserves. Give the plant a deep, saturating soak.
- Red or Bronze Leaf Discoloration:
This color shift is a protective mechanism. When exposed to sudden, intense direct sunlight or extreme cold, the plant produces anthocyanins (red pigments) to protect its chlorophyll from damage. If you see this color change, move the plant 2 to 3 feet further away from the window or provide a sheer curtain to diffuse the light.
- Pest Management:
Keep an eye out for mealybugs (white, cottony clusters nestled in the leaf joints) and scale insects (hard, brown bumps on the leaves). Do not use harsh chemical pesticides on plants you intend to harvest for topical or culinary use. Instead, dip a cotton swab in 70% isopropyl alcohol and dab the pests directly to dissolve their protective waxy coatings.
For highly detailed botanical identification resources and pest diagnostics, you can refer to the comprehensive databases hosted by the North Carolina State University Extension.
5. Frequently Asked Questions
Why is my aloe vera plant turning brown after harvesting?
This occurs when the cut was made too close to the main stem, or if a jagged, dirty blade was used. If a jagged wound is left open, the damaged tissues will oxidize and turn brown. To fix this, ensure you always use a razor-sharp, sterilized blade. If a harvested stub is rotting, trim it off cleanly at the stem joint and dust the fresh cut with a light coating of ground cinnamon—a natural antifungal agent—to help it heal.
Is the yellow liquid from aloe vera poisonous?
The yellow liquid is aloin (also known as aloe latex). While not classified as a lethal poison, it is a powerful irritant. It contains natural anthraquinone glycosides that cause severe contact dermatitis on sensitive skin. If consumed, it acts as an intense laxative that can lead to severe electrolyte imbalances and dehydration. Always drain your harvested leaves upright for at least 15 minutes, and thoroughly rinse the clear gel fillet in clean water before use.
Can I cut an aloe leaf in half and leave the rest on the plant?
No. Slicing an aloe leaf in half is a common mistake. It leaves a wide, ragged, un-sealable wound that drains the plant’s energy, dries out the remaining leaf tissue, and invites fungal pathogens directly into the leaf's water-storing core. Always remove the entire leaf cleanly from the base of the plant. If you only need a tiny amount of gel, harvest a small, whole leaf, extract what you need, and store the leftover gel in your refrigerator.
How often can you harvest leaves from a single aloe vera plant?
As a rule of thumb, never harvest more than 15% to 20% of your plant's total foliage at one time. For an established, mature plant, this means taking no more than 2 or 3 outer leaves every 2 to 3 months. Harvesting too many leaves at once depletes the plant's moisture and nutrient reservoir, throwing it into systemic shock and stalling new leaf production.
When is the best time of year to harvest or fertilize?
Early spring through mid-summer represents the active metabolic window. During these months, the plant's cell division is at its peak, and it can rapidly heal cuts and utilize fresh nutrients. Apply a highly diluted, organic, low-nitrogen liquid fertilizer (such as kelp meal) once every 4 to 6 weeks during this period. Avoid harvesting and fertilizing during the dark, cold winter dormancy months, when the plant's metabolism slows down significantly.
How quickly will my aloe plant recover after harvesting?
A cleanly sliced harvest wound will begin to dry and callouse over within 24 to 48 hours. If the plant is kept in its optimal growing conditions—plenty of bright indirect light and warm temperatures—you will observe new leaf growth emerging from the center rosette within 10 to 14 days after a harvest.
For more information on succulent care standards and winter dormancy requirements, check out the resources provided by the Royal Horticultural Society.
Have you tried this clean-cut harvesting technique with your own houseplants? Share your results and photos of your succulent collection with our global grower community on the Community Forum, explore more of our botanical guides on Plant Tips, or visit our Home Page for our full archive of expert horticultural guides.
📋 Table of Contents ▼ Click to expand
PlantSavvyWorld
Editorial team
PlantSavvyWorld is an independent botanical education project. Articles are drafted with AI assistance, then edited and checked against university extension services, botanical garden collections and other published horticultural sources.
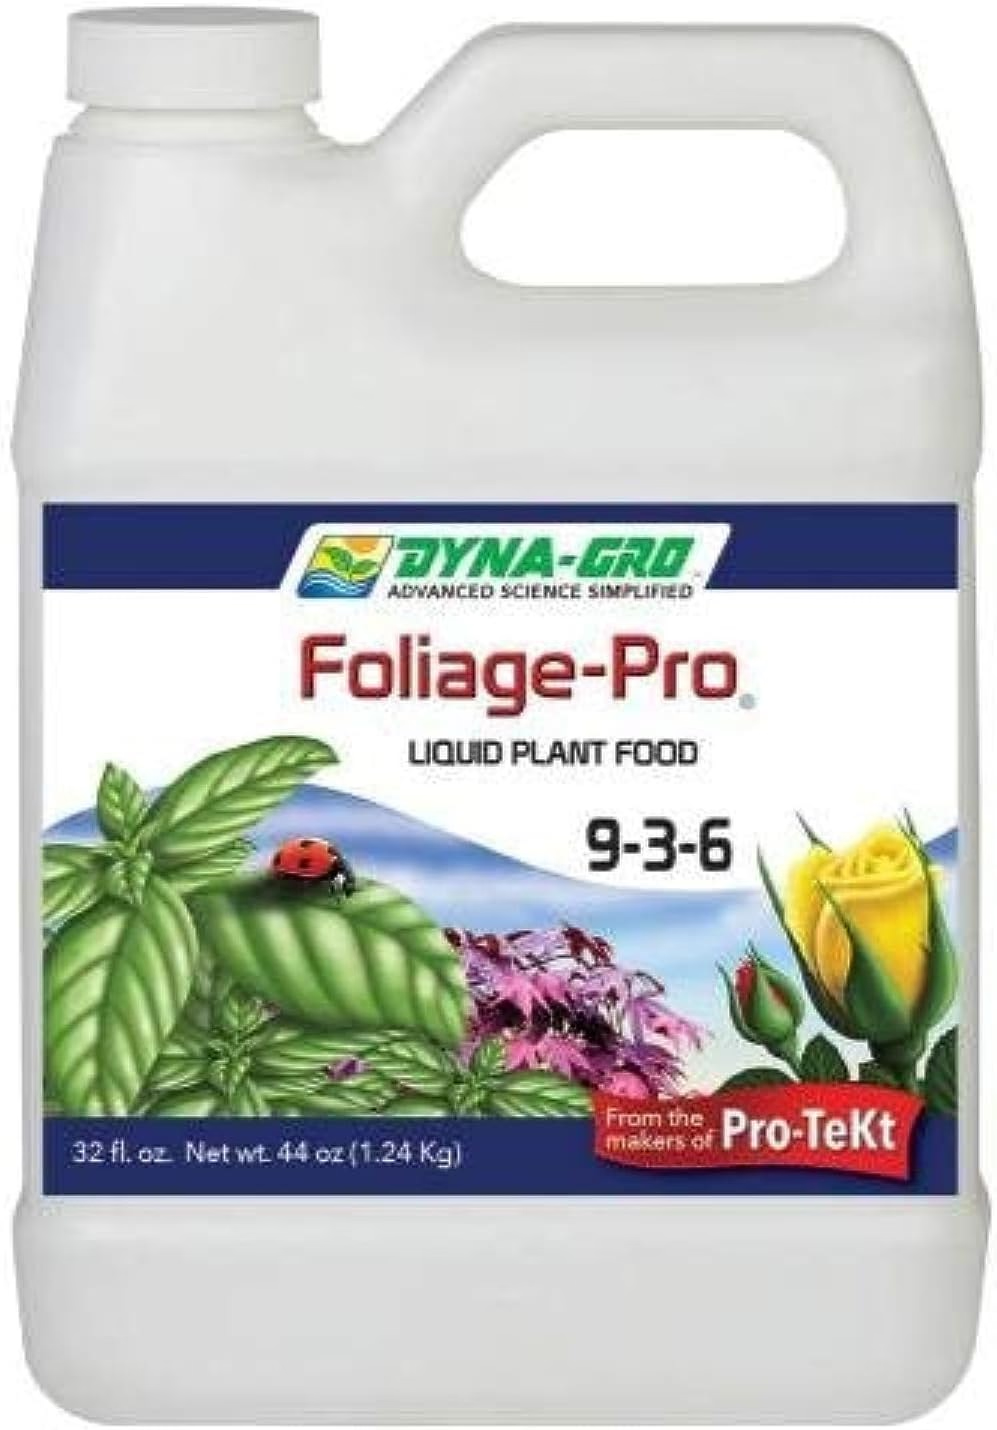
Organic Liquid Plant Food (FoxFarm)
A liquid organic plant food. Applied at label rate during active growth; most houseplants do better at reduced strength and not at all in winter.
View on Amazon ↗
PlantSavvyWorld
Editorial team
PlantSavvyWorld is an independent botanical education project. Articles are drafted with AI assistance, then edited and checked against university extension services, botanical garden collections and other published horticultural sources.
💬 Discussion