


Are your seeds taking forever to sprout on that cool spring windowsill?
Written with AI assistance, edited and checked against horticultural sources.
During one bitterly cold March, I had thirty seed trays of heirloom chili peppers sitting on my drafty kitchen windowsill. Three weeks crawled by without a single sprout. The soil was cold, waterlogged, and beginning to grow fuzzy white damping-off mold. It was a frustrating setback, but it forced me to pause and re-examine the micro-environmental physics of seed germination.
If your spring seed trays are stuck in limbo on a chill window ledge, you are not alone. Windowsills are notoriously deceptive microclimates: they offer alluring sunlight, but the glass acts as a thermal conductor for exterior winter chill, dropping local soil temperatures far below the metabolic threshold required to trigger germination.
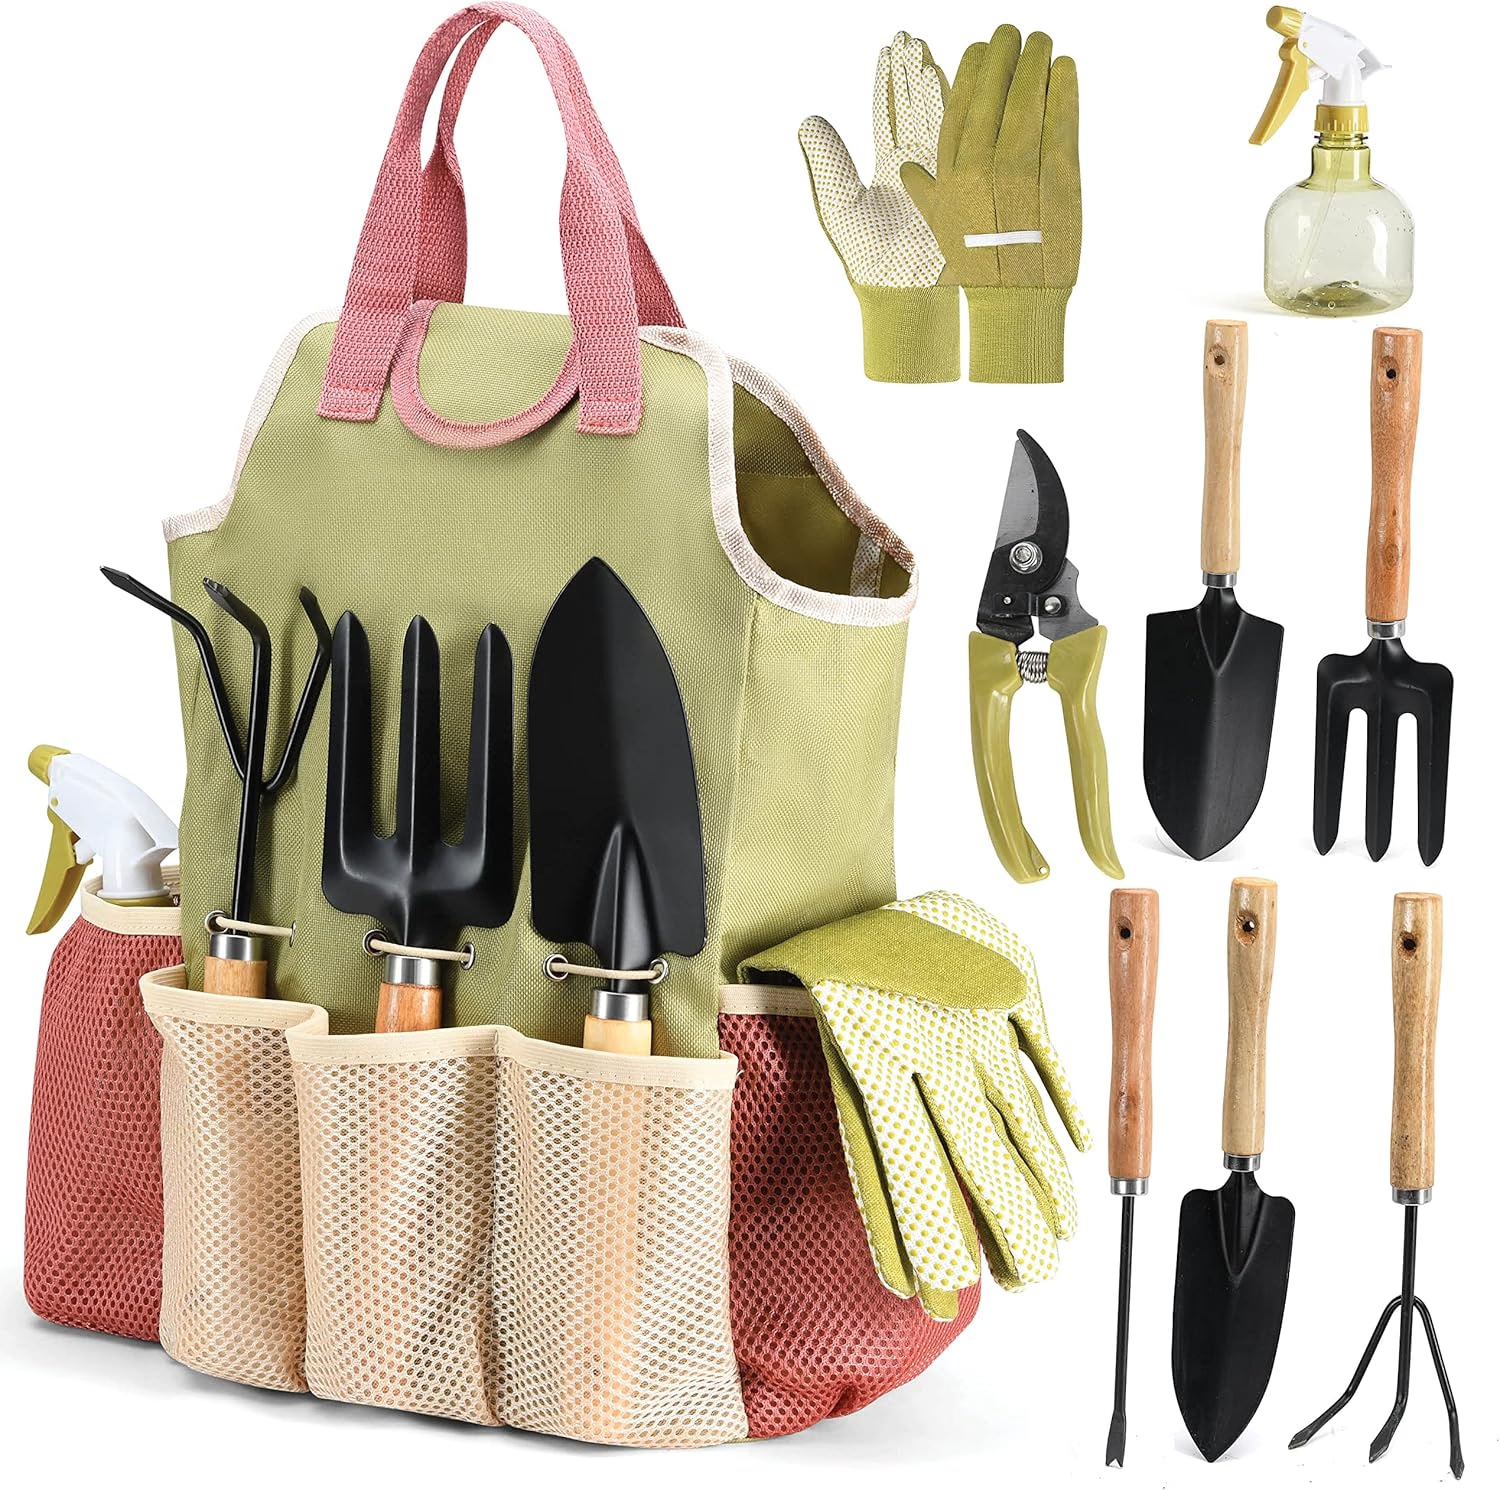
PLAY22 Gardening Tools Set of 10
A 10-piece hand tool set with a carry bag — trowel, transplanter, pruners and weeder. Suited to repotting and general container work.
View on Amazon ↗1. Botanical Overview & Natural Habitat
To understand why a cold windowsill halts seed growth, we must look inside the seed coat (testa). A dry seed is essentially a microscopic plant embryo held in metabolic arrest, governed by a delicate balance of plant hormones—primarily abscisic acid (ABA), which maintains dormancy, and gibberellic acid (GA3), which signals cell elongation and enzyme production.
When a seed imbibes water, it swells and initiates cellular repair. However, the biochemical machinery that breaks down stored endosperm starches into usable sugars (driven by the enzyme alpha-amylase) is entirely temperature-dependent.
- Cold Substrates (under 60°F / 15°C): GA3 synthesis stalls. The seed remains fully hydrated but metabolically paralyzed. In this vulnerable state, carbohydrates leach out into the surrounding media, attracting pathogenic fungi.
- Warm Substrates (75°F–85°F / 24°C–29°C): Gibberellic acid surges, activating enzymes that dissolve endosperm wall materials so the primary root (radicle) can breach the seed coat within days.
At the root zone (rhizosphere), gas exchange is just as critical as moisture. When potting mix becomes dense, muddy, or suffocated by standing drainage water, fine root hairs quickly suffer from hypoxia (oxygen deprivation), leaving the door wide open for opportunistic fungal pathogens like Pythium and Phytophthora. Conversely, an open, biologically active substrate enables robust oxygen diffusion, supporting rapid cellular respiration and vigorous initial root branching.
"Seeds don't measure calendar days—they measure soil temperature and moisture cues to decide when it is safe to wake up."
In their natural habitats, wild ancestors of our domestic vegetables germinate in response to soil warmth shifts caused by lengthening daylight hours and warming topsoil. According to research published by the RHS Science Department, topsoil warmth is the single most decisive environmental signal for breaking physiological seed dormancy in temperate and tropical flora alike.
2. Essential Environmental & Care Requirements
Achieving uniform, rapid seed germination indoors requires controlling four distinct environmental variables: thermal energy, air-filled porosity, vapor pressure deficit, and photoperiod.
Thermal Energy & Bottom Heat
Standard home thermostats are set for human comfort (68°F–72°F / 20°C–22°C), but cold drafty window sills drop soil temperatures down to 55°F–60°F (13°C–15°C) due to radiant heat loss through window glass. Electric heat mats placed directly beneath seed flats raise media temperatures by 10°F–15°F (5.5°C–8.3°C) above ambient room air, stabilizing the root zone at an ideal 78°F (25°C).
Substrate Moisture & Aeration
Germination substrate must balance moisture retention with structural aeration. Standard potting soils settle into tight, dense layers when watered from above, trapping stagnant water and squeezing out atmospheric oxygen.
To prevent hypoxia, mix your seed starting media with light, inorganic aggregates like coarse perlite, expanded pumice, or horticultural vermiculite. A healthy germination medium should maintain an Air-Filled Porosity (AFP) of 20% to 25% even at field capacity (fully saturated but drained).
Atmospheric Moisture & Humidity Domes
Before root emergence, seeds absorb water exclusively through imbibition across the testa. If the top 1/8 inch (3 mm) of soil dries out under household heating drafts, the emerging radicle desiccates and dies before reaching safety. Using clear plastic humidity domes traps moisture evaporated from the soil, creating a 90%+ relative humidity microclimate that keeps the seed coat soft and pliable.
Parameter Comparison Matrix
3. Step-by-Step Cultivation, Feeding & Propagation
Follow this systematic protocol to eliminate delays and ensure strong seedling emergence:
Step 1: Substrate Preparation & Aeration Enhancement
Begin with a sterile, low-nutrient seed starting mix (such as fine-milled coconut coir or peat moss). Amend the media by blending in 30% coarse perlite or 3/16-inch (4.7 mm) horticultural pumice by volume. Pre-moisten the mix in a clean bucket using warm water (80°F / 27°C) until it holds together when squeezed but drops no excess free water. Fill seed cell trays lightly without packing down the media.
Step 2: Seed Preparation & Biological Priming
For hard-coated seeds (such as peppers, tomatoes, eggplants, sweet peas, and okra), steep the seeds in a warm, weak chamomile tea infusion (approx. 85°F / 29°C) for 6 hours prior to sowing.
💡 Pro-Tip: Pre-soaking hard-coated seeds in warm chamomile tea for 6 hours naturally softens the seed coat (testa) while delivering mild tannic compounds that inhibit surface fungal spores without harming delicate plant tissues.
Step 3: Precise Sowing Depth & Soil Contact
As a general botanical rule, sow seeds at a depth equal to two to three times their maximum width.
- Small seeds (e.g., petunias, poppies, lettuce): Dust lightly onto the media surface; press down gently to ensure physical contact without covering completely, as they require light to break dormancy (positive photoblastism).
- Medium-to-large seeds (e.g., peppers, tomatoes, squash): Sow 1/4 inch to 1/2 inch (0.6 cm to 1.3 cm) deep. Cover with fine vermiculite, which holds surface moisture while staying loose enough for delicate shoots (hypocotyls) to push through.
Step 4: Micro-Climate Control & Thermal Stabilization
Place your planted seed flats onto a digital, thermostat-controlled seed heat mat set precisely to 78°F (25°C). Cover the tray with a tall clear humidity dome to lock in atmospheric moisture.
Position your setup at least 3 feet (0.9 m) away from drafty single-pane windows, outer doors, and uninsulated exterior walls. If a windowsill is your only space option, place a 1-inch (2.5 cm) sheet of rigid foam insulation board between the heat mat and the cold window ledge to prevent the window from leaching away bottom heat.
Step 5: Post-Emergence Management & Early Feeding
Check your trays twice daily. The moment you spot green stems pushing up through the substrate (when roughly 50% of the cells show life), alter your environmental parameters immediately:
⚠️ Important Caution: Remove the humidity dome and turn off bottom heat mats the instant seedlings emerge. Leaving high heat and 90%+ humidity on green sprouts leads to hyper-elongation (spindly, leggy stems) and triggers explosive Pythium outbreaks.
Move your seed trays under dedicated LED grow lights positioned just 3 to 4 inches (7.5 to 10 cm) above the seedling canopy, running for 14 to 16 hours daily. Keep ambient room temperatures around 65°F–70°F (18°C–21°C) to encourage stocky stem development.
Once the first set of true leaves opens (following the initial seed leaves or cotyledons), begin bottom-watering with a half-strength, balanced organic liquid fertilizer (such as hydrolyzed fish emulsion and kelp meal mixed to roughly 1.0–1.2 EC / 500–600 ppm) once every 7 to 10 days to support early root growth.
4. Common Problems, Pests & Troubleshooting
Damping-Off Disease (Pythium, Rhizoctonia, Phytophthora)
- Symptoms: Seedlings sprout normally, but within days the stem at the soil line turns thin, water-soaked, brown, and collapses overnight. Fuzzy white mycelium may appear across the top of the mix.
- Root Cause: A combination of cold, wet media, poor substrate drainage, stagnant air, and unsterilized trays.
- Corrective Action: Immediately remove affected cells to limit fungal spread. Increase room airflow using a small oscillating fan set to low speed (aim for a gentle movement across the foliage). Top-dress remaining healthy cells with a thin layer of dry activated horticultural charcoal or coarse sand, and transition exclusively to bottom-watering. Detailed management options for soil-borne pathogens can be found through the Oregon State University Extension Service.
Leggy, Spindly Growth (Etiolation)
- Symptoms: Hypocotyls stretch thin, pale, and weak, leaning heavily and falling over under the weight of their own cotyledons.
- Root Cause: Inadequate light intensity paired with high ambient air temperatures. Cold spring windowsills often lack sufficient light intensity (DLI), forcing the plant to spend energy stretching upward to find a brighter light source.
- Corrective Action: Lower ambient air temperatures to 65°F (18°C) and provide full-spectrum supplemental lighting delivering 200 µmol/m²/s PAR at canopy level. If repotting, bury the leggy stems of nightshades (tomatoes and peppers) up to their lowest leaves; they will grow adventitious roots along the buried stem section.
Seed Coat Stuck on Cotyledons ("Helmet Heads")
- Symptoms: The seedling emerges, but the hard seed coat remains clamped over the tip of the cotyledons, preventing them from expanding and photosynthesizing.
- Root Cause: Sowing too shallowly (preventing the soil from stripping the shell naturally) or low air humidity during emergence.
- Corrective Action: Place a single drop of warm water directly onto the stuck seed shell. Wait 15 to 20 minutes for the tissue to soften, then gently pull the shell free using fine tweezers. Never force a dry shell off, as this will tear the cotyledon.
Green Surface Algae & White Fungal Mold
- Symptoms: A slick green layer or fuzzy white webbing coats the top surface of your seed starting mix.
- Root Cause: Excess surface moisture combined with high humidity, slow air movement, and light exposure.
- Corrective Action: Scrape off the surface crust gently using a clean wooden craft stick. Dust the surface lightly with ground cinnamon (a natural antifungal) and allow the top 1/4 inch (0.6 cm) of media to dry between waterings.
5. Frequently Asked Questions
Why are my seeds taking so long to sprout on my windowsill?
Window glass acts as a cold sink during early spring. Even if your room thermostat reads 70°F (21°C), the microclimate within 6 inches (15 cm) of cold glass often hovers between 50°F and 60°F (10°C to 15°C). At these lower temperatures, metabolic enzymes slow down significantly. Tropical crops like peppers, eggplants, and tomatoes can take up to 21–28 days to sprout in cold soil, compared to just 4–7 days when kept at a stable 78°F (25°C) using bottom heat.
Do seed germination heat mats really make a difference?
Yes, electric heat mats make a dramatic difference. They warm the root zone 10°F to 15°F (5.5°C to 8.3°C) above ambient air, which speeds up enzyme activation, shortens germination times by 50% to 70%, and increases overall germination rates. However, once sprouts breach the soil surface, turn off the mat or remove the tray. Continuous bottom heat combined with low indoor light can cause seedlings to stretch and grow spindly.
How do I stop white mold from growing on my seed starting mix?
White mold (saprophytic fungus) thrives in still, moist, organic-rich environments. To stop it, use a sterile, soilless germination mix amended with 30% perlite for drainage. Water trays from the bottom rather than spraying the surface, run a gentle fan nearby to improve air circulation, and remove plastic humidity domes as soon as the first sprouts appear.
Should seed trays be placed in direct sunlight before sprouting?
No. Until seeds sprout, they do not require light (with a few exceptions, such as lettuce, petunias, and snapdragons, which need light to break dormancy). Direct sunlight shining on clear humidity domes can rapidly overheat the internal soil air, spiking temperatures above 95°F (35°C) and cooking dormant seeds. Keep trays in a warm, indirect-light area until sprouts emerge, then move them into bright light immediately.
What should I do if my seedlings emerge weak, tall, and leggy?
Leggy seedlings are seeking light. Move them closer to a light source immediately—ideally an adjustable LED or T5 fluorescent grow light kept 3 to 4 inches (7.5 to 10 cm) above the foliage. Lower the room temperature slightly (65°F–68°F / 18°C–20°C) and place a small fan nearby to gently move the stems. This slight physical movement triggers thigmomorphogenesis, causing the plant to release ethylene and build thicker, sturdier stems.
Have you tried these heating and substrate techniques with your seed trays this season? Share your setup photos and progress with our global grower community on the Community Forum, explore more botanically backed guides on Plant Tips, or visit our Home Page for complete plant care archives.
Tags: seed starting, germination, vegetable garden, planting tips, propagation, indoor gardening, seedling care
📋 Table of Contents ▼ Click to expand
PlantSavvyWorld
Editorial team
PlantSavvyWorld is an independent botanical education project. Articles are drafted with AI assistance, then edited and checked against university extension services, botanical garden collections and other published horticultural sources.
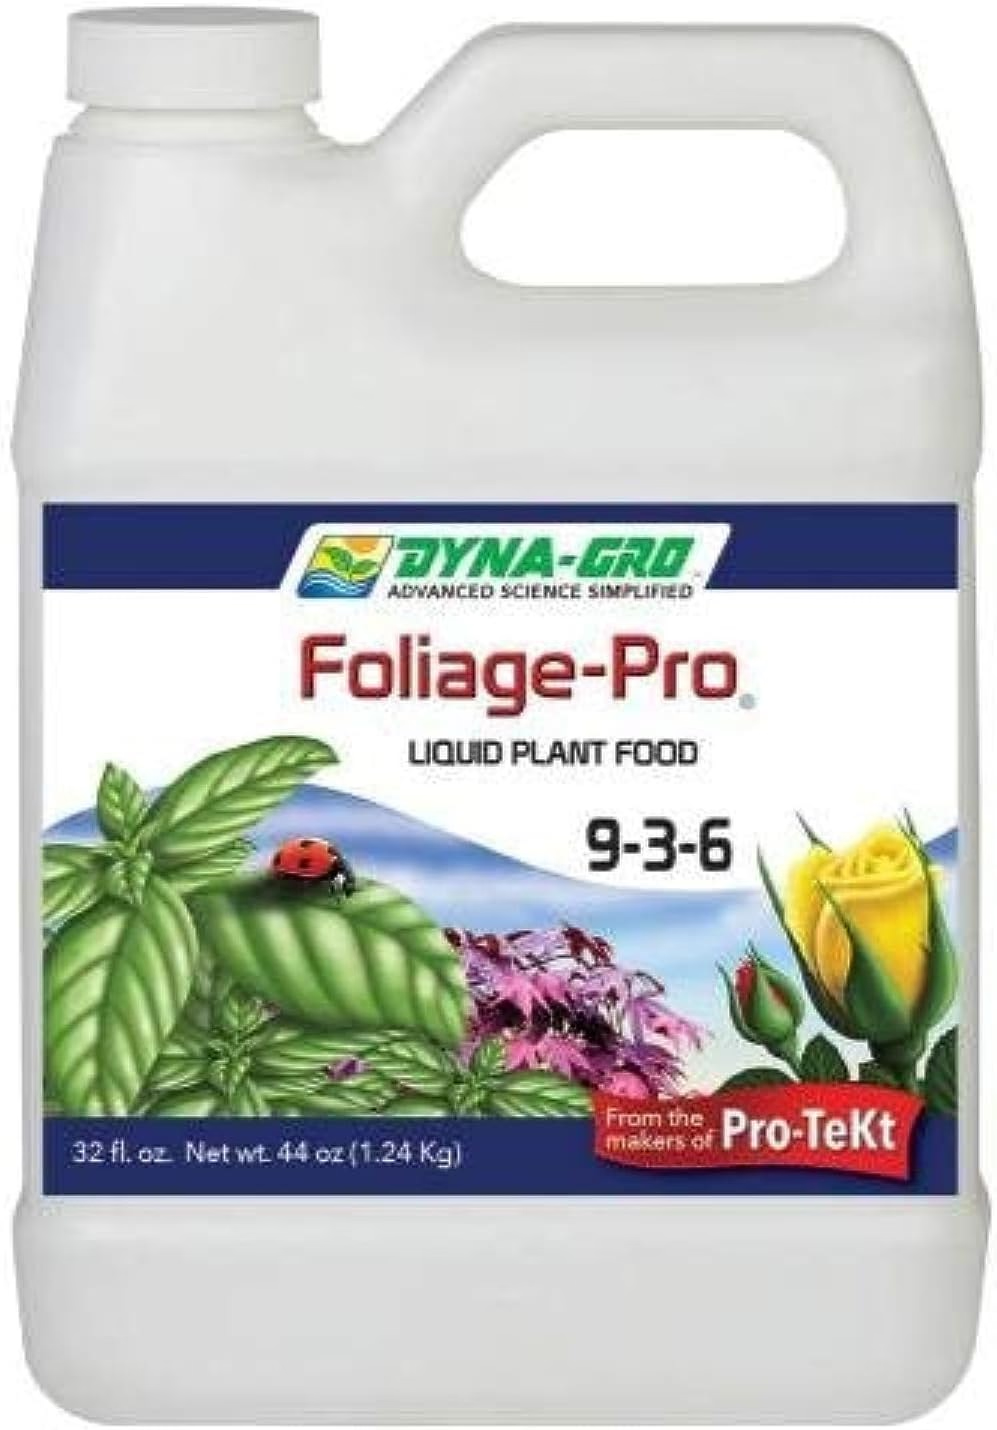
Organic Liquid Plant Food (FoxFarm)
A liquid organic plant food. Applied at label rate during active growth; most houseplants do better at reduced strength and not at all in winter.
View on Amazon ↗
PlantSavvyWorld
Editorial team
PlantSavvyWorld is an independent botanical education project. Articles are drafted with AI assistance, then edited and checked against university extension services, botanical garden collections and other published horticultural sources.
💬 Discussion