


Are you making the #1 mistake that kills store-bought orchids?
Written with AI assistance, edited and checked against horticultural sources.
If your grocery store or garden center orchid began to collapse weeks after bringing it home, you are not alone. The single biggest mistake growers make with store-bought orchids is suffocating the root system by treating an epiphytic plant like a terrestrial garden plant. Most commercial growers package orchids in tightly compressed, low-cost sphagnum moss plugs inside unvented plastic pots, hidden within decorative foil or ceramic sleeves. Combine this trapped moisture with the popular but destructive "ice cube method," and you create a perfect storm for immediate root destruction.
1. Botanical Overview & Natural Habitat
To keep a store-bought orchid flourishing for decades—not just weeks—we must first understand where it evolved. The vast majority of mass-market orchids belong to the genus Phalaenopsis. In their native habitats across tropical East Asia and Northern Australia, these plants do not grow in heavy, dense soil. They are epiphytes: non-parasitic plants that anchor themselves high above the forest floor on tree trunks, branches, and rock faces.

PLAY22 Gardening Tools Set of 10
A 10-piece hand tool set with a carry bag — trowel, transplanter, pruners and weeder. Suited to repotting and general container work.
View on Amazon ↗Because their natural habitat experiences frequent tropical downpours followed by rapid drying winds, orchid roots have evolved radical structural adaptations:
- The Velamen Layer: The silvery-white jacket covering an orchid root is a thick, multi-layered epidermis made of dead cells. This spongy tissue acts as an instant moisture reservoir, soaking up water vapor and rain in seconds.
- Photosynthetic Capability: Orchid roots contain active chloroplasts. When hydrated, the translucent velamen reveals the green photosynthetic tissue underneath, allowing roots to generate energy directly from ambient ambient light.
- Air-Dependency (Rhizosphere Gas Exchange): At the root zone (rhizosphere), gas exchange is just as critical as moisture. Epiphytic roots require continuous movement of atmospheric oxygen gas.
When potting mix becomes dense, muddy, or suffocated by standing drainage water, fine root tissues quickly suffer from hypoxia (oxygen deprivation). Deprived of oxygen, root cells collapse, leaving the door wide open for opportunistic fungal pathogens like Pythium and Phytophthora. Conversely, an open, biologically active substrate enables robust nutrient uptake, rapid vegetative vigor, and recurring floral displays year after year.
"Successful indoor gardening isn't a game of luck—it is the art of respecting root biology and working in harmony with natural physiological cycles."
2. Essential Environmental & Care Requirements
Replicating an orchid's canopy microclimate inside a modern home requires balancing five environmental drivers: ambient light, atmospheric humidity, substrate air porosity, ambient temperature, and structural drainage.
Store-bought orchids are uniquely sensitive to thermal shock. Subjecting an epiphytic tropical species to freezing water (such as melting ice cubes) drops root zone temperatures below 32°F (0°C), inducing sudden cellular necrosis, halting nutrient absorption, and initiating root decay within 48 to 72 hours.
The table below outlines the core parameters required to transition your store-bought orchid from survival mode to sustained growth:
💡 Pro-Tip: Always use your orchid's root color as your watering gauge rather than a calendar. When the velamen appears silvery-grey or white, the plant is dry and ready for a deep soak. When the roots are a rich, emerald green, the root cells are fully hydrated—hold off on watering!
⚠️ Important Caution: Never let pots stand in saucer runoff water for more than 15 minutes. Stagnant water deprives the root zone of oxygen and creates an anaerobic micro-environment that rapidly breeds root rot and bacterial soft rot (Pectobacterium carotovorum).
3. Step-by-Step Cultivation, Feeding & Propagation
If you have just brought home a new store-bought orchid, follow this step-by-step protocol to eliminate root suffocation and establish long-term vigor.
Step-by-Step Orchid Rehabilitation Protocol
- Unpack & Decompress the Root Mass:
Carefully slide the orchid out of its decorative outer pot. Strip away the tight nursery wrap and gently tease apart the dense plug of commercial sphagnum moss hidden directly beneath the main crown. This core plug is where moisture sits unchecked for weeks, slowly drowning the plant.
- Inspect, Prune, and Sanitize Roots:
Examine the root system thoroughly under bright light. Healthy roots feel firm, plump, and display green or silvery-white outer skins. Using bypass shears sanitized with 70% isopropyl alcohol, trim away all soft, hollow, brown, or black rotted roots. Dust light cuts with powdered cinnamon (a natural antifungal compound) or spray with 3% hydrogen peroxide.
- Repot into an Open Epiphytic Aggregate:
Select a clear plastic orchid pot with generous side ventilation slits (measuring roughly 4 to 6 inches / 10 to 15 cm in diameter). Position the orchid so the base of its bottom leaves sits roughly 0.5 inches (1.3 cm) below the pot rim. Fill in around the roots with a coarse potting mixture consisting of 70% coarse fir bark chips and 30% coarse perlite or pumice. Tap the side of the pot to allow the airy aggregate to settle naturally without forcefully ramming it down.
- Stabilize Climate & Micro-Environment:
Position the potted orchid within 2 to 3 feet (60 to 90 cm) of an east-facing window or a shaded south/west window. Ensure the plant is shielded from direct winter cold drafts below 55°F (13°C) and clear of dry forced-air heating registers to prevent micro-climatic humidity shock.
- Apply Dilute Organic Nutrients ("Weakly, Weekly"):
Orchids are light feeders that thrive on low-salt nutrient profiles. During active leaf and root growth (typically spring through early autumn), nourish your plant using a balanced, urea-free liquid orchid fertilizer (such as a 20-20-20 formulation) diluted to one-quarter strength (approx. 1/4 teaspoon per gallon of water). Water thoroughly with clean room-temperature water first to wet the velamen, then apply the dilute fertilizer solution. Flush the substrate with pure, non-chlorinated water once every 4 weeks to wash out accumulated mineral salts.
- Propagate via Offshoots (Keikis):
Occasionally, a healthy Phalaenopsis will produce a plantlet ("keiki") directly on a spent flowering spike node. Allow the keiki to grow on the mother plant until it develops at least 3 leaves and 3 distinct roots that are at least 2 inches (5 cm) long. Gently sever the keiki from the node using a sterile blade and pot it up separately in the standard fir bark and perlite mixture.
4. Common Problems, Pests & Troubleshooting
When store-bought orchids struggle, they display distinct morphological warning signs. Catching these physiological indicators early allows you to correct environmental errors before irreversible crown rot or systemic fungal failure occurs.
Problem Diagnostic Matrix
- Wrinkled, Leathery, Drooping Leaves:
- Cause: Paradoxically, this is usually caused by overwatering rather than underwatering. Overwatering destroys the root system; without functional roots, the plant cannot absorb water, causing the leaves to shrivel from severe internal dehydration.
- Solution: Immediately unpot the plant, cut away dead roots, and repot into fresh, dry bark coarse aggregate. Increase ambient relative humidity to 60% using a cool-mist humidifier until new root tips emerge.
- Crown Rot (Blacking at Leaf Bases):
- Cause: Water remaining pooled in the central cup (apical meristem) of the leaf crown overnight creates a breeding ground for bacterial pathogens.
- Solution: Always water orchids early in the morning so moisture evaporates before nightfall. If water collects in the crown, dab it dry immediately with a clean paper towel corner. Treat minor bacterial spots with a gentle douse of 3% hydrogen peroxide.
- Bud Blast (Premature Flower Loss):
- Cause: Rapid shifts in humidity (falling below 40% RH), sudden ambient temperature drops below 60°F (15°C), or exposure to ethylene gas from ripening fruit nearby.
- Solution: Move the orchid away from kitchens, drafty doors, and air vents. Maintain consistent micro-environmental conditions throughout the flowering cycle.
- Common Epiphytic Pests (Mealybugs and Scale):
- Symptoms: White cottony masses in leaf axils (mealybugs) or hard, brown dome-shaped bumps along flower stems (scale insects).
- Solution: Dip a cotton swab in 70% isopropyl alcohol and physically remove individual pests. For widespread infestations, spray the plant thoroughly with insecticidal soap or cold-pressed neem oil once every 7 days for 3 consecutive weeks to break the pest life cycle.
For detailed species identification sheets and advanced diagnostic tools, consult authoritative resources like the American Orchid Society Culture Sheets and the comprehensive Royal Horticultural Society Orchid Care Guide.
5. Frequently Asked Questions
Why are my orchid's leaves turning yellow and falling off?
Yellowing leaves are most frequently caused by root rot due to overwatering, suffocating media, or water trapped in the central leaf axils. While a single bottom leaf turning yellow and dropping once or twice a year is a natural part of senescent aging, multiple leaves turning yellow simultaneously indicates serious root damage or bacterial crown rot. Remove the plant from its container immediately to check root health.
Can I put ice cubes on my orchid to water it?
No, you should never place ice cubes on an orchid. Epiphytic orchids like Phalaenopsis are native to tropical rainforests where temperatures rarely drop below 60°F (15°C). Freezing ice water contacts sensitive velamen root cells and crown tissue, causing localized tissue freezing, cellular collapse, and root dieback. Always hydrate your orchids thoroughly using room-temperature water (around 68°F–72°F / 20°C–22°C).
How do I know if my orchid roots are rotten or just dry?
Healthy orchid roots are firm, plump, and turn bright green when wet or silvery-grey when dry. Rotten roots appear dark brown or black, feel squishy or mushy when gently squeezed between your fingers, and often leave behind a thin, string-like inner core when touched. Dry roots feel hollow, brittle, and papery, but remain light-tan or white in color.
Should I cut the stem off my orchid after the flowers fall off?
If the flower spike stays green and fresh after the blossoms drop, you can trim it back to about 0.25 inches (0.6 cm) above the second or third node from the base. This often stimulates dormant buds to produce a secondary branch of blooms within 4 to 8 weeks. However, if the flowering stem turns brown, dry, and woody, it is dead—cut it off completely near the base of the plant using clean, sanitized shears.
How quickly will I see visible improvements after repotting?
Most foliage houseplants and orchids respond within 7 to 14 days with noticeable leaf turgidity, deeper emerald root tip color, and active apical shoot or new root tip emergence once oxygen levels in the root zone are restored.
Have you tried this repotting and watering adjustment with your own indoor orchid collection? Share your results with our global grower community on the Community Forum, explore more expert guides on Plant Tips, or visit our Home Page for comprehensive plant care archives!
📋 Table of Contents ▼ Click to expand
PlantSavvyWorld
Editorial team
PlantSavvyWorld is an independent botanical education project. Articles are drafted with AI assistance, then edited and checked against university extension services, botanical garden collections and other published horticultural sources.
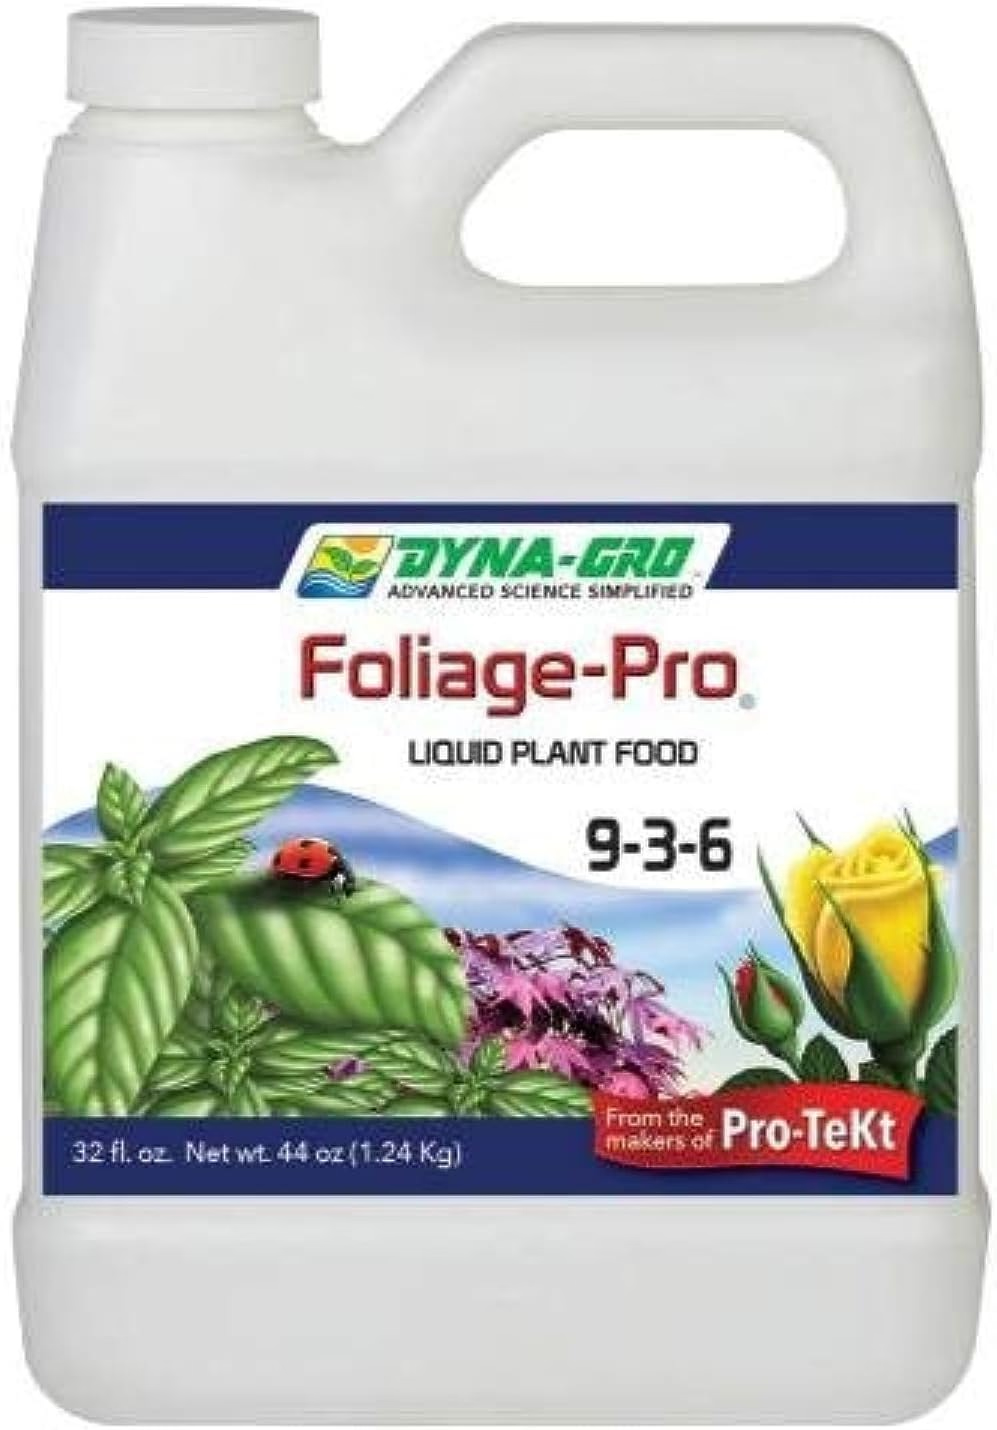
Organic Liquid Plant Food (FoxFarm)
A liquid organic plant food. Applied at label rate during active growth; most houseplants do better at reduced strength and not at all in winter.
View on Amazon ↗
PlantSavvyWorld
Editorial team
PlantSavvyWorld is an independent botanical education project. Articles are drafted with AI assistance, then edited and checked against university extension services, botanical garden collections and other published horticultural sources.
💬 Discussion