


You won't believe what happens when this single drop hits the fluid!
Written with AI assistance, edited and checked against horticultural sources.
I decided to run a simple physics experiment on my kitchen counter. I took a beaker of water and a pot of dry, peat-heavy soil that had become completely hydrophobic—shunning water so severely that any moisture simply beaded up and ran down the inside edges of the pot, leaving the core root ball bone-dry. I filled an eye-dropper with a concentrated liquid yucca extract, a natural organic surfactant.
You won't believe what happens when this single drop hits the fluid!

PLAY22 Gardening Tools Set of 10
A 10-piece hand tool set with a carry bag — trowel, transplanter, pruners and weeder. Suited to repotting and general container work.
View on Amazon ↗As soon as that single, dark drop of surfactant made contact with the surface of the water, the surface tension of the fluid broke instantly. The cohesive water molecules, which had been tightly clinging to one another, relaxed. When I applied this conditioned fluid to the crusty, hydrophobic potting mix, the soil absorbed the liquid like a sponge in a fraction of a second. The water didn't pool or channel; it bloomed outward in a perfect, dark halo, penetrating deep into the root zone where the plant could actually use it.
1. Botanical Overview & Natural Habitat
To understand why a single drop of surfactant or humic substance can fundamentally transform your plant's health, we must look to the forest floors and tropical canopies where our houseplants evolved. In their native habitats, tropical foliage plants such as Monstera deliciosa, Philodendron erubescens, and epiphyte species do not grow in dense, compacted dirt. Instead, they thrive in loose, highly aerated leaf litter, decaying wood, and mossy crevices. This natural substrate is rich in organic compounds, humic acids, and saponins (natural plant-derived surfactants) produced by decomposing organic matter.
In these wild environments, rainwater is soft, slightly acidic (typically with a pH of 5.5 to 6.5), and heavily oxygenated. As it trickles through the forest canopy, it picks up natural wetting agents that lower its surface tension, allowing it to coat the roots evenly.
At the root zone (rhizosphere), gas exchange is just as critical as moisture. When potting mix becomes dense, muddy, or suffocated by standing drainage water, fine root hairs quickly suffer from hypoxia (oxygen deprivation), leaving the door wide open for opportunistic fungal pathogens like Pythium and Phytophthora. Conversely, an open, biologically active substrate enables robust nutrient uptake and rapid vegetative vigor.
Water moves through a plant via a process called transpirational pull. This process relies entirely on the cohesive and adhesive properties of water molecules. Water climbs up the xylem vessels from the roots to the leaves, where it evaporates through microscopic pores called stomata. If the rhizosphere is dry or if the soil has become so compacted and hydrophobic that water cannot coat the root hairs, this continuous column of water breaks. The plant loses turgor pressure, its cells deflate, and metabolic processes—including photosynthesis—grind to a halt.
By understanding these physiological pathways, we can mimic the chemistry of the natural forest floor right inside our homes.
"Successful indoor gardening isn't a game of luck—it is the art of respecting root biology and working in harmony with natural physiological cycles."
2. Essential Environmental & Care Requirements
Creating the perfect indoor microclimate is about balancing several key environmental variables. Light, temperature, humidity, and soil structure must work in tandem to support healthy plant metabolism. For example, high light levels increase the rate of photosynthesis, which in turn increases the plant's demand for water and nutrients. If your substrate is compacted and cannot supply water quickly enough, the plant will suffer from acute light stress and leaf scorch, even if the light level itself is technically within the acceptable range.
For most tropical foliage plants, aim to maintain a relative humidity level of 50% to 70%. Temperatures should ideally hover between 65°F and 80°F (18°C to 27°C) during the day, with a slight drop at night to mimic natural outdoor cycles. Avoid placing your plants near drafts, air conditioners, or heating vents, as sudden temperature fluctuations can cause rapid moisture loss from the leaves, leading to leaf drop and crisp margins.
To help you monitor and adjust these conditions, reference the biological parameters in the comprehensive table below:
3. Step-by-Step Cultivation, Feeding & Propagation
To achieve the lush growth seen in commercial greenhouses, you need to transition from passive plant parenting to a systematic, biologically active routine. Here is the proven, systematic protocol I personally follow in a greenhouse:
Step 1: Optimize Container Aeration and Substrate Physics
Begin by selecting containers that feature ample drainage holes at the base. I highly recommend unglazed terracotta pots for moisture-sensitive plants, or clear plastic nursery pots for tropical plants so you can physically inspect root development.
- Prepare your substrate by mixing 40% premium coconut coir or sphagnum peat moss with 30% coarse perlite (size #3 or #4 is ideal) and 30% horticultural charcoal or medium-grade orchid bark.
- Gently loosen the root ball of your plant, shaking away any old, compacted peat.
- Repot into the new, highly porous aggregate. This texture creates micro-voids in the soil, allowing oxygen to diffuse freely around the roots even immediately after watering.
Step 2: Stabilize Climate & Micro-Environment
Proper positioning is key to preventing physiological shock.
- Place your houseplants in areas with stable ambient conditions. Position plants at least 3 feet (90 cm) away from cold winter drafts, doorways, and forced-air heating registers to prevent humidity shock.
- If your home is dry, group plants together to create a localized microclimate with higher humidity, or utilize a cool-mist humidifier.
- Ensure there is gentle air movement in the room—a small, oscillating fan set on low is excellent for preventing pockets of stagnant, humid air, which are prime breeding grounds for fungal spores.
Step 3: Apply the "Single Drop" Surfactant and Hydration Technique
To prevent hydrophobic dry pockets from forming inside your root zone, apply a mild organic surfactant to your watering routine once a month.
- Fill a clean container with 1 gallon (3.8 liters) of room-temperature water. Let tap water sit open for 24 hours to dissipate chlorine, or use rainwater.
- Add a single drop of organic yucca extract, or a single drop of pure, unscented liquid castile soap, to the water.
- Stir the mixture gently. You will notice that the surface tension breaks immediately.
- Pour this conditioned fluid slowly over the soil surface. Watch how the liquid immediately sheets across the entire surface and sinks evenly into the substrate, rather than pooling or running down the sides of the pot.
- Continue watering until the fluid drains freely from the bottom holes.
Step 4: Apply Dilute Organic Nutrients
During active vegetative phases (typically spring through early autumn), your plant requires a steady supply of macronutrients and trace minerals to fuel cell division.
- Once your soil is fully hydrated and open, apply a balanced, organic liquid fertilizer (such as cold-pressed seaweed or fish hydrolysate) diluted to half the strength recommended on the product label.
- The humic elements and surfactant molecules present in your conditioned water will act as natural chelating agents, binding to vital minerals like iron, calcium, and magnesium. This makes them significantly easier for the root hairs to absorb without running the risk of fertilizer salt burns.
Step 5: Advanced Propagation Using the Wetting Hack
You can apply these exact physical principles to water propagation:
- Take a healthy stem cutting with at least one node and one leaf, using sterilized pruning shears.
- Fill a clean glass vessel with filtered water.
- Add one drop of concentrated liquid kelp extract or liquid humic acid to the water. This drop changes the color of the water to a warm amber, introducing trace elements and natural auxins (rooting hormones).
- Place the cutting into the vessel. The lowered surface tension and rich organic compounds will stimulate rapid root-initial division at the node, with visible root nubs appearing in as little as 5 to 7 days.
💡 Pro-Tip: Always hydrate with room-temperature water; icy tap water induces thermal root shock and halts nutrient absorption for hours. If you must use tap water, let it sit in an open container overnight. This allows the temperature to equalize with your room's ambient climate and helps volatile chemical treatments evaporate.
⚠️ Important Caution: Never let pots stand in saucer runoff water for more than fifteen minutes; stagnant water creates anaerobic conditions that rapidly cause root rot. Always empty the drainage tray thoroughly after watering to keep the bottom of the root system highly oxygenated.
4. Common Problems, Pests & Troubleshooting
Even with the best practices, houseplant collections can face physiological stressors and pest pressures. Understanding how to read your plants' leaves and soil will allow you to intervene before serious damage occurs.
Hydrophobic Soil and Dry Pockets
If you notice that water passes straight through your plant's pot in a matter of seconds, but the pot still feels incredibly light when you lift it, your substrate has become hydrophobic. The peat or coco coir fibers have dried out to the point where they repel water molecules.
- The Fix: Place the entire pot into a deep sink or basin filled with 3 to 4 inches (7 to 10 cm) of warm water containing a drop of organic surfactant. Let the pot sit in this bath for 20 to 30 minutes. This process, known as bottom-watering, forces the soil to draw moisture upward via capillary action, rehydrating the hydrophobic core of the root ball.
Root Rot (Pythium/Phytophthora)
Root rot is caused by a lack of oxygen in the substrate, which allows destructive, anaerobic fungi to attack weakened root systems. Symptoms include yellowing lower leaves, soft or mushy stems, and a distinct swampy odor emanating from the soil.
- The Fix: Immediately slip the plant out of its pot and inspect the roots. Healthy roots should be firm, white, or light tan. Rotten roots will look dark brown or black, feel slimy, and slide apart under gentle pressure. Use sterilized shears to cut away all soft, rotten roots. Spray the remaining healthy roots with a 3% hydrogen peroxide solution to kill lingering fungal spores, and repot the plant in a fresh, highly aerated soil mix containing plenty of perlite and charcoal. For more information on preventing fungal pathogens in cultivated soil, consult the University of Florida IFAS Extension.
Sap-Sucking Pests (Spider Mites, Mealybugs, and Fungus Gnats)
Pests are often attracted to plants that are already stressed by improper watering.
- Spider Mites: These tiny arachnids thrive in dry, dusty, low-humidity conditions. Look for fine webbing on the undersides of leaves and a speckled, washed-out appearance on the leaf surfaces. Increase humidity immediately and wash the foliage down with a diluted neem oil or insecticidal soap solution.
- Fungus Gnats: These small black flies lay their eggs in the top layer of wet, decaying soil. Their larvae feed on organic matter and delicate root hairs. To control them, allow the top 2 inches (5 cm) of soil to dry out completely between waterings, apply yellow sticky traps to catch the flying adults, and water with a biological control agent such as Bacillus thuringiensis israelensis (BTI), which naturally targets gnat larvae without harming your plants or pets. For detailed identification guides and natural management strategies for common indoor pests, you can reference the Royal Horticultural Society.
5. Frequently Asked Questions
When is the best time of year to implement these changes?
Early spring through mid-summer represents the active metabolic window when plants can rapidly utilize increased light and fresh nutrients. During this period, their growth rates are at their peak, meaning they can quickly recover from repotting or root pruning. During winter dormancy, reduce hydration and feeding frequency accordingly, but continue to monitor for soil hydrophobicity if your home's heating system dries out the ambient air.
How quickly will I see visible improvements?
Most foliage houseplants respond within 7 to 14 days with noticeable leaf turgidity, deeper emerald color, and active apical shoot emergence. If your soil was severely hydrophobic before you applied the wetting agent technique, you may see a dramatic improvement in leaf perkiness in as little as 24 to 48 hours as the roots finally gain access to water.
Is this technique suitable for all indoor plant varieties?
Yes! It is exceptionally effective for Monsteras, Philodendrons, Pothos, Snake Plants, and tropical foliage collections. However, be cautious with desert cacti and succulents. While they do benefit from occasionally breaking up hydrophobic soil, they prefer their substrate to dry out completely and remain dry for extended periods. Only apply the surfactant drop method to succulents when their soil has become so dry that it refuses to absorb water during their scheduled watering sessions.
Why does water run straight through my dry soil without wetting it?
This occurs because peat moss and coconut coir contain natural organic waxes that become highly hydrophobic when they dry out completely. Instead of absorbing moisture, the soil particles repel it, forcing the water to take the path of least resistance. This path is usually the gap between the shrunken soil root ball and the inside wall of your pot. Adding a single drop of a natural surfactant breaks the water's surface tension, allowing it to penetrate these organic waxes and rehydrate the soil fibers uniformly.
Can I use regular dish soap as a surfactant?
While regular dish soaps can act as surfactants, many of them contain harsh degreasers, artificial fragrances, and synthetic detergents that can damage the delicate waxy cuticle of plant roots and strip away beneficial soil microbes. If you do not have specialized yucca extract, always choose a pure, organic, unscented liquid castile soap. Use only one drop per gallon of water to ensure it remains safe and gentle for the rhizosphere.
Have you tried this technique with your own houseplants? Share your results with our global grower community on the Community Forum, explore more expert guides on Plant Tips, or visit our Home Page for comprehensive plant care archives.
📋 Table of Contents ▼ Click to expand
PlantSavvyWorld
Editorial team
PlantSavvyWorld is an independent botanical education project. Articles are drafted with AI assistance, then edited and checked against university extension services, botanical garden collections and other published horticultural sources.
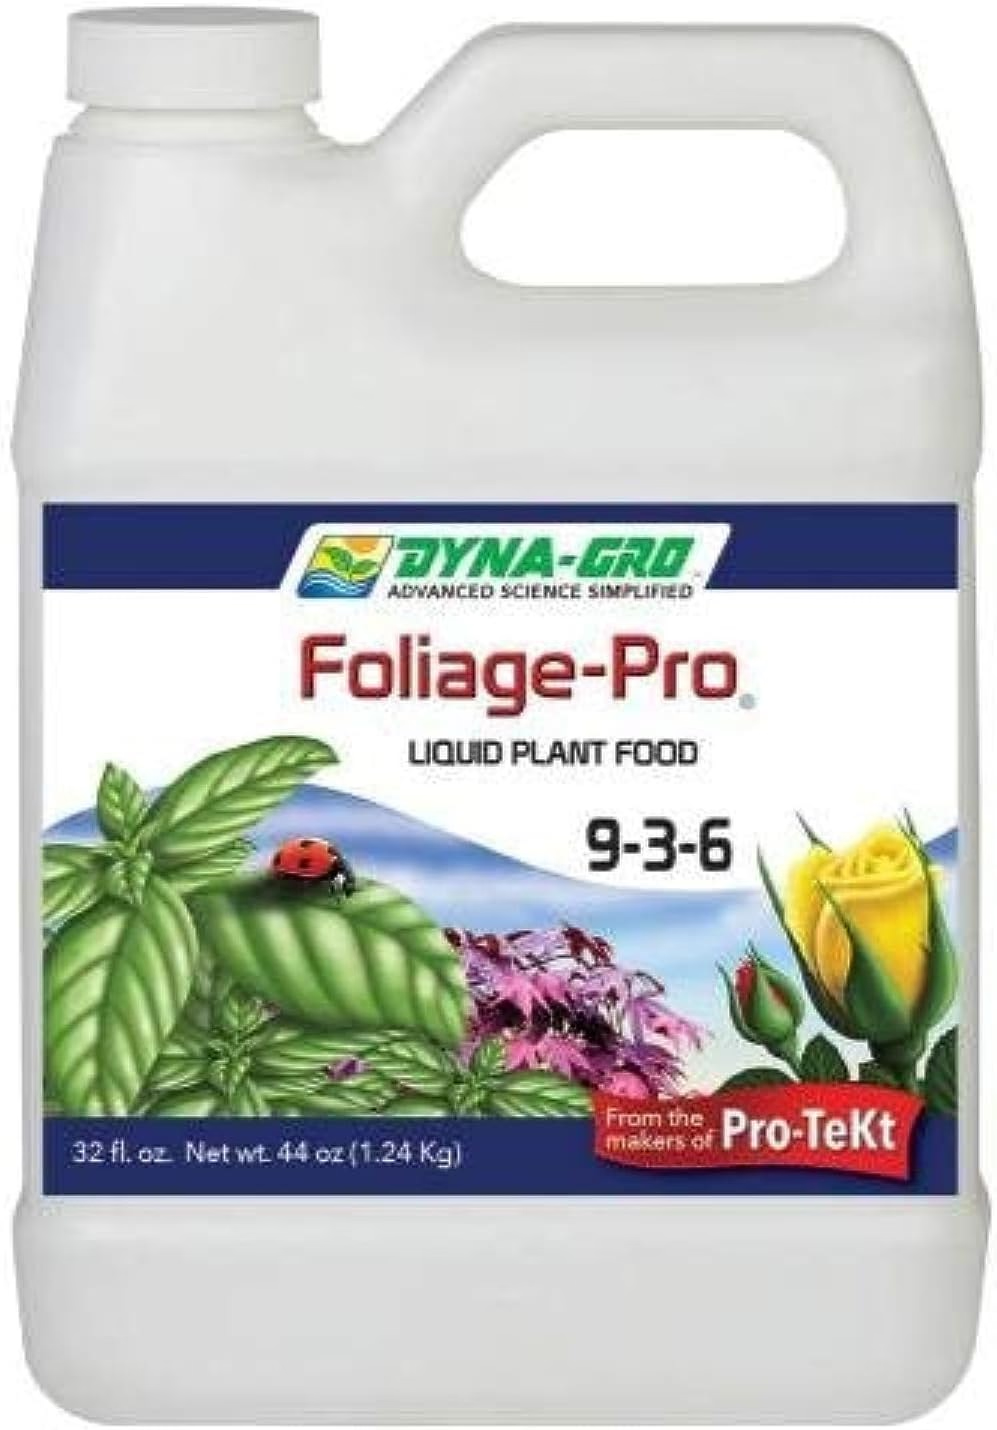
Organic Liquid Plant Food (FoxFarm)
A liquid organic plant food. Applied at label rate during active growth; most houseplants do better at reduced strength and not at all in winter.
View on Amazon ↗
PlantSavvyWorld
Editorial team
PlantSavvyWorld is an independent botanical education project. Articles are drafted with AI assistance, then edited and checked against university extension services, botanical garden collections and other published horticultural sources.
💬 Discussion