


Are you taking your new plants out of their nursery pots and dropping them straight into the ground?
Written with AI assistance, edited and checked against horticultural sources.
Years ago, I brought home a magnificent, expensive Calathea from a local greenhouse. Overjoyed, I immediately ripped it from its plastic nursery container and transplanted it into heavy terracotta. Within 48 hours, every single leaf curled tightly and crisped up into brown parchment. I made the classic mistake that millions of plant lovers and gardeners make every day: treating a fresh nursery arrival as an inert decorative item ready for immediate installation, rather than a micro-climatically sensitive organism in a state of transport stress.
Are you taking your new plants out of their nursery pots and dropping them straight into the ground or immediate repotting containers? If so, you are taking a major gamble with root vascular health and setting your green investments up for severe transplant shock.
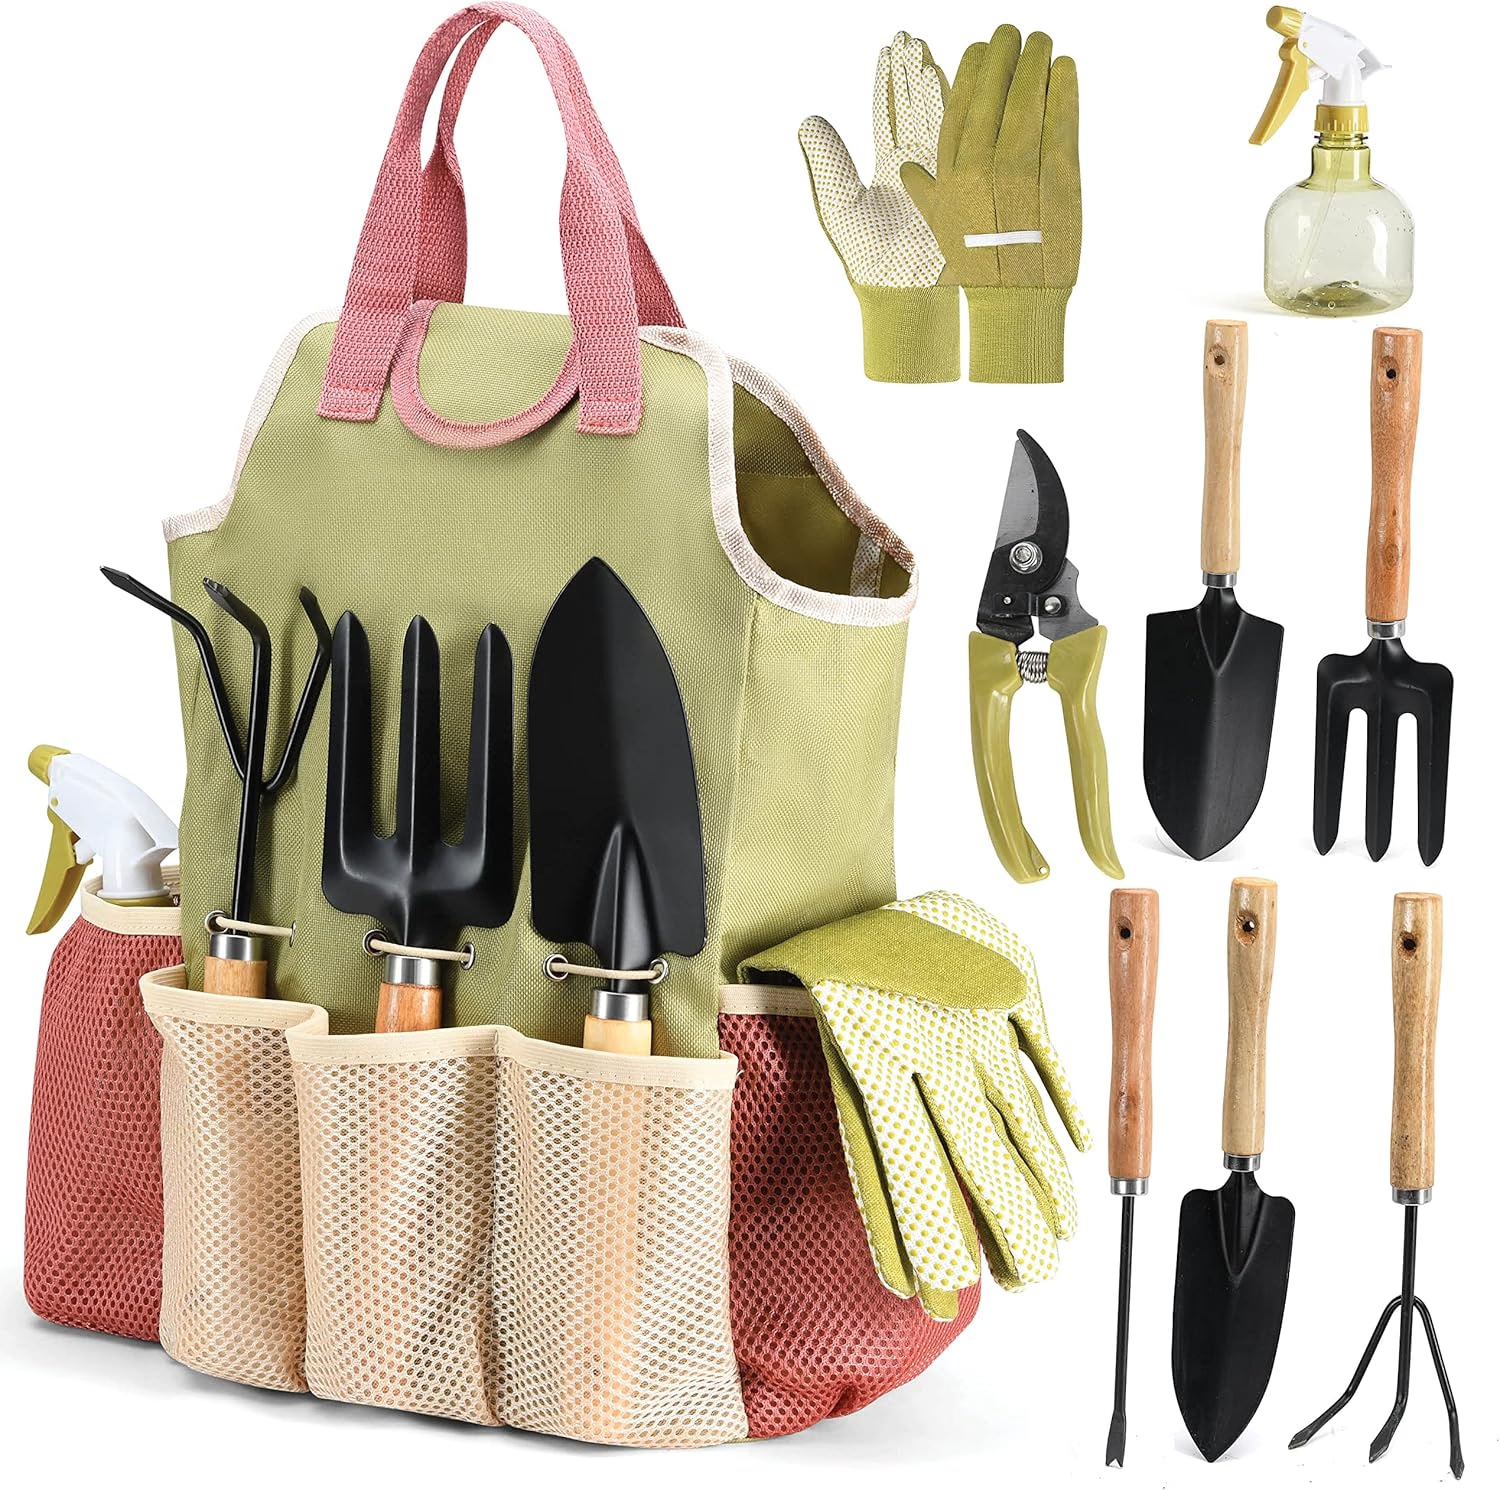
PLAY22 Gardening Tools Set of 10
A 10-piece hand tool set with a carry bag — trowel, transplanter, pruners and weeder. Suited to repotting and general container work.
View on Amazon ↗1. Botanical Overview & Natural Habitat
To understand why immediate planting fails, we must examine where nursery plants come from. Commercial greenhouses maintain near-perfect environmental conditions: relative humidity held between 70% and 85%, stable ambient temperatures around 68°F to 78°F (20°C to 26°C), precise overhead automated fertigation, and high-intensity, diffused PAR (Photosynthetically Active Radiation).
When a plant leaves this climate-controlled environment, it undergoes immediate physiological strain. Its stomata—microscopic pores on the underside of leaves that regulate gas exchange and water vapor release—clamp shut in response to dropping ambient humidity. This sudden shutdown reduces transpirational pull, halting the internal vacuum mechanism that draws water and dissolved minerals from the root zone up through the xylem.
At the root zone (rhizosphere), gas exchange is just as critical as moisture. When potting mix becomes dense, muddy, or suffocated by standing drainage water, fine root hairs quickly suffer from hypoxia (oxygen deprivation), leaving the door wide open for opportunistic fungal pathogens like Pythium and Phytophthora. Conversely, an open, biologically active substrate enables robust nutrient uptake and rapid vegetative vigor.
Furthermore, nursery plants are grown in lightweight, soilless potting media—typically a mix of sphagnum peat moss, coconut coir, and perlite designed for rapid drainage under overhead irrigation. When you drop a nursery root ball wrapped in soft peat directly into heavy native garden soil (such as dense clay or coarse sand), you create a stark soil texture interface. Water moving through the ground cannot easily cross this boundary layer due to differential hydraulic conductivity.
During heavy rain or irrigation, water bypasses the dense, root-bound nursery ball entirely, leaving the core bone dry while the surrounding native soil is saturated—a phenomenon known as the "perched water table" or "bathtub effect." Research published by the Royal Horticultural Society demonstrates that failure to disrupt root-bound nursery media during establishment accounts for over 40% of landscape plant establishment failures within the first growing season.
"A new plant is like an astronaut arriving on a new planet; give it two weeks to adapt before performing surgery on its root system."
2. Essential Environmental & Care Requirements
Acclimating new stock requires managing environmental variables to allow the plant's vascular tissue (xylem and phloem) to adjust to non-greenhouse conditions.
Before disturbing any root mass or placing a plant into native outdoor soil, maintain a mandatory buffer period of 7 to 14 days. During this window, keep the plant in its original nursery container in a sheltered micro-environment: bright, indirect sunlight (around 1,000 to 2,500 foot-candles for tropical houseplants, or dappled shade for outdoor perennials), relative humidity of 50% to 65%, and temperatures stabilized between 65°F and 75°F (18°C to 24°C).
The following matrix details the critical parameters required during the transition phase:
3. Step-by-Step Cultivation, Feeding & Propagation
When you are ready to transition your nursery plant into either the garden bed or a larger home container, follow this tested, professional landscape design and horticultural protocol to ensure zero transplant mortality.
Step 1: Micro-Climate Acclimation & Quarantine
Keep the newly purchased plant in its original nursery pot for 7 to 14 days. Position it in a bright, protected area away from harsh direct sun, dry indoor heating vents, or strong outdoor winds. Ensure it sits at least 6 feet (1.8 meters) away from your established plant collection to allow time for pest inspection.
💡 Pro-Tip: Keep new arrivals in a quarantine spot 6 feet (1.8 meters) away from existing houseplants or garden displays for 10 to 14 days. This isolates hidden thrips larvae, spider mite webs, or scale crawlers before they can infest your main collection.
Step 2: Pre-Hydration of the Root Core
24 hours before you intend to transplant, water the plant thoroughly until moisture drains freely from the nursery pot's bottom drainage holes. Transplanting a dry, moisture-stressed plant causes immediate cell turgor loss, leading to permanent leaf dropping.
⚠️ Important Caution: Never fertilize with high-nitrogen synthetic feeds or repot/transplant a plant while its leaves are actively drooping from transport dehydration. Always restore cellular turgor with clean, room-temperature water 24 hours prior to disturbing the root mass.
Step 3: Digging and Interface Site Preparation
If planting outdoors into native ground, dig an installation hole 2 to 3 times wider than the nursery container's diameter, but exactly the same depth. For example, if the nursery pot is 8 inches (20 cm) deep, dig the hole exactly 8 inches (20 cm) deep. Never plant deeper than the existing root collar (the point where stems meet roots), as burying the root collar encourages bark rot and stem-canker pathogens.
Mix 20% to 30% organic compost or aged pine bark into the excavated backfill soil to soften the transition boundary between the light nursery media and native ground.
Step 4: Root Inspection and Root-Bound Scoring
Slide the plant out of its plastic container by supporting the main stem base and squeezing the container sides gently. Inspect the root mass:
- If the roots are spiraling tightly around the bottom of the pot (pot-bound), use clean pruning shears or a soil knife to make 3 to 4 shallow vertical cuts (0.25 to 0.5 inches / 0.6 to 1.3 cm deep) from top to bottom around the root ball.
- Gently tease apart the lower 1 inch (2.5 cm) of dense roots with your fingers. This mechanical action breaks apical dominance in the roots, forcing them to branch laterally outward into native soil rather than continuing to circle until they strangle the plant (girdling roots).
Step 5: Placement and Backfilling
Set the scored root ball into the center of the planting hole or new pot. Check that the top of the root ball sits flush with or slightly above (0.5 inches / 1.3 cm) the surrounding soil grade. Backfill with your native soil mix in stages, firming the soil gently with your hands after adding every 3 to 4 inches (7.5 to 10 cm) of medium to eliminate large air pockets without compacting macro-pores.
Step 6: Initial Watering and Root Stimulant Application
Settle the backfill by drenching the root zone thoroughly with fresh water. Do not apply concentrated synthetic high-nitrogen fertilizers at this stage, as tender root tips exposed during scoring will suffer chemical salt burn. Instead, apply a dilute organic seaweed or cold-pressed kelp liquid extract solution (mixed at half-strength, e.g., 1 tablespoon per gallon / 15 mL per 3.8 liters of water). Kelp contains natural auxins and cytokinins that trigger rapid root hair elongation without forcing top growth.
4. Common Problems, Pests & Troubleshooting
When nursery plants are moved into ground or home environments too quickly, they show distinct diagnostic distress signals. Early detection allows you to intervene before tissue damage becomes irreversible.
1. Leaf Epinasty and Edge Crisping
- Symptom: Leaf margins roll inward, turn brown, and feel brittle, while the stems droop.
- Cause: Transpirational shock caused by moving from high nursery relative humidity (80%) to dry home or outdoor conditions (30%–40%), combined with un-acclimated root hair collapse.
- Remediation: Enclose indoor plants under a clear plastic canopy or misting dome for 5 to 7 days to maintain humidity above 60%. Outdoor plants should be shaded with a 50% shade cloth for 7 to 10 days until leaf turgor stabilizes.
2. Rhizosphere Hypoxia and Root Rot
- Symptom: Leaves turn pale yellow (chlorosis), drop off while soft, and soil emits a sour, stagnant smell.
- Cause: Dropping a light-peat nursery pot directly into dense, un-aerated clay, trapping standing water around the root mass. Fungal invaders like Pythium thrive in these anaerobic conditions.
- Remediation: Carefully lift the plant out of the hole. Prune away blackened, mushy roots using shears disinfected with 70% isopropyl alcohol. Re-dig the planting hole twice as wide, blend coarse aggregate or crushed lava rock into the native backfill, and treat the root zone with a bio-fungicide containing Bacillus amyloliquefaciens (consult the comprehensive disease management guidelines provided by the University of California Agriculture and Natural Resources IPM Program).
3. Cryptic Nursery Pest Outbreaks
Nursery conditions that favor plant growth also favor insect populations. Inspect new acquisitions using a 10x hand lens for:
- *Spider Mites (Tetranychus urticae):* Tiny red/yellow specks and delicate webbing on the underside of leaves. Treat with insecticidal soap or neem oil sprayed at 5-day intervals across 15 days.
- *Thrips (Frankliniella occidentalis):* Slender, dark insects leaving silvery scar patches with black fecal specks on leaf surfaces. Isolate immediately and apply systemic granules containing imidacloprid (for non-edible foliage houseplants) or spinosad spray (for organic outdoor landscapes).
5. Frequently Asked Questions
Can I plant a new nursery plant directly into the ground if it is raining outside?
Rain provides excellent ambient humidity and reduces transpirational stress, but planting into soaking, muddy native soil is a mistake. Digging or handling native clay while saturated destroys soil structure, crushing vital micro- and macro-pores. This leads to soil compaction and root hypoxia. Wait until native soil is moist but crumbles easily in your hand before planting out.
How long can a plant safely stay in its original plastic nursery pot?
A plant can comfortably stay in its original nursery pot for 2 to 6 weeks, provided you maintain a regular watering schedule and supply adequate light. However, if root tips are growing out through the bottom drainage holes, or if water runs straight through without soaking into the peat, the plant is root-bound. You should acclimate it and perform transplanting within 10 to 14 days.
What happens if I forget to break up or score a root-bound plant before planting it in native soil?
If you skip root scoring, the plant's roots will continue to spiral inside the shape of the original nursery pot rather than expanding outward into the surrounding native ground. Over 1 to 3 years, these circling roots expand in diameter, strangling the main root crown (girdling roots). This limits water transport, causes chronic dieback, and frequently leads to tree or shrub collapse during high winds.
Should I trim or prune top foliage back when transplanting a new plant?
Avoid heavy top pruning during or immediately after transplanting. Leaves act as the plant's primary solar panels and synthesizers of natural auxins (growth hormones). Trimming healthy leaves reduces the plant's ability to create carbohydrates through photosynthesis and slows down root recovery. Only prune dead, broken, or diseased branches during initial planting.
When is the absolute best time of year to implement planting changes?
Early spring through mid-summer represents the active metabolic window when plants can rapidly utilize increased light and fresh nutrients. During winter dormancy, biological processes slow down significantly; reduce hydration frequency accordingly and avoid major root disturbance until active growth resumes in spring.
Have you tried this acclimation technique with your own houseplants or landscape installations? Join our global grower community on the PlantSavvy World forums to share your results, discuss plant care strategies, and connect with fellow gardeners around the world.
📋 Table of Contents ▼ Click to expand
PlantSavvyWorld
Editorial team
PlantSavvyWorld is an independent botanical education project. Articles are drafted with AI assistance, then edited and checked against university extension services, botanical garden collections and other published horticultural sources.
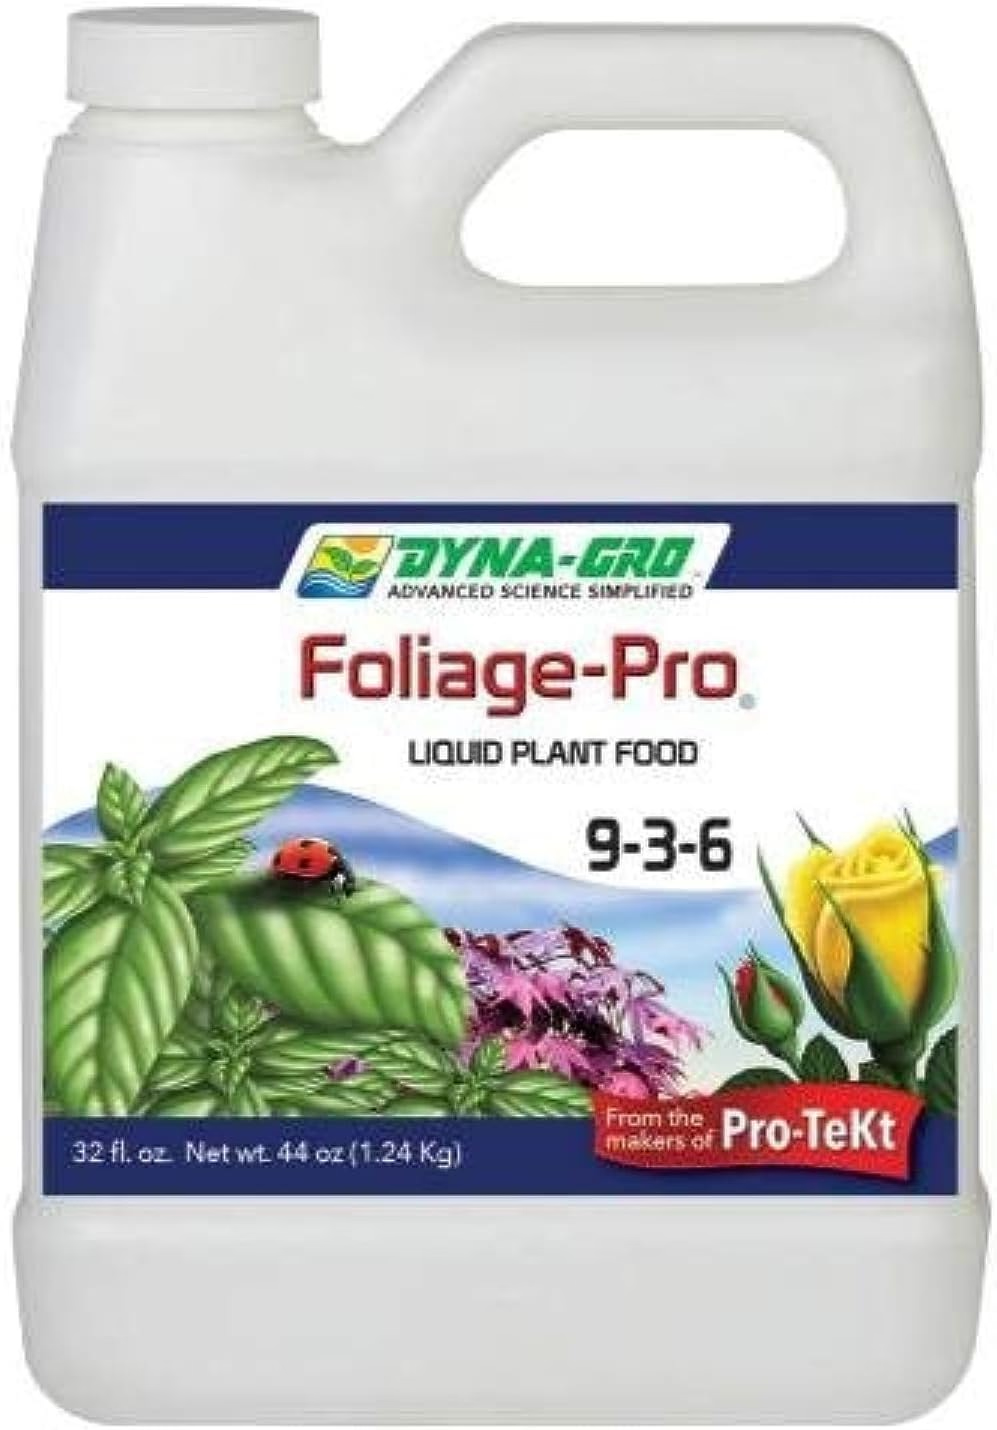
Organic Liquid Plant Food (FoxFarm)
A liquid organic plant food. Applied at label rate during active growth; most houseplants do better at reduced strength and not at all in winter.
View on Amazon ↗
PlantSavvyWorld
Editorial team
PlantSavvyWorld is an independent botanical education project. Articles are drafted with AI assistance, then edited and checked against university extension services, botanical garden collections and other published horticultural sources.
💬 Discussion